Ham and Cheese Sliders: Buttery Baked Party Favorite
Ingredients
Scale
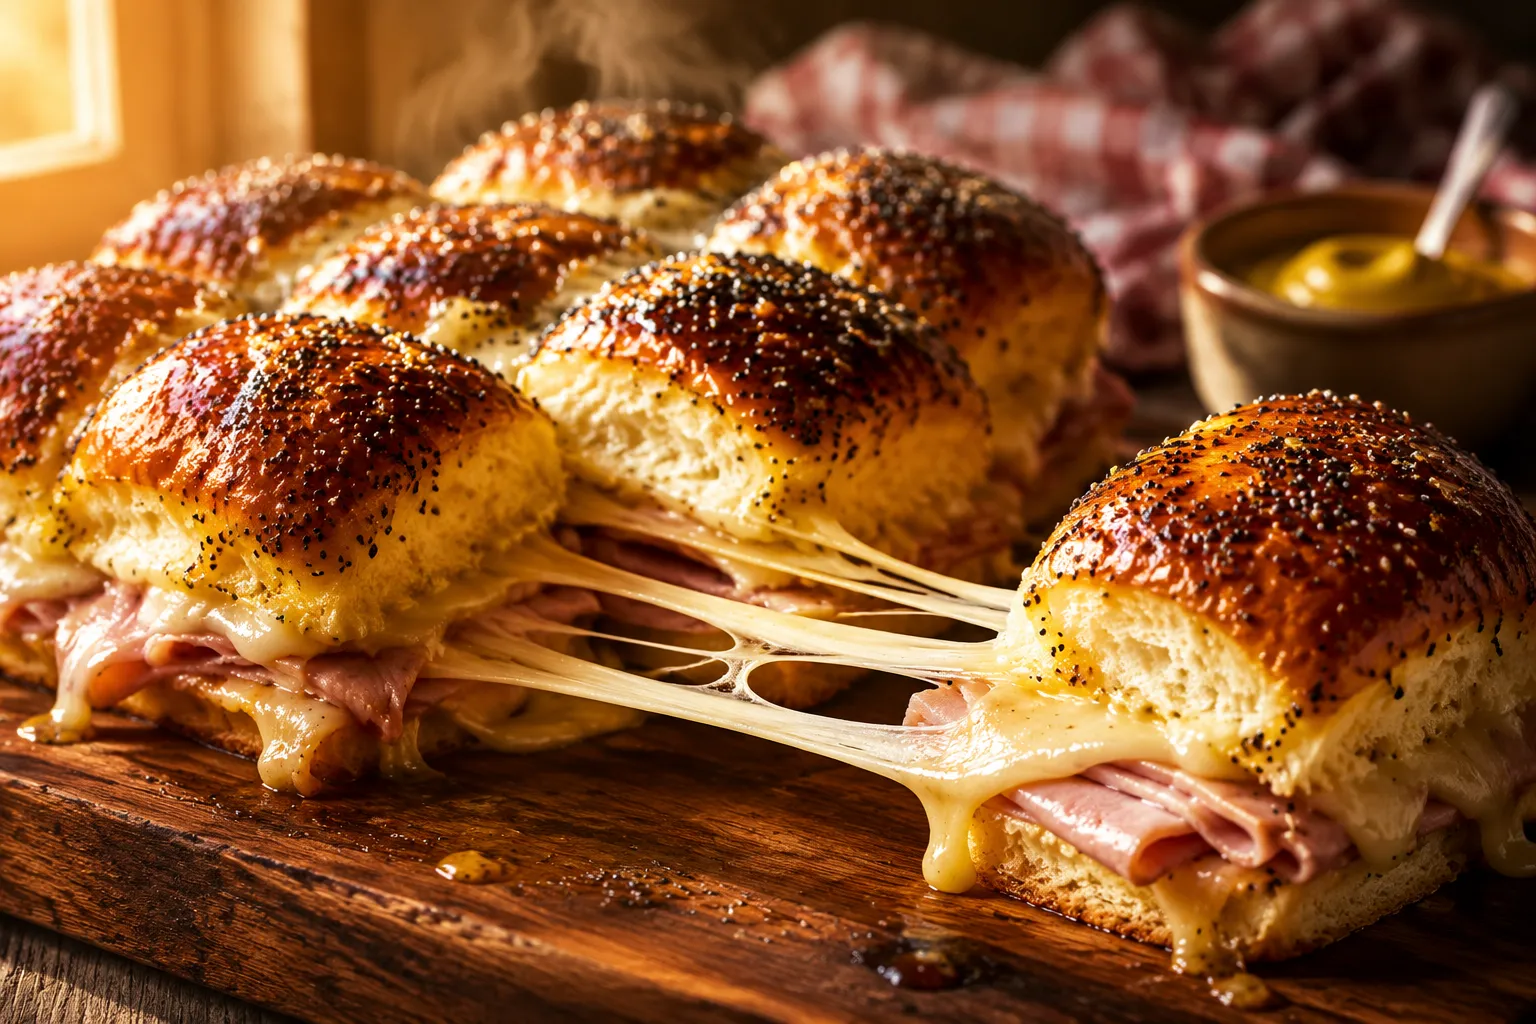
Soft Hawaiian rolls, layers of melty Swiss, sweet ham, and a buttery poppy seed Dijon glaze baked until golden. The party slider everyone asks for by name.
These ham and cheese sliders are the hot, buttery, golden-topped tray that disappears before the football game even kicks off. Soft King's Hawaiian rolls get stacked with sweet deli ham, melty Swiss, and a glossy poppy seed Dijon butter brushed between every layer and across the top, then baked until the cheese stretches and the crust turns sticky-sweet and savory in equal measure. They're the kind of dish that vanishes from a serving board faster than you can refill the napkin pile.
I've been making these for tailgates, Easter brunch, and weeknight "what's for dinner" rescues for years, and the version below is the one that finally beat every other Hawaiian roll sliders recipe in my notebook. The trick is brushing the buttery glaze inside the rolls as well as on top, so every bite is seasoned all the way through, not just the crown. Serve them with tomato soup or a pot of chili and you've got dinner. Set out a platter on Sunday and you've got the kind of Super Bowl finger foods people still text you about on Monday morning.
This is, hands down, my most-requested ham and cheese sliders recipe. They scale up easily for a crowd, hold their texture in a warm oven for over an hour, and earn a permanent spot on my list of go-to make-ahead party appetizers. Of all the buttery, oven-toasted baked sandwich recipes I've tested over the years, this is the one I keep coming back to. Whether you're feeding a houseful for the holidays or scrolling for clever leftover ham recipes after a glazed spiral, this tray is the answer.
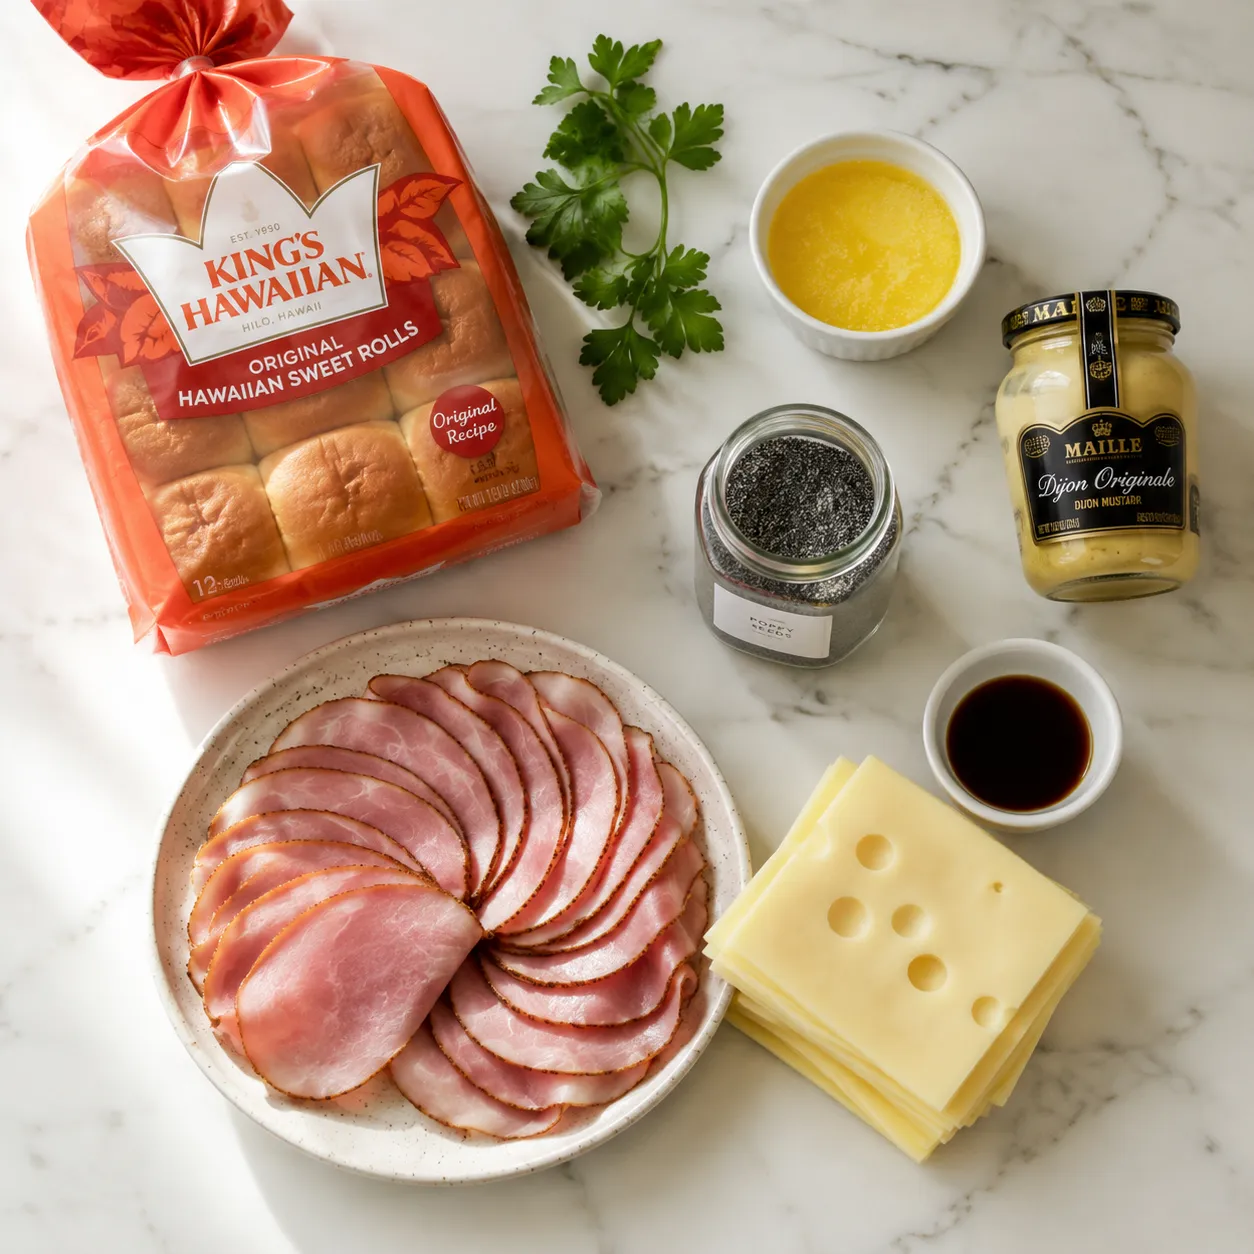
One of the reasons this tray punches so far above its weight is how short the shopping list is — most of it lives in your pantry already. Full quantities are in the printable recipe card below; here's what to look for at the store and why each piece matters. A few thoughtful upgrades over the standard version make a real difference in flavor, melt, and that gorgeous lacquered top.
Hawaiian sweet rolls are non-negotiable for me. Their pillowy crumb, gentle tang, and natural sweetness play perfectly against salty ham and savory mustard butter. King's Hawaiian comes pre-attached in a 12-pack that slices as one slab, which is the entire engineering trick behind a clean pull-apart slider. Brioche slider buns work in a pinch, but you'll lose a touch of that signature sweetness, and standard dinner rolls won't have the same tight crumb to hold up under the glaze.
Deli ham and Swiss form the heart of these ham and Swiss sliders. I prefer Black Forest or honey ham sliced thin enough to ruffle into pleats — that height creates pockets the cheese melts into instead of one flat compressed layer. For cheese, real Swiss is classic and melts gorgeously without going greasy; Havarti, provolone, and Gruyère are excellent stand-ins. Skip pre-shredded bagged cheese, which is dusted with anti-caking starch and never melts as cleanly as a freshly cut deli slice.
The buttery Dijon poppy seed glaze is what separates a memorable tray from a forgettable one. Melted unsalted butter, sharp Dijon mustard, a splash of Worcestershire, dried minced onion, garlic powder, and poppy seeds get whisked into a glossy, savory-sweet wash. Dijon is essential — yellow mustard is too mild, and sweet hot mustard takes over. The poppy seeds aren't just decorative; they toast as the sliders bake and add a subtle nuttiness that ties everything together.
The whole process clocks in around 30 minutes, and most of that is hands-off oven time. Detailed numbered instructions live in the recipe card; here's the visual walk-through with the why behind each move so you understand exactly what to look for.
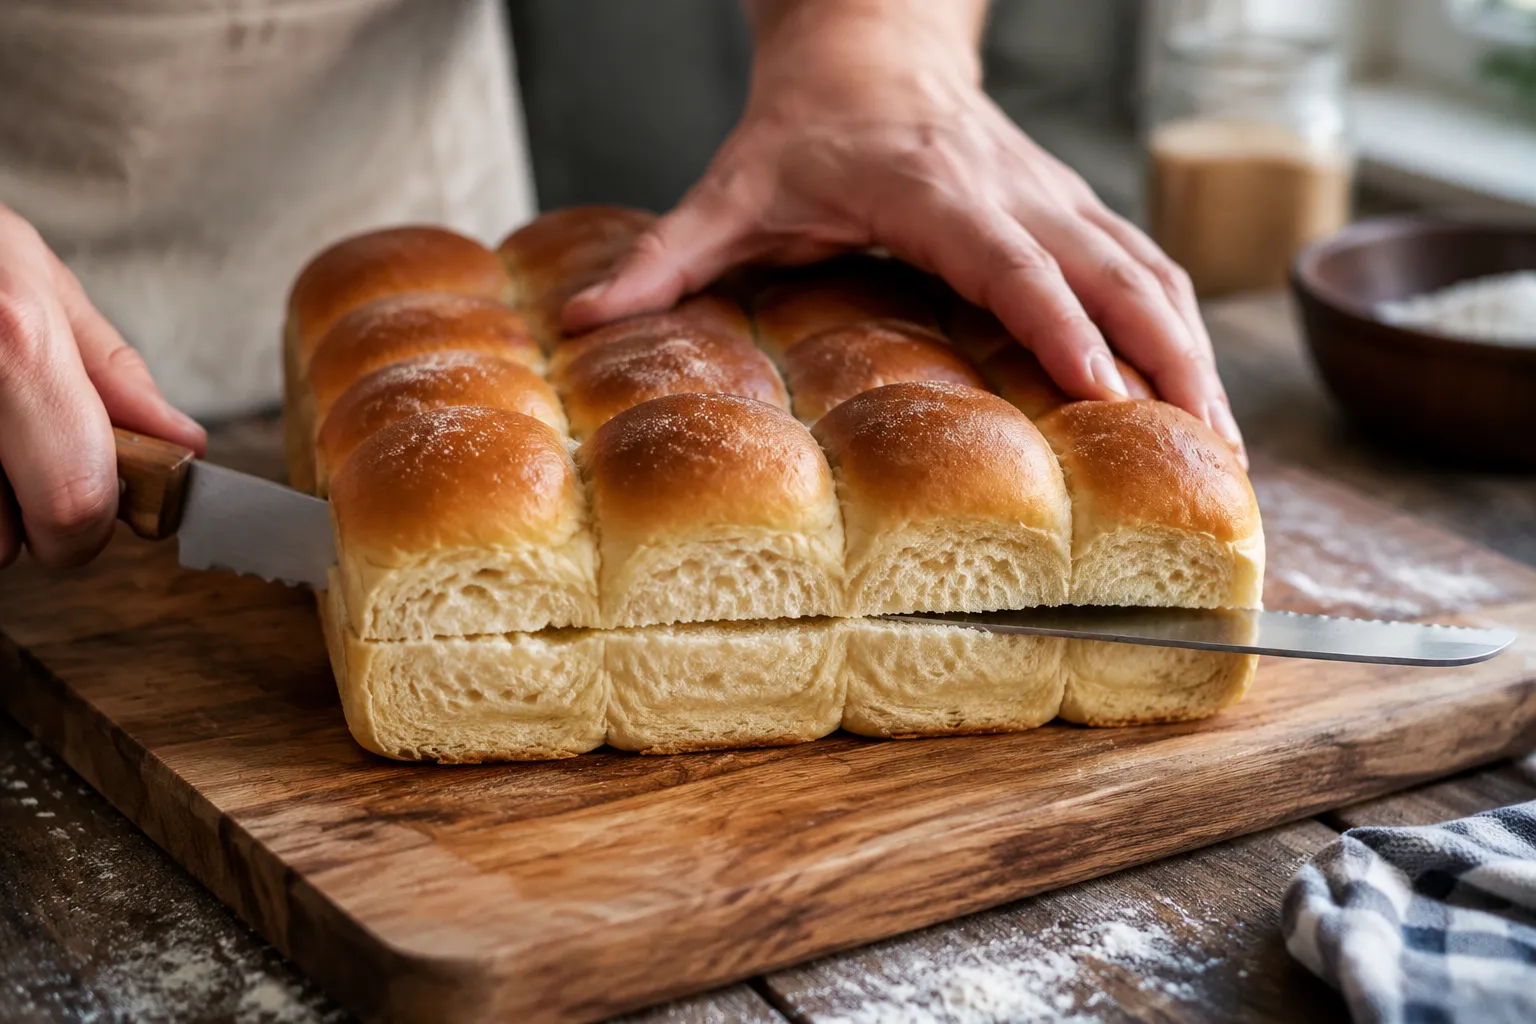
Slice the rolls as one slab. Leave the 12-pack of Hawaiian rolls connected and use a long serrated bread knife to slice horizontally through the middle, like splitting one giant burger bun. Press a flat hand on top to keep the slab steady and saw with long, even strokes. This single move is what makes the sliders pull apart cleanly later — try cutting them individually and you'll end up with a crooked, falling-apart tray.
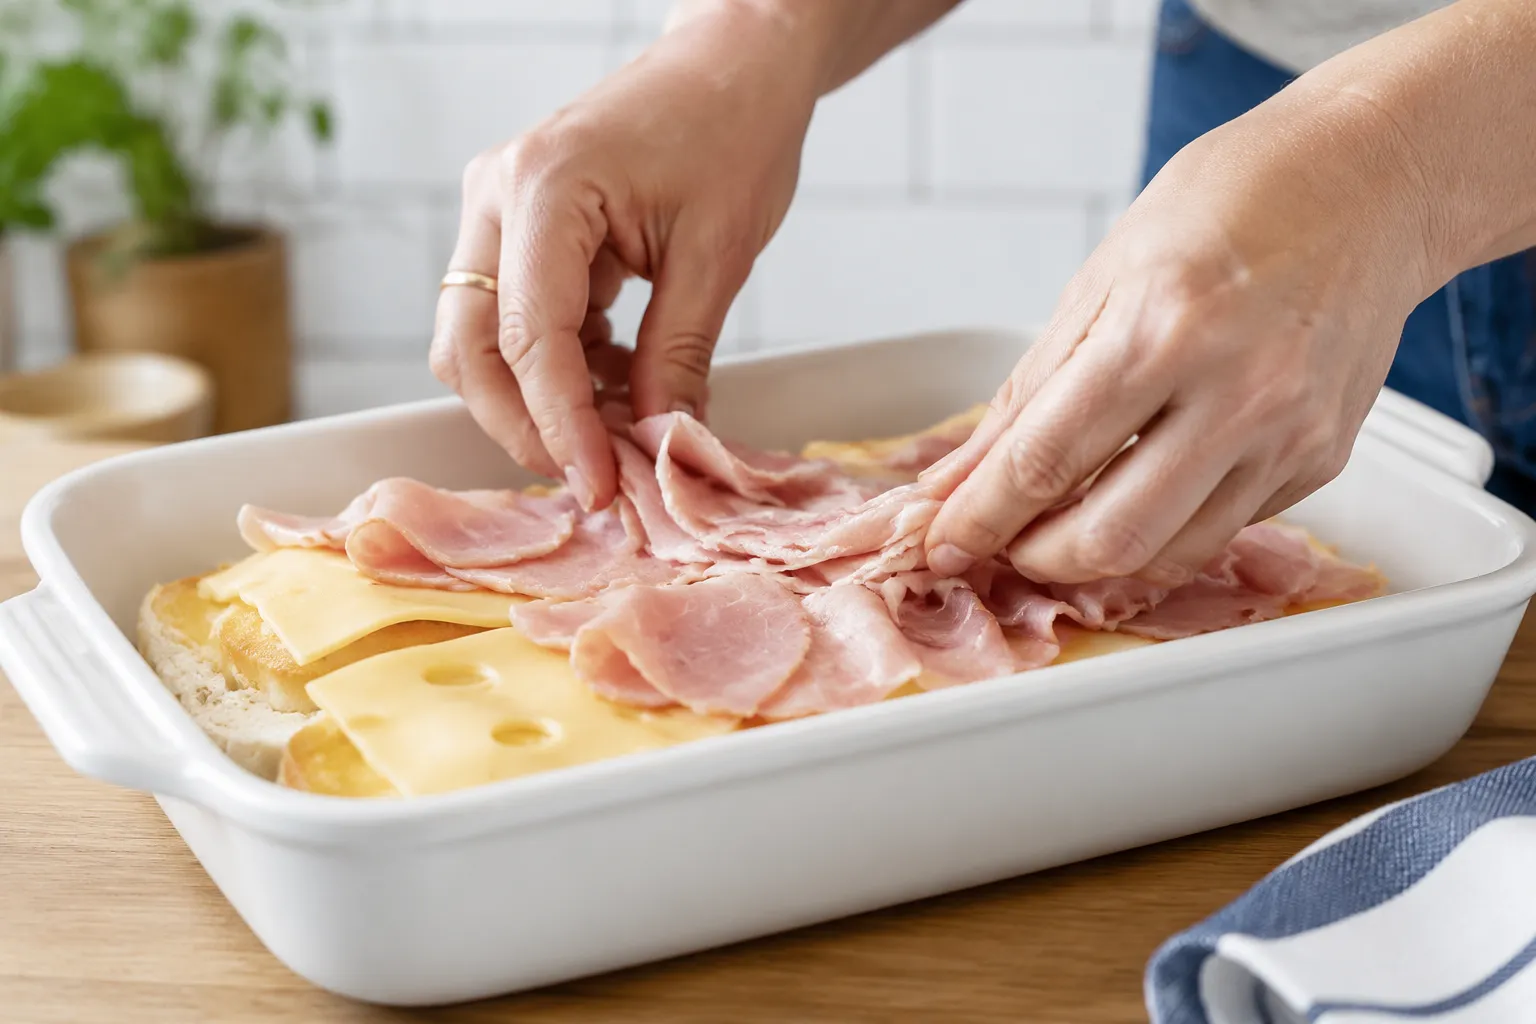
Layer ham and Swiss generously. Set the bottom slab cut-side up in a parchment-lined 9x13 baking dish. Brush a few tablespoons of the warm butter glaze across the cut surface — this is the upgrade that takes these from good to great, because flavor lives between the layers, not just on top. Shingle Swiss across the bottom, ruffle the ham over the cheese in pleats so it stands tall instead of lying flat, then add another layer of Swiss on top so the ham is sandwiched in melted cheese on both sides. Crown with the top slab and gently press to align the roll edges.
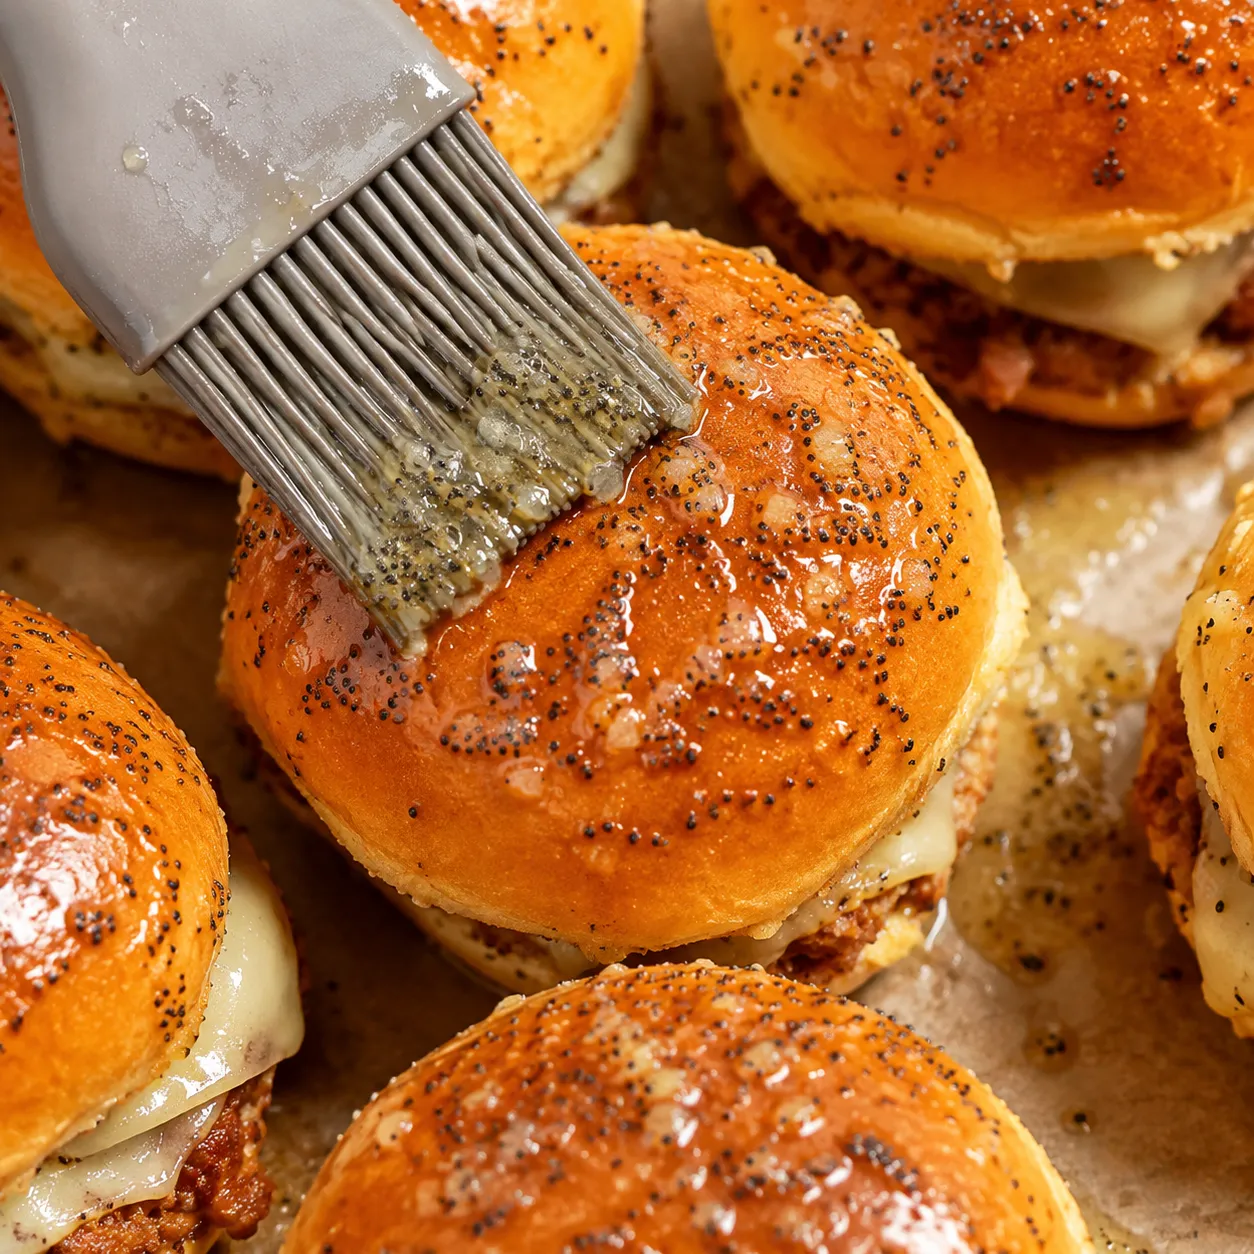
Brush with the buttery glaze. Pour and brush the remaining poppy seed Dijon butter generously over the tops, working it into the seams between rolls so every nook gets seasoned. Use the back of the brush to coax the herbs and seeds out of the saucepan; they tend to settle, and you don't want to leave any flavor behind. Don't skimp here — the glaze is where most of the flavor lives, and the rolls drink it in as they bake.
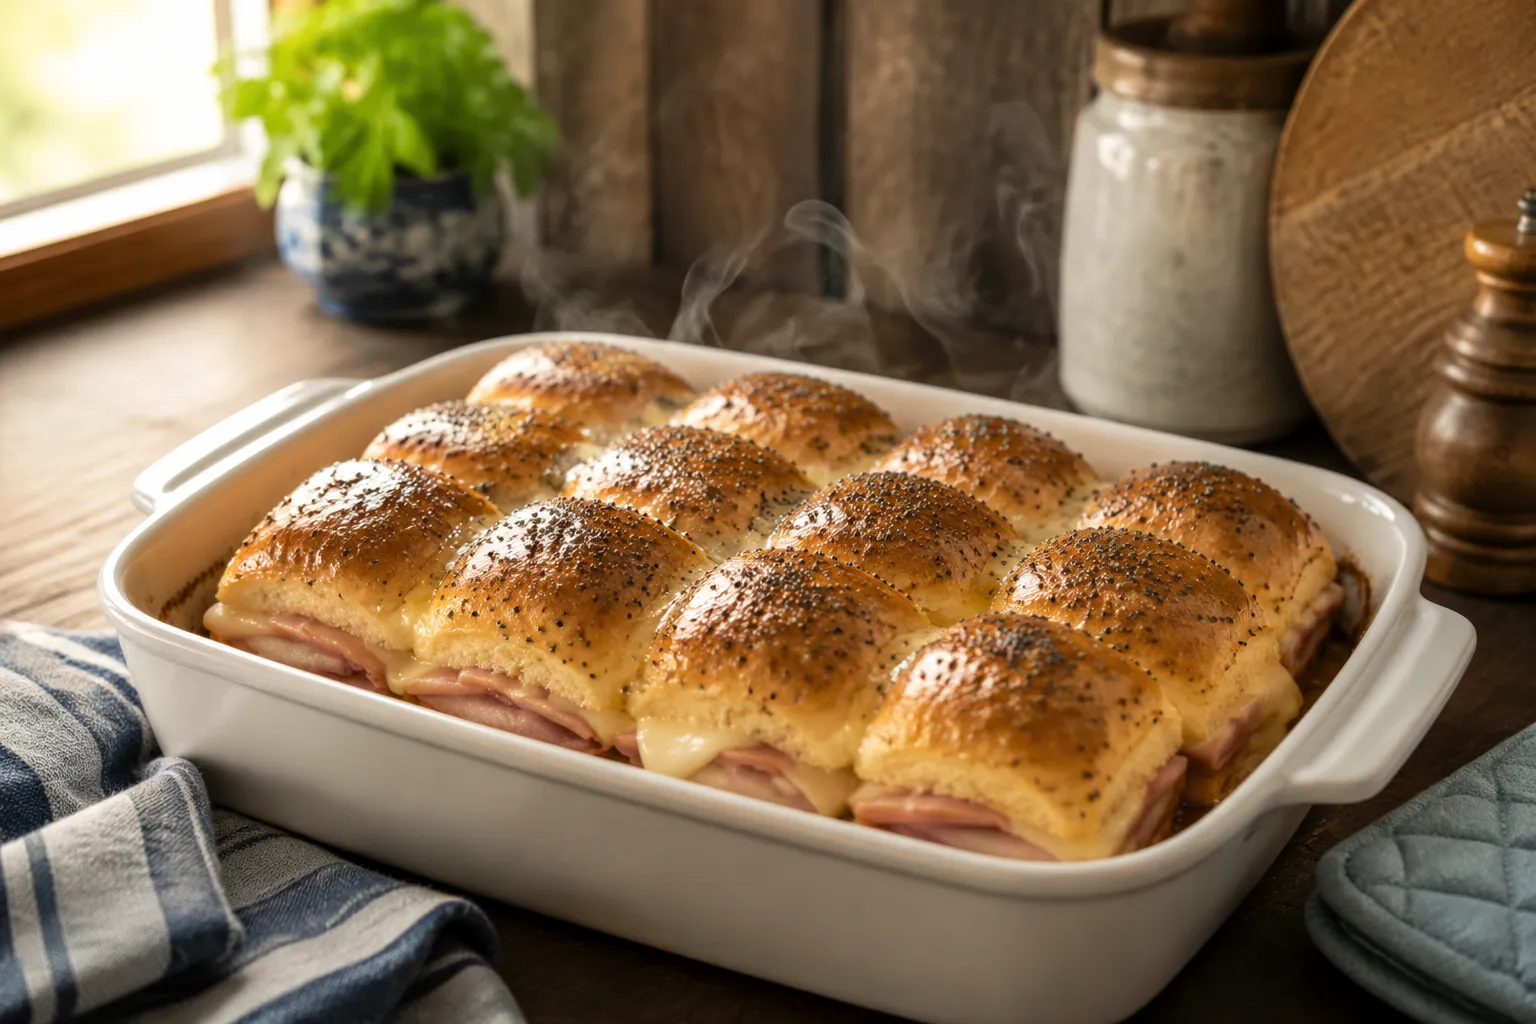
Bake covered, then uncovered. Tent the dish with foil and bake at 350°F for 15 minutes — this gentle steam phase melts the cheese fully without scorching the sweet rolls, which can go from golden to burnt in a hurry thanks to all that sugar. Pull the foil off for the final 5 minutes to develop that lacquered, glossy top. You're looking for deeply golden edges, visible cheese bubbling at the seams, and toasted poppy seeds you can smell from across the kitchen.
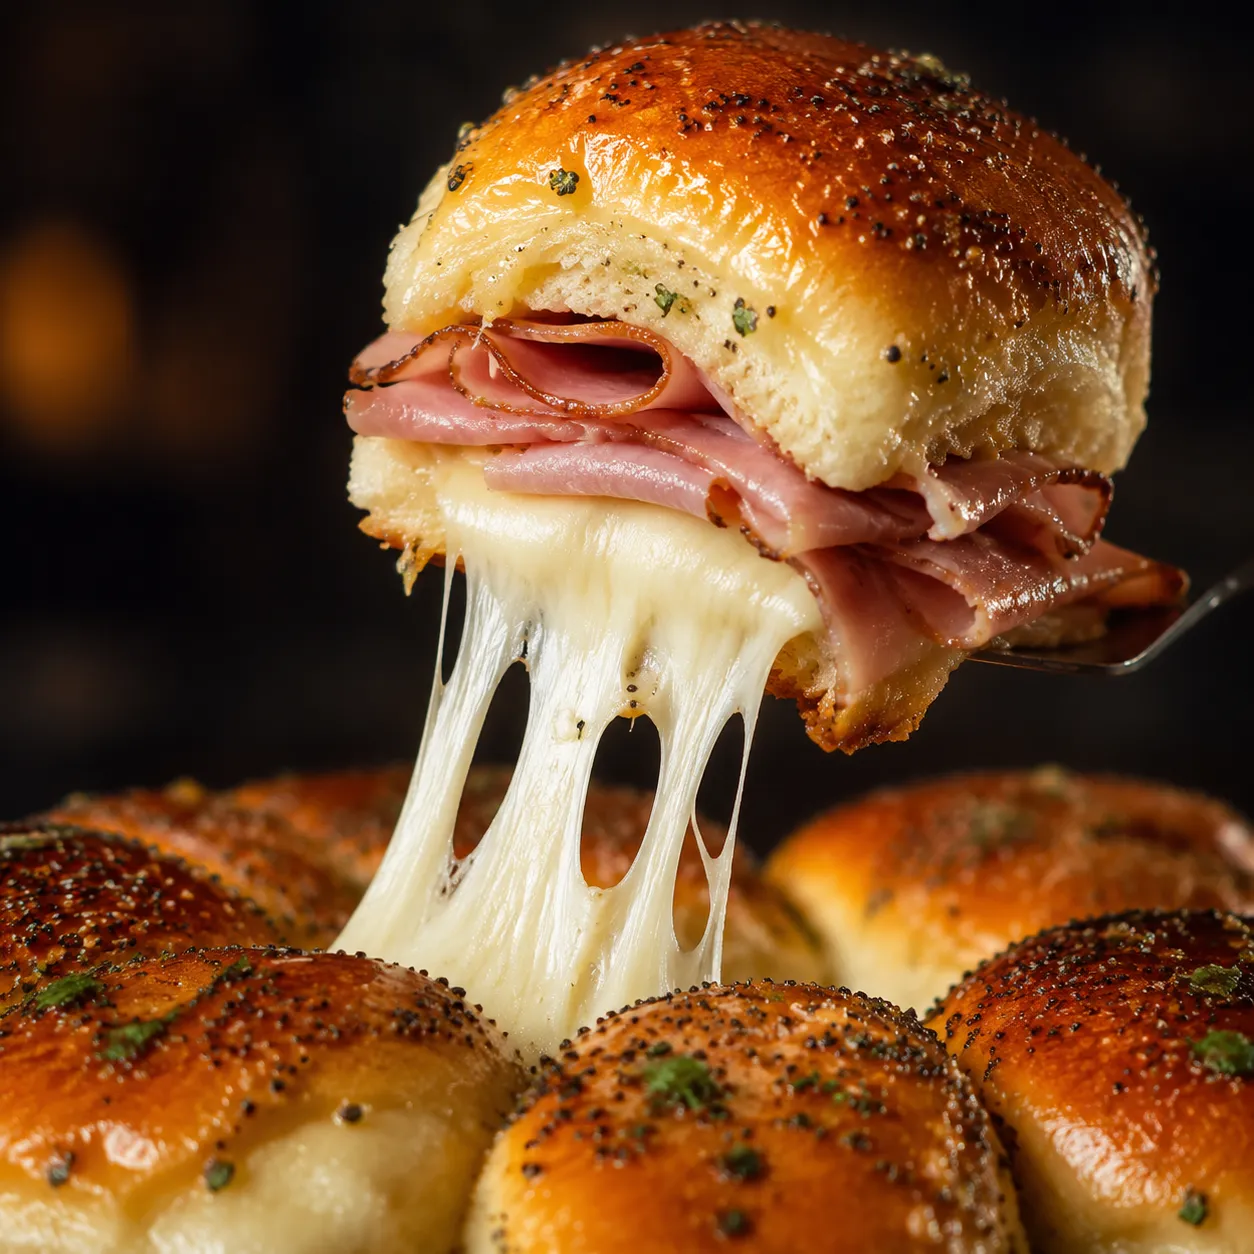
Let the tray rest for five minutes before slicing — this is non-negotiable if you want clean cheese pulls instead of a cheese landslide. Run a sharp knife straight down the existing seams between rolls, lift each slider out with a small offset spatula, and brace yourself for the audible reaction at the table. The first one out of the pan rarely makes it to a plate.

These ham and cheese sliders are happiest in good company. For game day, I lean savory and crunchy: kettle chips, dill pickle spears, a crock of warm queso, and a small bowl of honey mustard glaze for dipping (yes, alongside the already-glazed sliders — once you try it you'll get it). Add cold beer or a pitcher of arnold palmers and you've got a Sunday spread that feels generous without much effort.
If you're serving them as dinner, soup is the move. A pot of creamy tomato bisque, broccoli cheddar, or a smoky black bean chili turns a tray of sliders into a complete, comforting meal that easily feeds four to six. A crisp green salad or a tangy vinegar slaw cuts the buttery richness and rounds everything out. For brunch, set the tray alongside a fruit salad, deviled eggs, and crispy roasted potatoes for a holiday spread that travels well from oven to table. For a big crowd, double the recipe and stagger the trays so a fresh batch lands on the counter just as the previous one empties.
The reason this tray earned permanent residency in my recipe binder is how flexible it is. The sliders go from fridge to oven on a moment's notice, scale up for a crowd without losing their texture, and freeze beautifully for the kind of weeknight when cooking is just not happening. Detailed make-ahead, freezer, and reheat instructions are in the storage section below, but know that you can build the tray today, bake it tomorrow, and the rolls will actually be better for the overnight rest. Bookmark this one before the next holiday or playoff weekend sneaks up on you — it's the recipe friends will ask you to bring on repeat.
Once you've nailed the base recipe, this template welcomes endless personality. The 9x13 framework, glaze method, and bake times stay the same — just swap the fillings or finish to match your craving or what's already in the fridge.
Make-ahead: Assemble the entire tray up to 24 hours in advance, cover tightly with plastic wrap, and refrigerate. Hold off on brushing the butter glaze until just before baking so the rolls don't get soggy in the fridge. Add 3-5 extra minutes to the covered bake time if going straight from cold.
Refrigerator storage: Cooled, baked sliders keep tightly wrapped in the fridge for up to 4 days. Reheat individual sliders wrapped in foil at 325°F for about 10 minutes, or in an air fryer at 300°F for 4-5 minutes to revive the crisp tops.
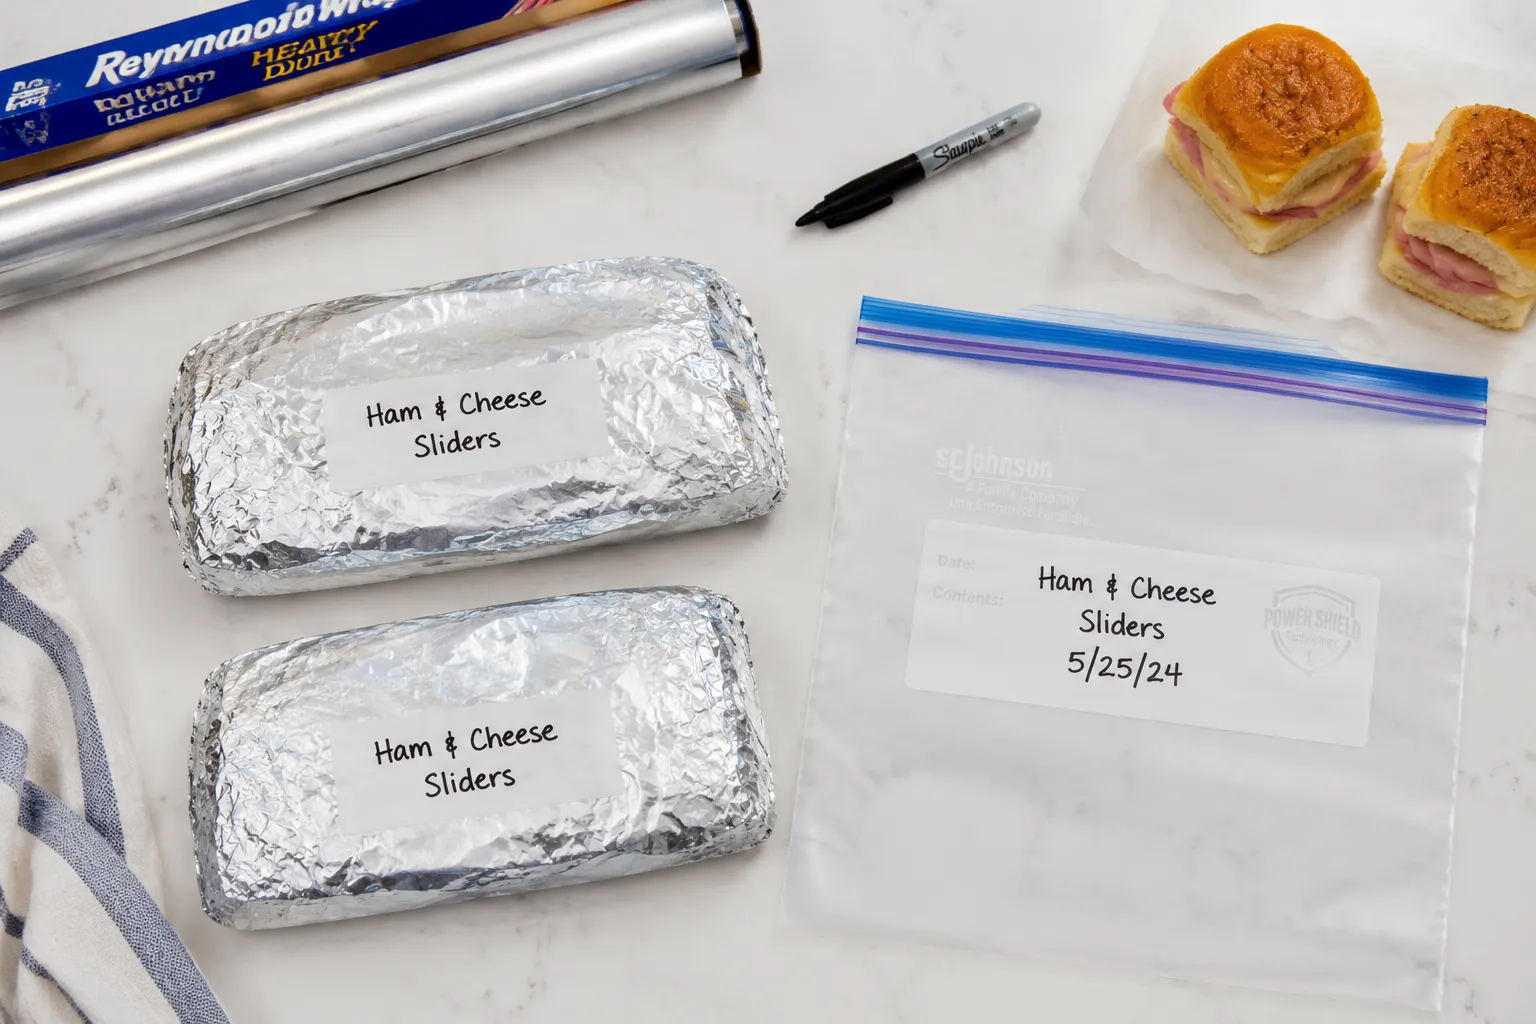
Freezer storage: Wrap fully cooled sliders tightly in foil, then place inside a labeled gallon freezer bag and freeze for up to 2 months. To reheat, bake straight from frozen at 350°F with foil on for 20 minutes, then 5 minutes uncovered to crisp the tops back up to a glossy finish.