Cornish Pasties Recipe: Authentic Hand Pies from Scratch
Ingredients
Scale
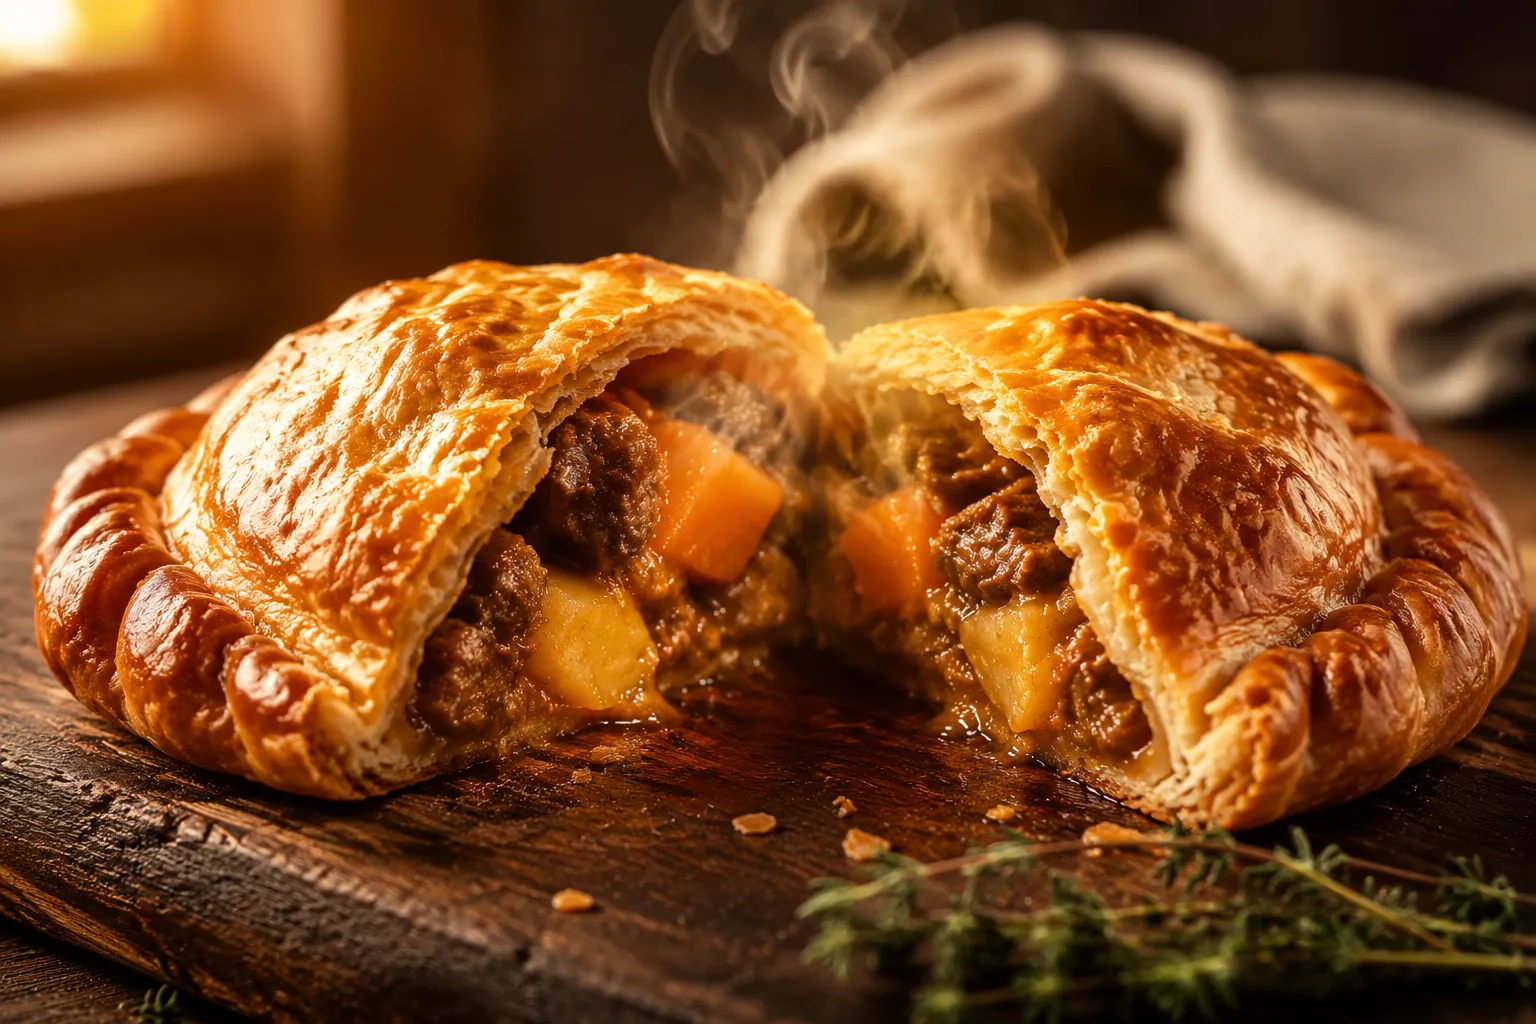
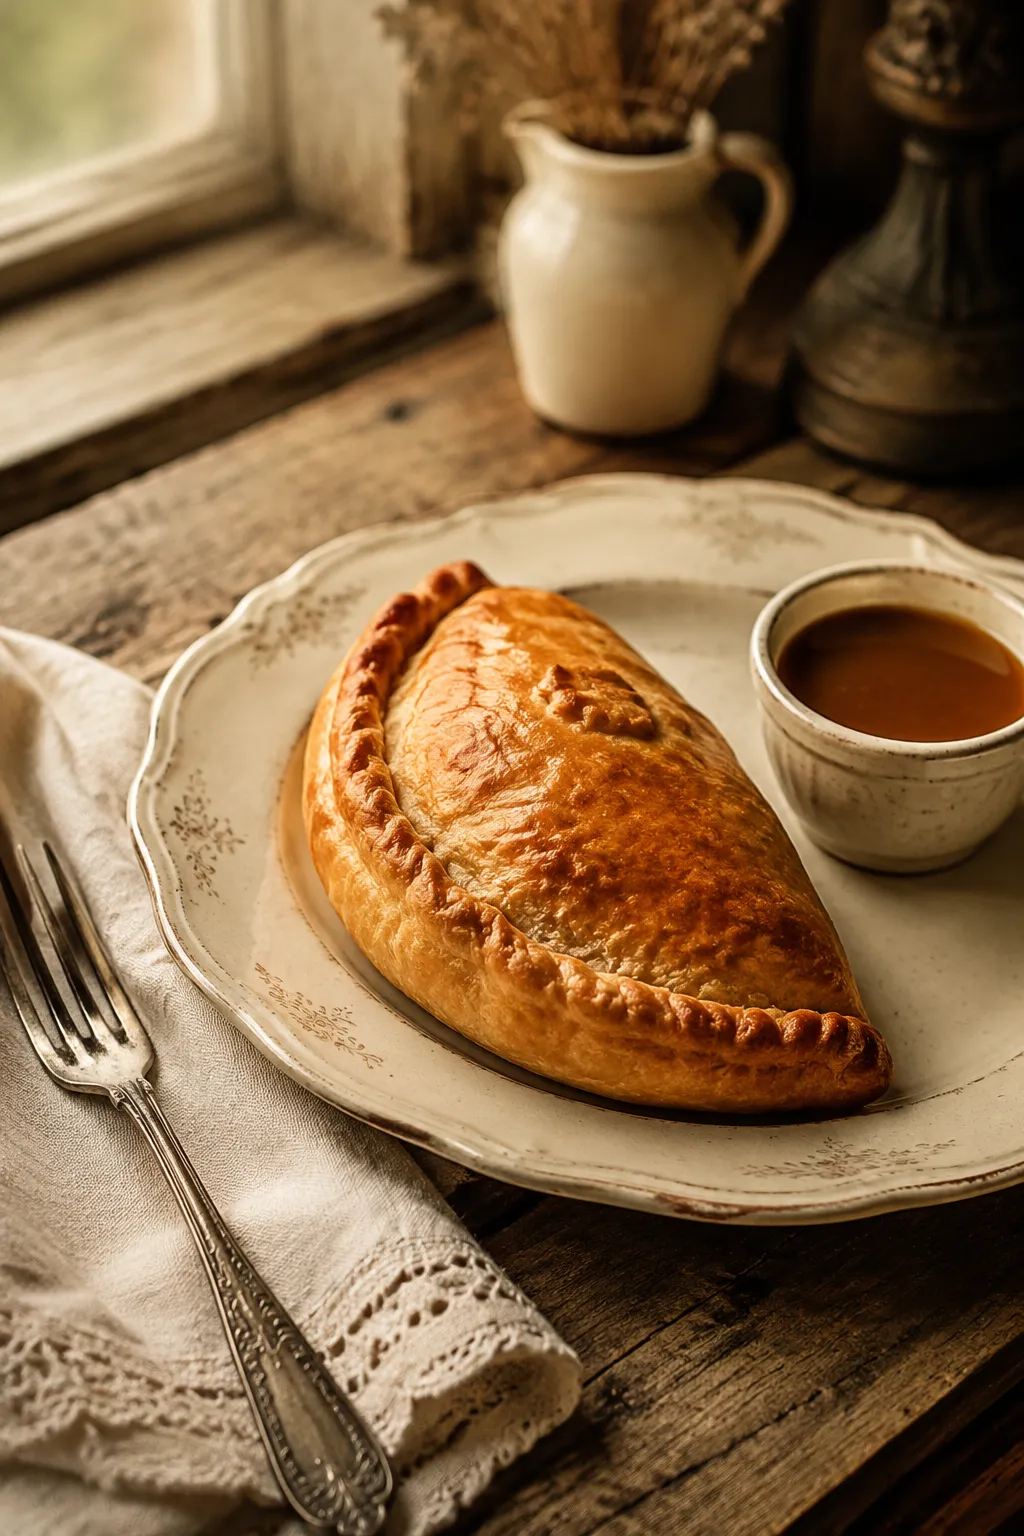
These golden, flaky pasties are stuffed with seasoned beef, potatoes, and rutabaga — a handheld Cornish classic loved across the Upper Midwest.
Pasties are the kind of honest, old-soul food that makes a kitchen smell like butter, roasted onions, peppery beef, and a little bit of history. This version leans traditional: hand-cubed beef, potato, onion, and rutabaga tucked into sturdy, flaky pastry, then baked until the crust is deeply golden and the filling turns savory and tender inside its own little pocket.
If you grew up with Cornish pasties or have ever driven through Michigan’s Upper Peninsula, you already know the magic: a complete meal you can hold in one hand. If you’re new to them, think of homemade hand pies with a heartier, more practical streak — built for lunch pails, road trips, freezer stashes, and cozy dinners with gravy on the side.
This recipe is from-scratch but not fussy. The dough is made with cold butter and shortening for the balance of flavor and structure, while the filling goes in raw so the beef juices mingle with the vegetables as everything bakes. The result is rustic, satisfying, and wonderfully packable.
A Cornish pasty is a savory, D-shaped hand pie that originated in Cornwall, England, where it became a practical meal for miners and laborers. The classic filling is simple but specific: beef, potato, rutabaga — called swede in the U.K. — onion, salt, and plenty of black pepper. As it bakes, the filling steams inside the pastry, creating a tender, juicy interior without needing gravy or sauce inside.
There’s a reason these hand pies traveled so well. Immigrant mining communities carried the tradition across the Atlantic, especially into the Upper Midwest, where Michigan pasties became a beloved regional food. In mining towns, the thick crimped edge was useful because it gave workers something to hold with dusty hands, though today we happily eat every buttery bite. Cornish versions are usually more restrained and traditional, while many Michigan-style versions include carrot, ground beef, or a side of ketchup or brown gravy.
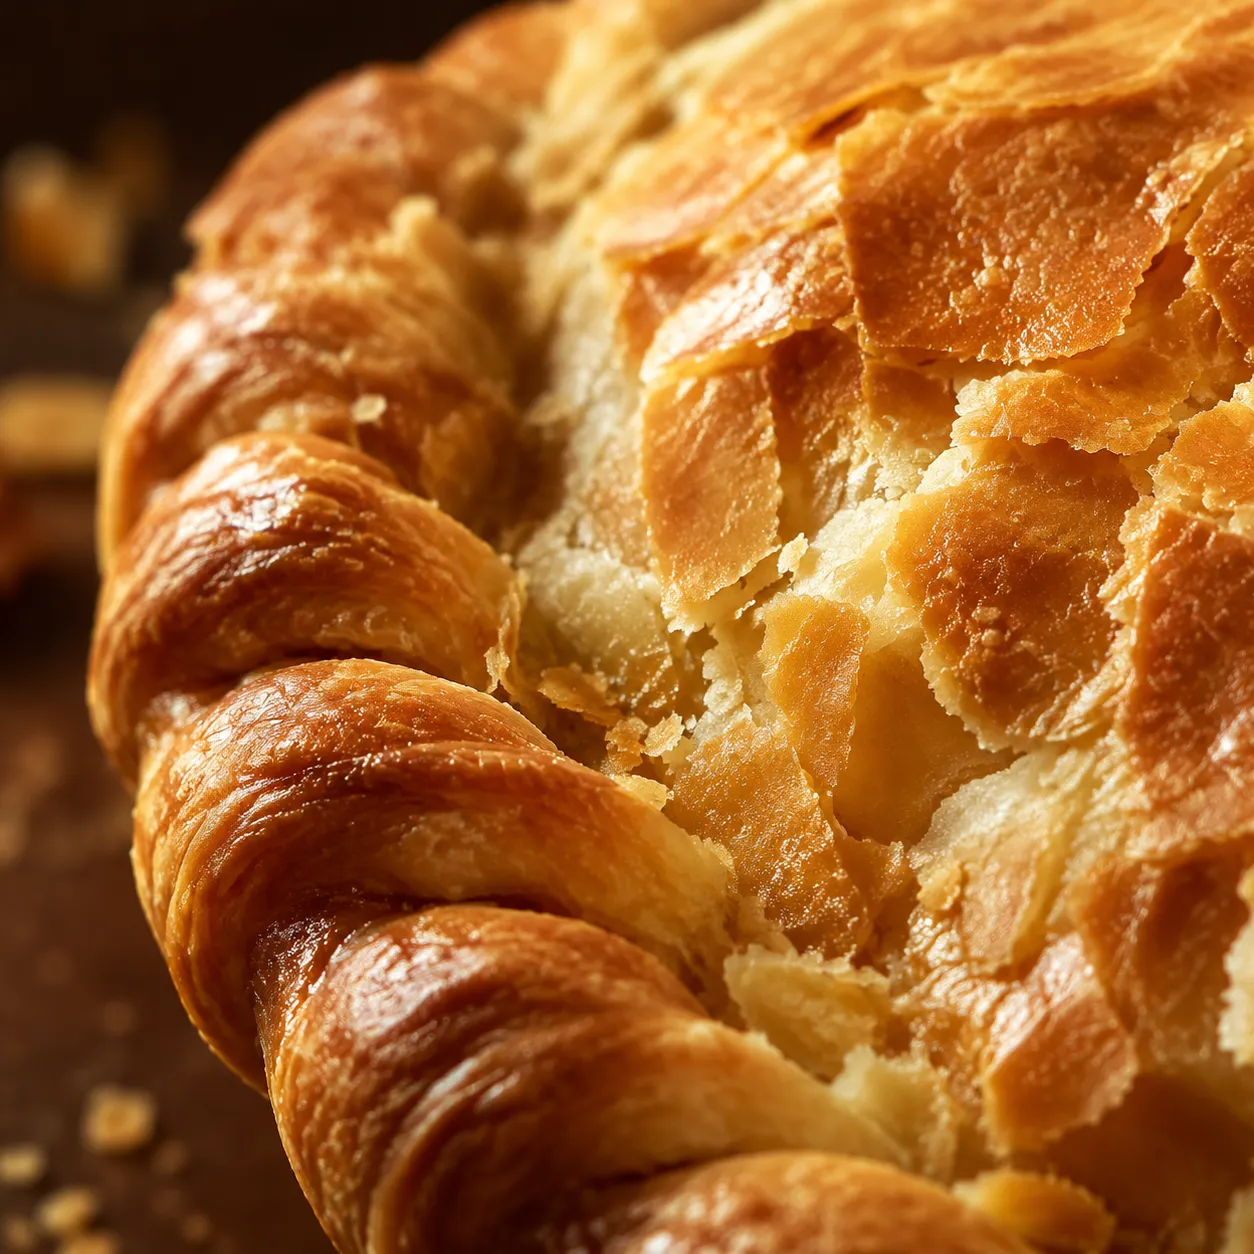
What makes this recipe special is the texture: not a soft turnover, not a pot pie, but a sturdy meal wrapped in flaky pie crust. The pastry needs enough strength to hold the filling, but enough tenderness to shatter when you bite into it. That balance is exactly what we’re after here.
The ingredient list is humble, which means each piece matters. For the pastry, you’ll need all-purpose flour, salt, very cold unsalted butter, vegetable shortening, and ice water. Butter gives flavor and those golden, crisp layers; shortening makes the pasty dough a little easier to handle and helps create a crust that stays tender instead of tough.
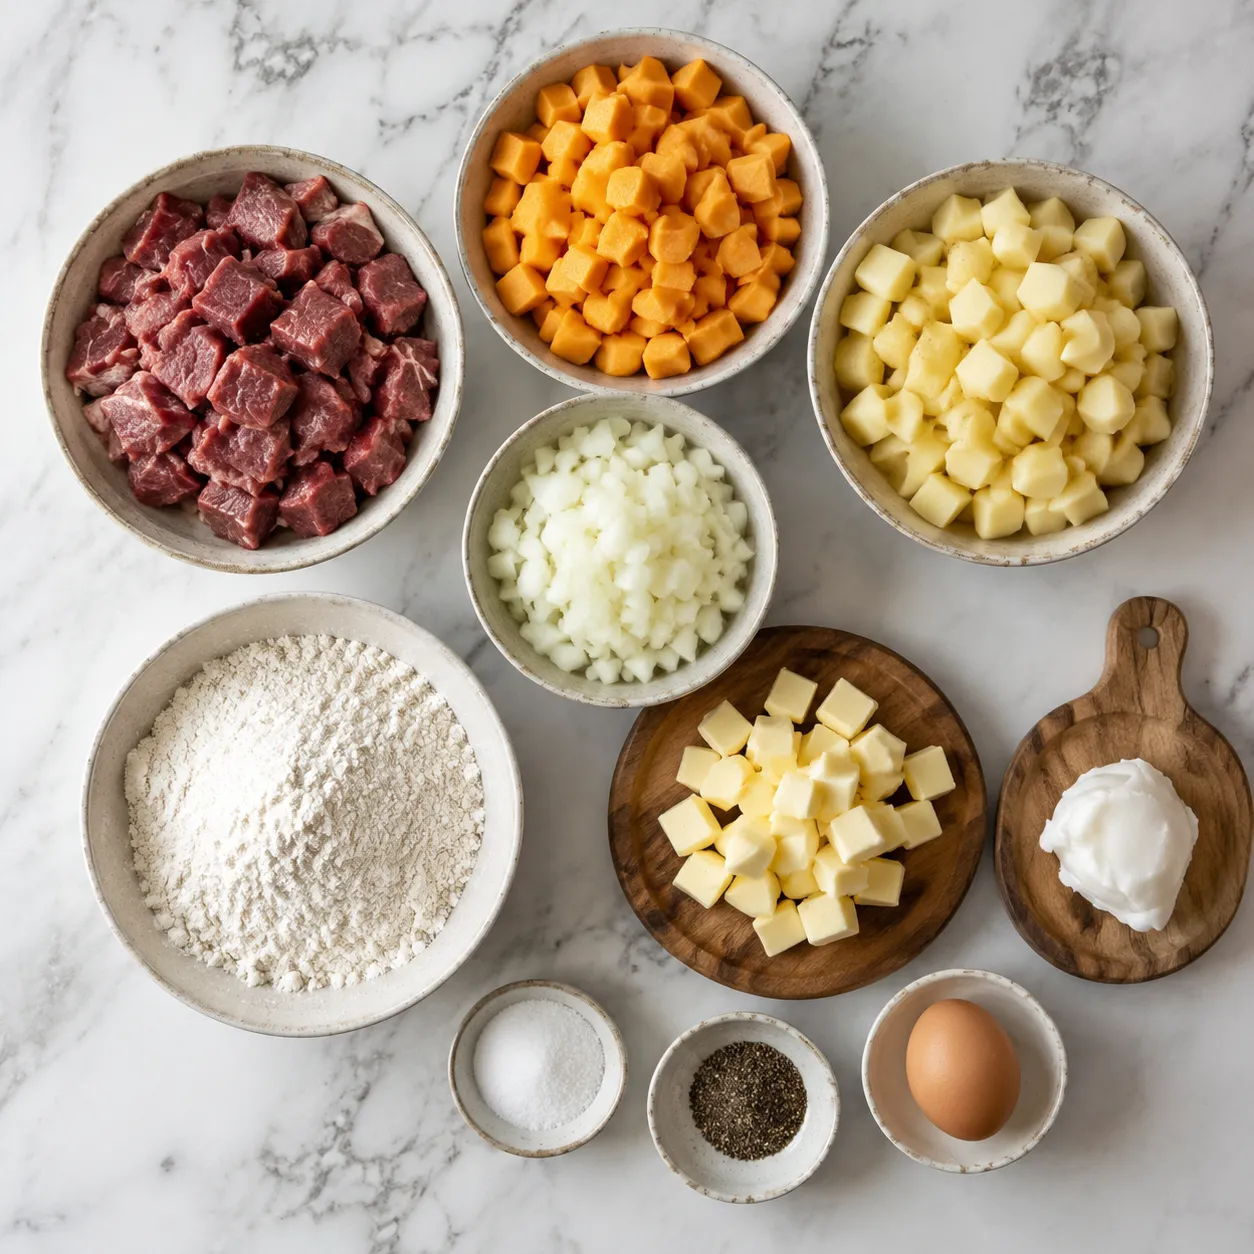
For the filling, choose beef skirt steak, sirloin, or another flavorful cut you can dice by hand. Cubed beef is important because it gives the filling a satisfying bite and keeps the finished hand pie closer to its traditional roots than ground-beef shortcut versions. Yukon gold potatoes bring creaminess, yellow onion adds sweetness, and rutabaga gives the filling that earthy, slightly peppery flavor that makes it taste unmistakably classic.
Seasoning is intentionally straightforward: salt, black pepper, and a little butter tucked inside each pastry before sealing. You can add a small pinch of thyme if you like, but the old-fashioned version is mostly about beef, root vegetables, and pastry doing their jobs beautifully. If you love exploring rutabaga recipes, this is one of the coziest ways to let that underrated vegetable shine.
A good crust starts cold and stays cold. Cut the butter and shortening into the flour until the mixture looks shaggy, with pieces ranging from sandy crumbs to pea-sized bits. Those visible pieces of fat are what melt in the oven and create lift, flake, and the kind of crust that scatters crumbs across the plate in the best possible way.
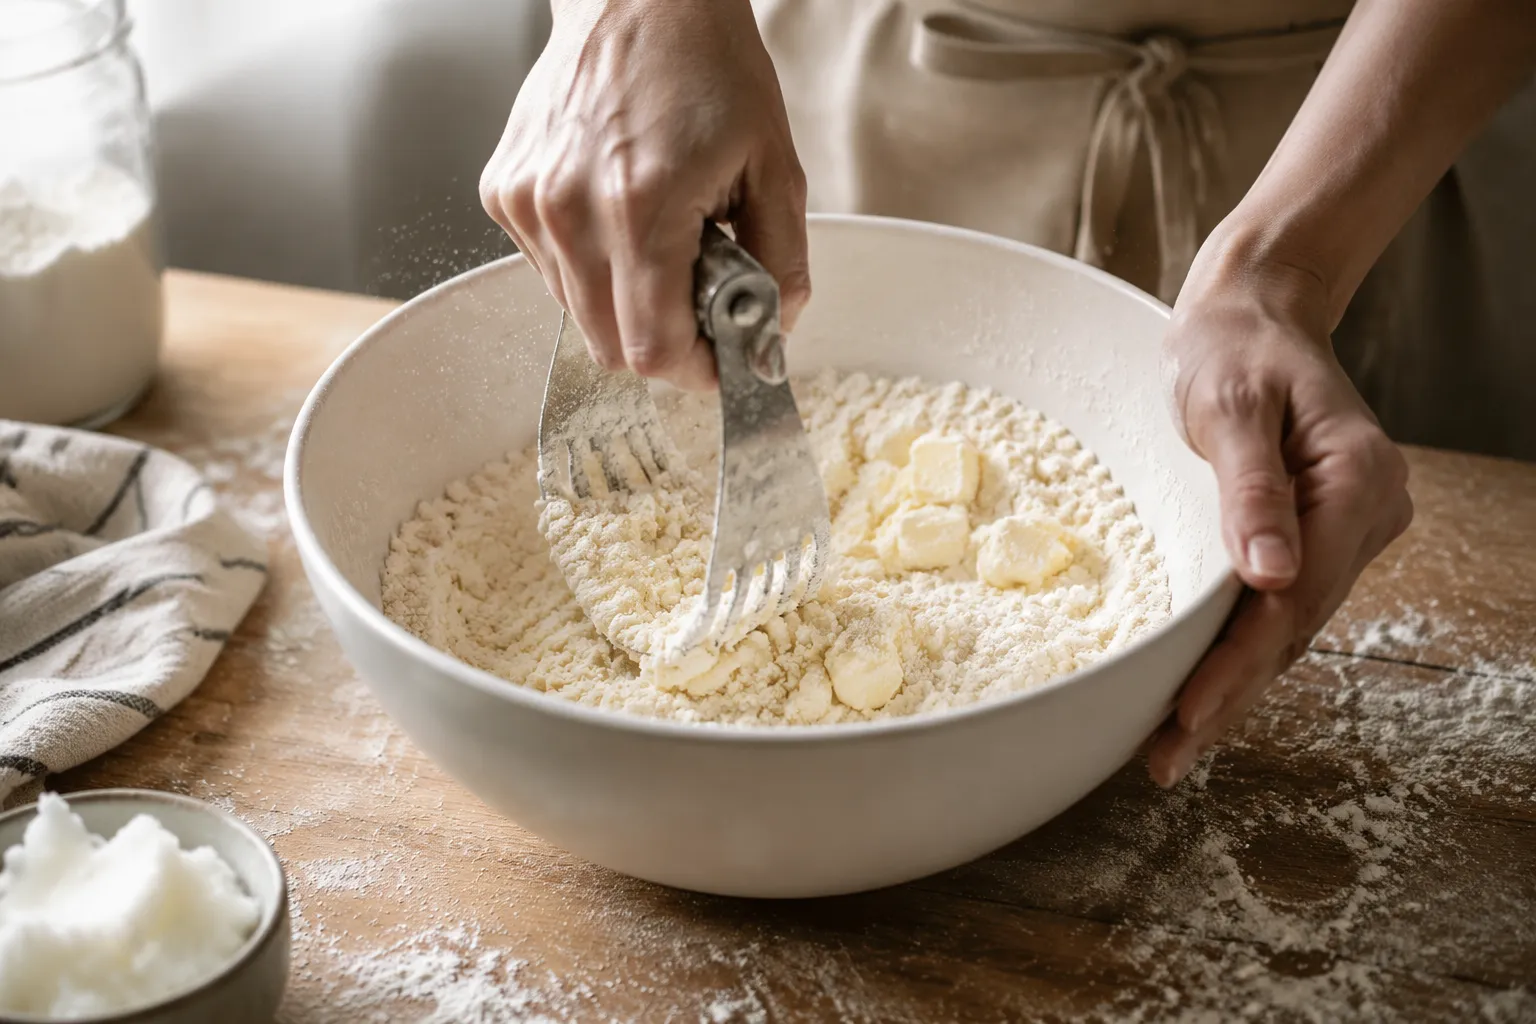
Add ice water gradually, mixing just until the dough holds together when squeezed. It should not feel wet or smooth like bread dough; a slightly rough, marbled dough is exactly right. Once it comes together, divide it into six portions, flatten each into a disk, wrap, and chill so the flour can hydrate and the fat can firm back up.
When rolling, aim for circles about 8 inches wide. A little rustic unevenness is part of the charm, but try to keep the thickness consistent so the edges bake at the same pace as the center. Dust the counter lightly, rotate the dough often, and avoid adding so much flour that the pastry turns dry.
The filling goes into the pastry raw, which is one of the best things about this style of hand pie. There’s no skillet step, no cooling a hot filling, and no thick sauce to manage. Instead, the small cubes of beef, potato, rutabaga, and onion cook together inside the sealed pastry, almost like a tiny covered roast dinner.
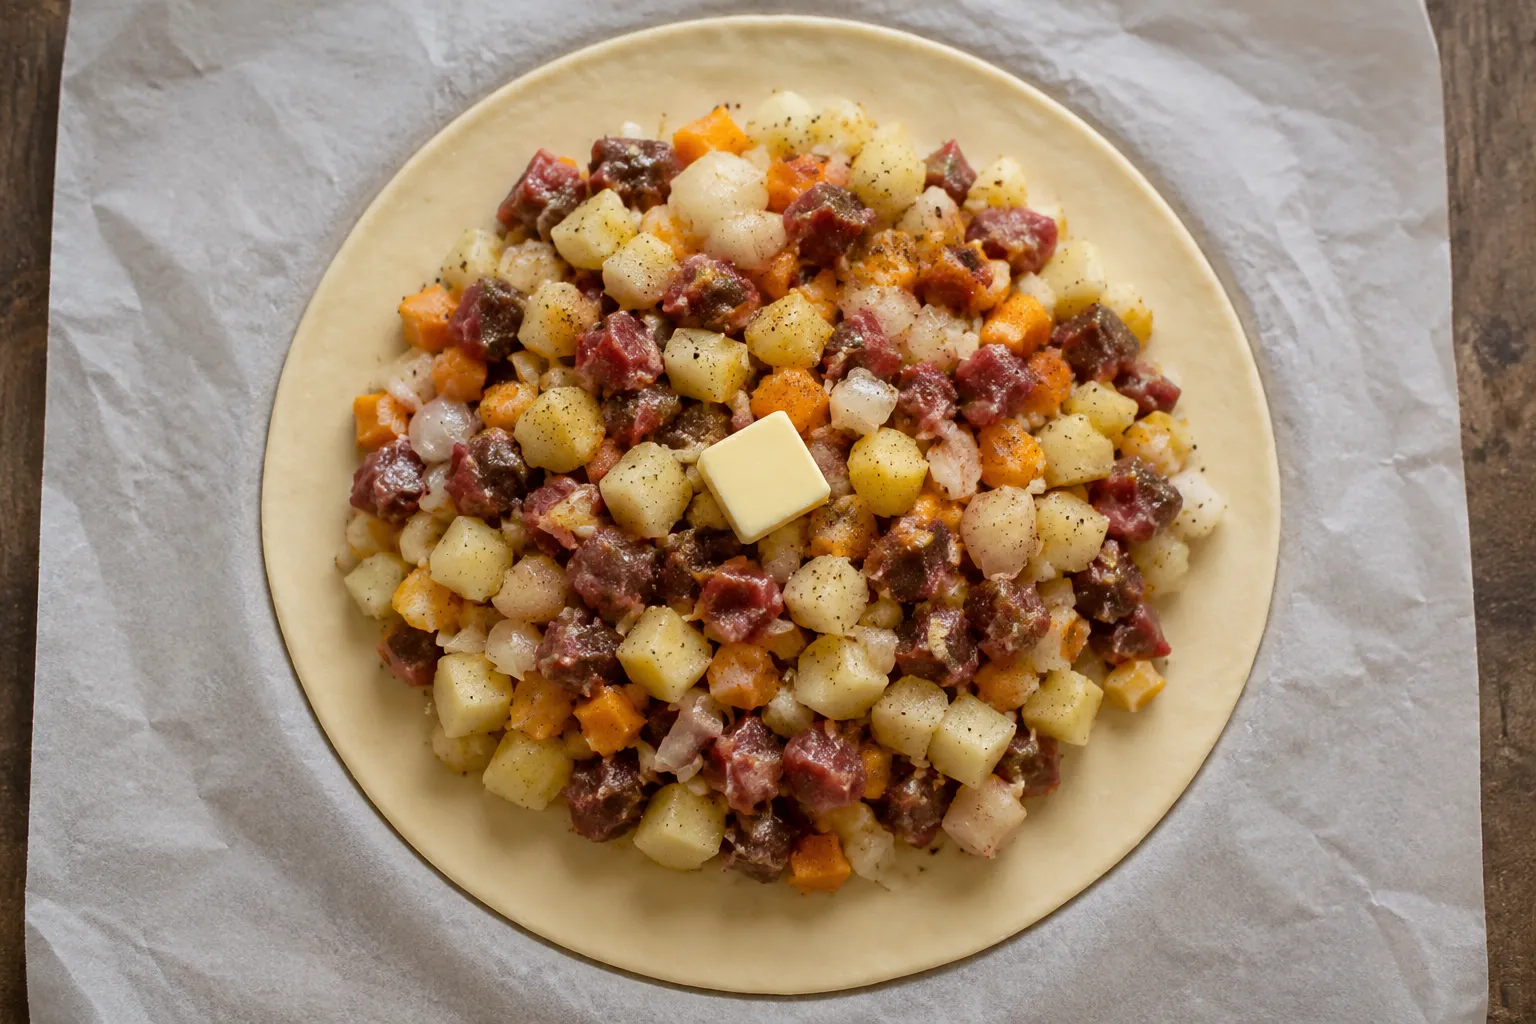
The key is size. Cut everything small — about 1/4 to 1/3 inch — so the vegetables become tender in the same amount of time it takes the pastry to brown. Larger chunks may remain firm, especially the rutabaga, which is denser than potato and needs a little extra care with the knife.
Toss the filling with salt and pepper right before assembling so it doesn’t sit too long and release excess liquid. A small pat of butter on top of each mound melts into the filling as it bakes, enriching the beef juices and helping the vegetables taste lush without making the pastry soggy. For anyone who loves beef hand pies, this no-pre-cook method delivers deep, savory flavor with surprisingly little fuss.
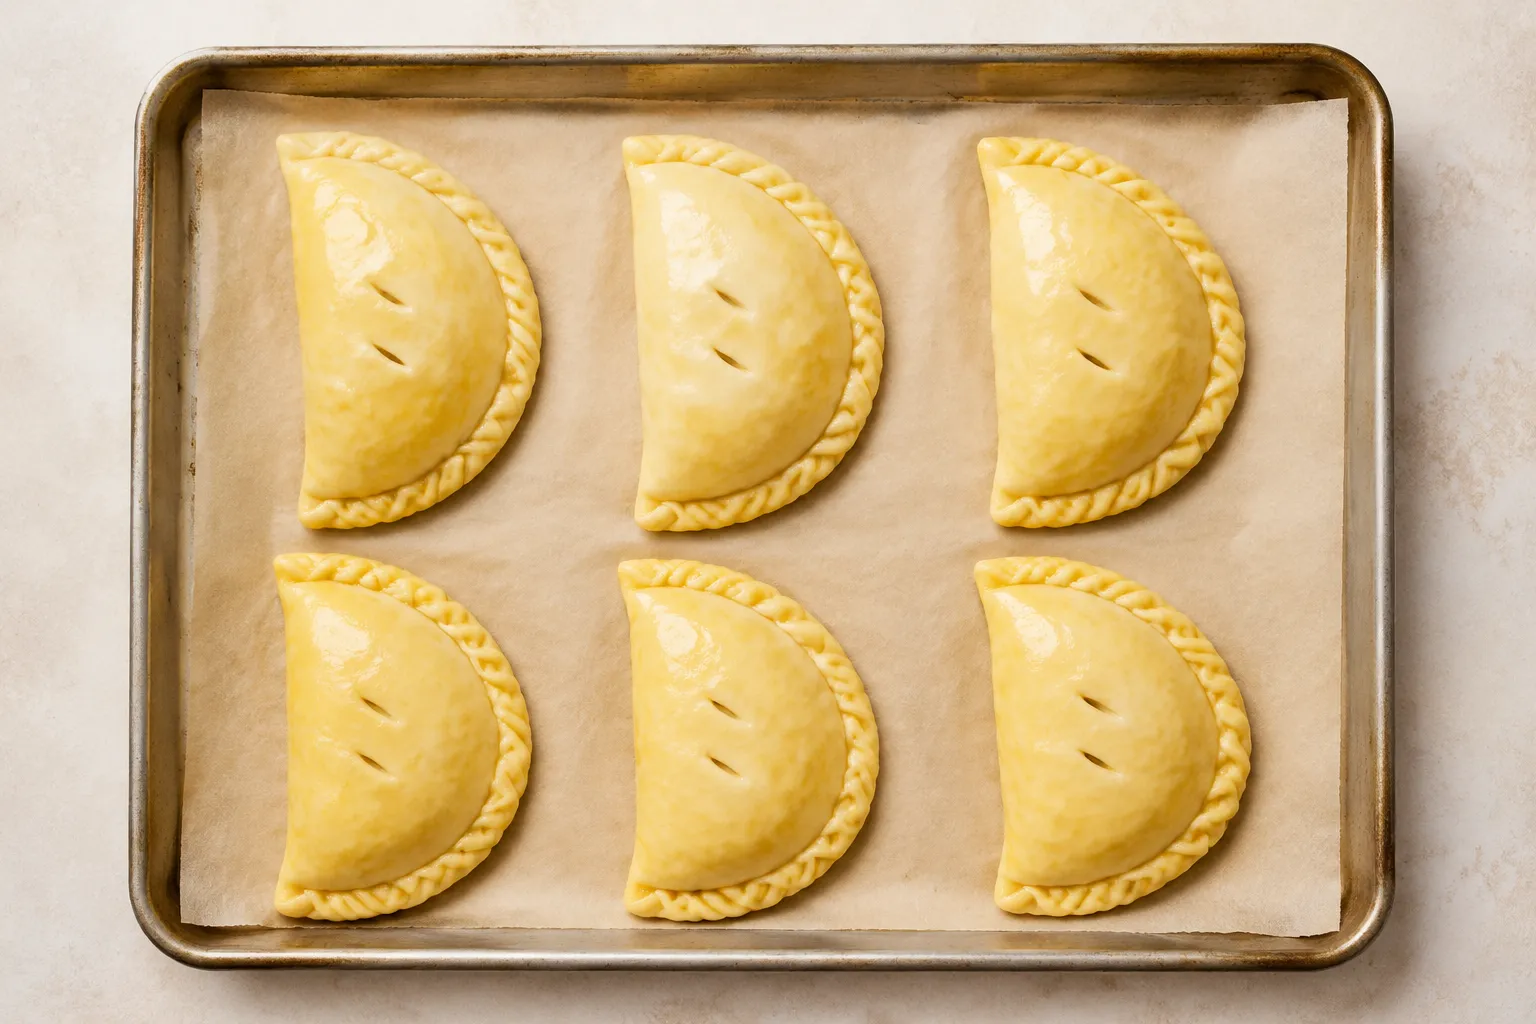
To shape each hand pie, mound the filling slightly off-center on a rolled dough round, leaving a clean border for sealing. Fold the dough over to form a half-moon or D shape, then press the edges together firmly to trap steam and juices inside. If the dough resists or cracks, give it a minute to soften at room temperature before continuing.
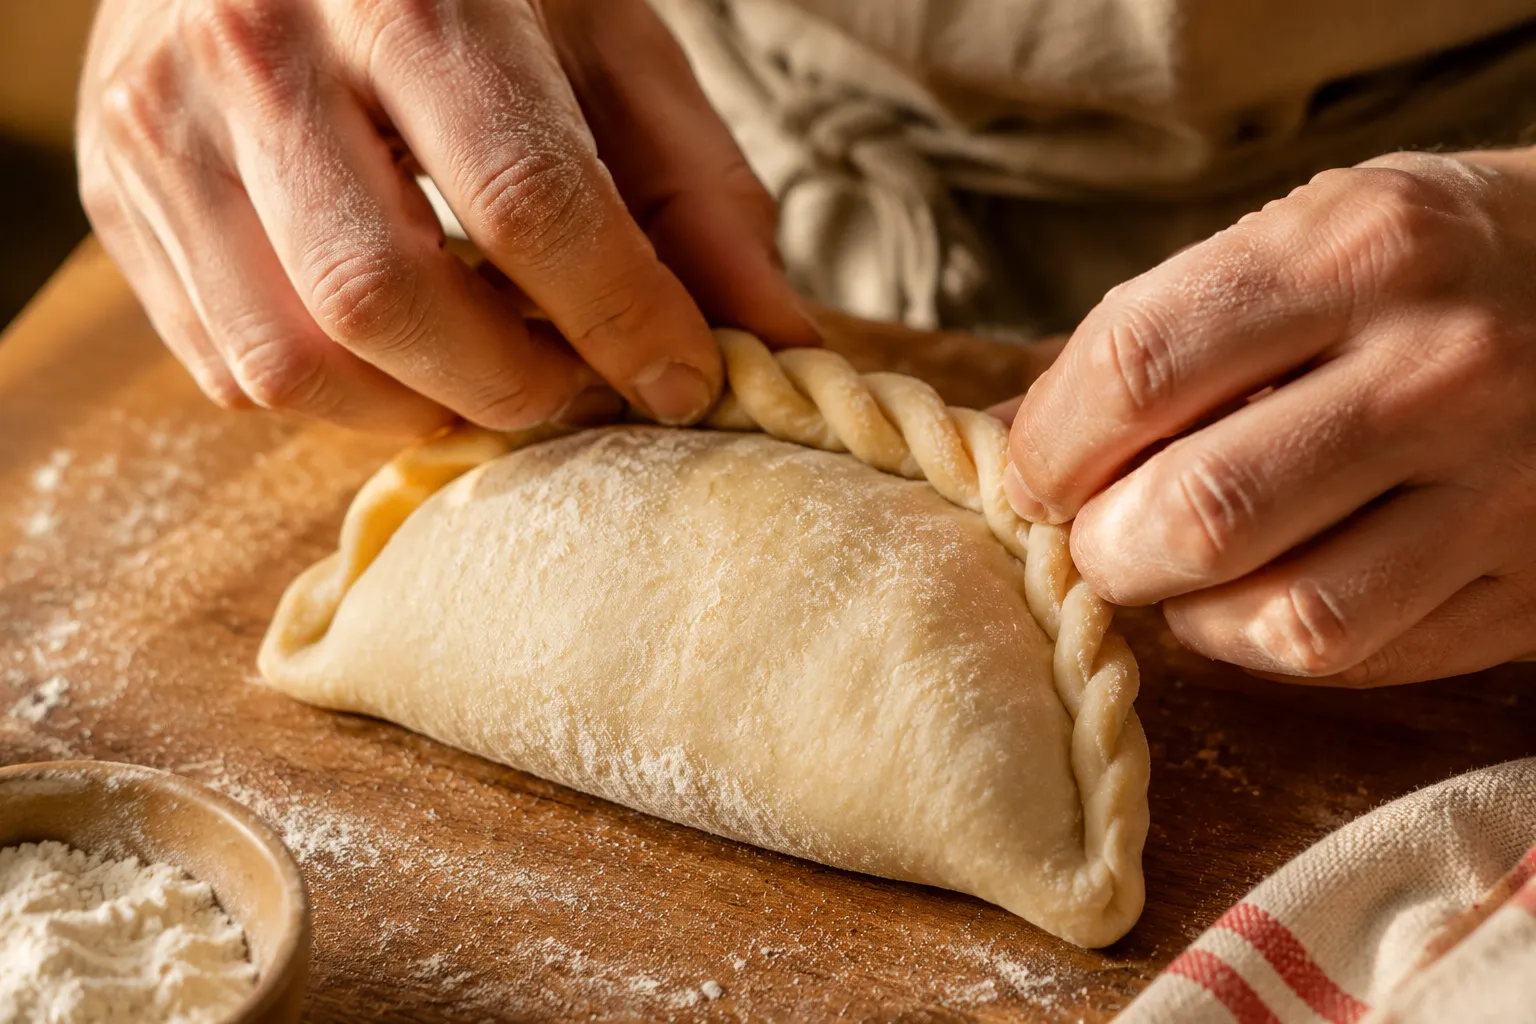
The crimped edge is more than pretty — it reinforces the seam so the filling stays tucked in while the crust expands in the oven. You can make a simple fork crimp if that feels easiest, or use the traditional rope-style fold by turning the edge over itself in small overlapping sections. Either way, keep the seal snug and even.
Before baking, brush the tops with egg wash for shine and cut small steam vents into each pastry. The vents allow moisture to escape so the crust bakes crisp instead of ballooning or splitting randomly. This is also your moment to tidy any uneven edges, though a homemade look is very much part of the appeal.
Bake on a parchment-lined sheet pan until the crust is burnished and the filling is fully cooked. The first blast of heat helps set the pastry, then the longer bake gives the root vegetables time to soften all the way through. If the tops brown quickly, tent loosely with foil and continue baking until the filling is tender.
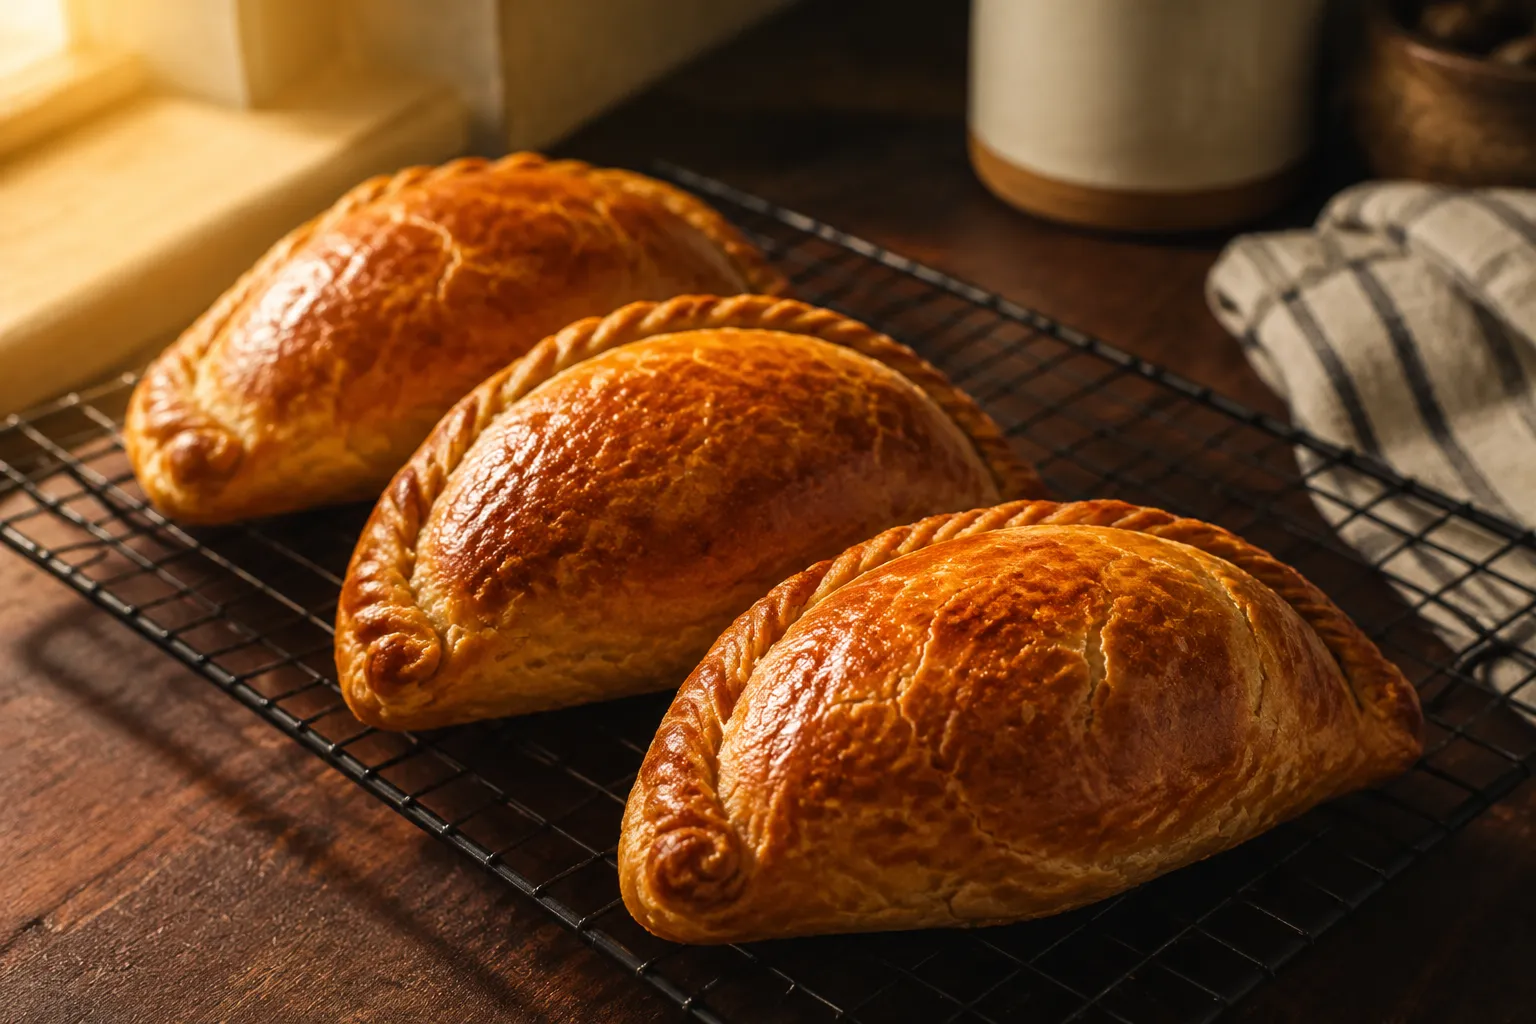
The hardest part is waiting. Let the baked hand pies rest for at least 10 minutes before serving, because the filling will be extremely hot and the juices need a moment to settle. During that rest, the crust firms slightly, making each pastry easier to pick up without losing those beautiful flakes.
Look for a crust that is golden brown from top to bottom, not pale at the crimp or soft underneath. If your oven runs cool, an extra 5 to 10 minutes can make a big difference. A well-baked crust should feel crisp on the outside and tender where it meets the savory filling.
Serve warm from the oven, tucked into a napkin for a simple lunch or plated with something saucy and comforting. In Cornwall, a good pasty needs no topping at all; in the Upper Midwest, you’ll often see it with ketchup, brown gravy, or even a pat of butter melting over the top. I like gravy on cold evenings and ketchup for a quick lunch, which may not settle any regional debates but does make dinner very happy.
For sides, keep things simple. A crisp green salad, roasted cabbage, pickled vegetables, or a bowl of tomato soup all play nicely with the rich pastry. If you’re making a larger pub-style supper, pair them with peas, mashed root vegetables, or a tangy slaw to cut through the buttery crust.
These are also excellent picnic food because they’re delicious warm, room temperature, or gently reheated. Wrap one in parchment, add an apple or a pickle spear, and you have the kind of hearty lunch that feels both nostalgic and wonderfully useful. That everyday practicality is part of why this old recipe still earns a place in modern kitchens.
Let baked pasties cool completely, then store them in an airtight container in the refrigerator for up to 4 days. Reheat in a 350°F oven or toaster oven until hot in the center and crisp on the outside; the microwave works in a pinch, but it will soften the crust.
To freeze, place unbaked pasties on a parchment-lined sheet pan and freeze until solid, then transfer to a freezer bag for up to 3 months. Bake directly from frozen, brushing with egg wash first if you have not already done so, and add about 15 to 20 minutes to the baking time.