Wendy's Chili Recipe (Copycat): Better Than the Original
Ingredients
Scale
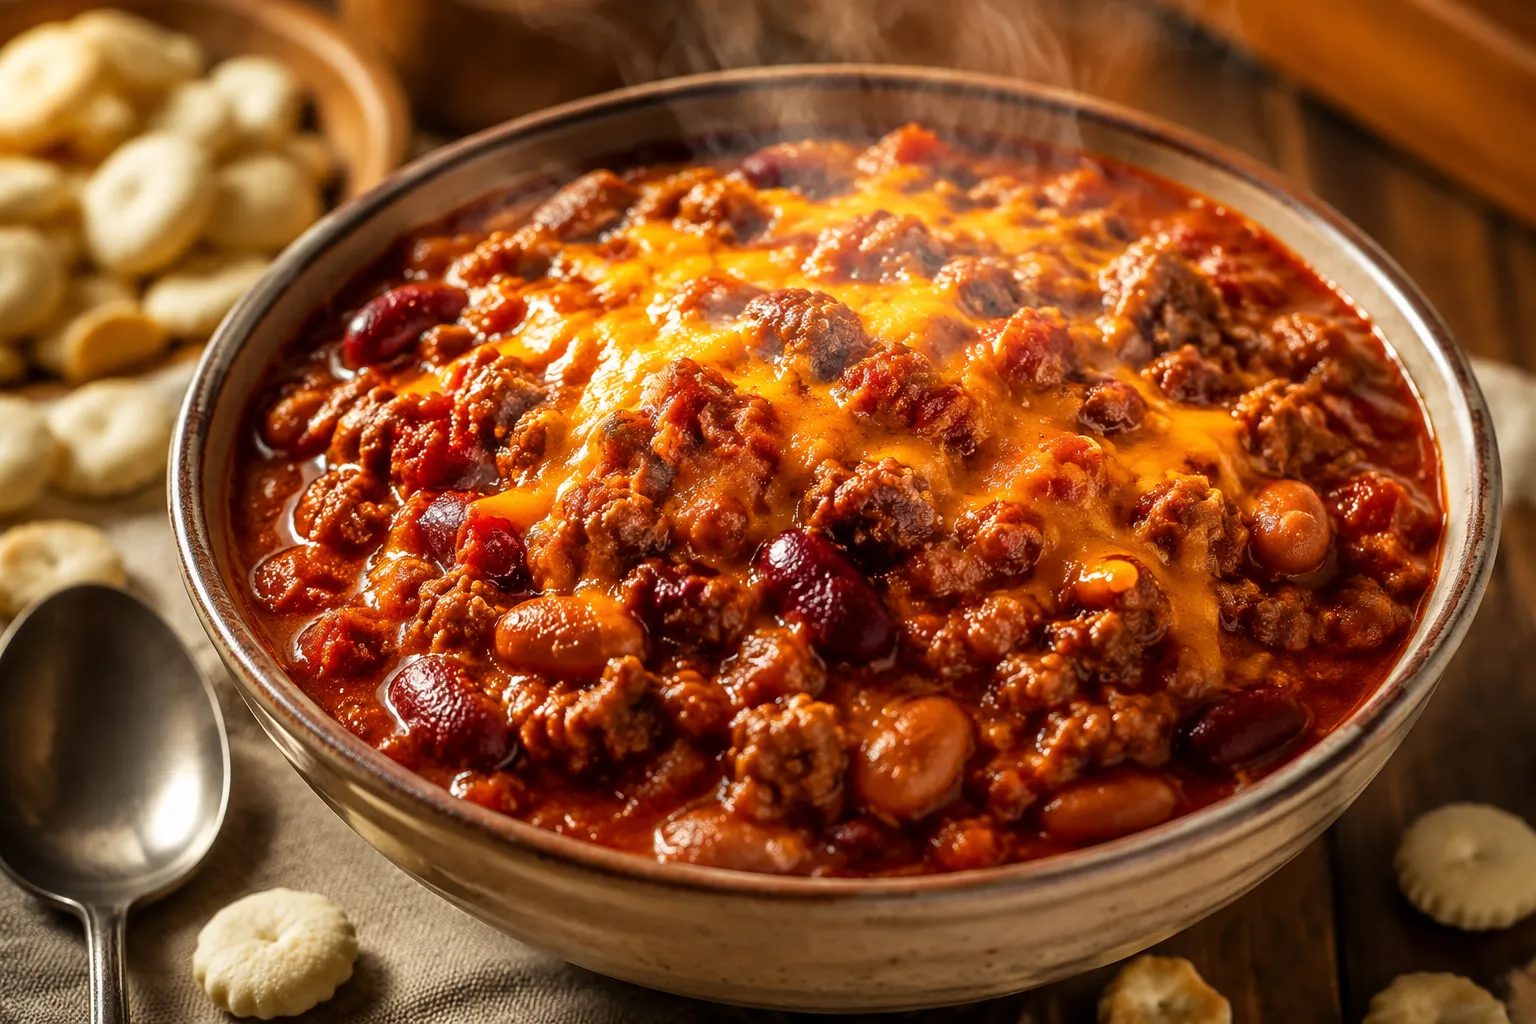
A spot-on Wendy's chili recipe you can simmer at home in one pot, with the same thick, beefy, lightly spiced flavor you remember from the drive-thru.
This wendy's chili recipe is the one I keep coming back to whenever the weather turns and I want something that tastes like a long drive home with a square cheeseburger riding shotgun. It nails the thing Wendy's gets so right: a thick, tomato-forward base, two kinds of beans, finely diced veggies, and a mild, comforting spice level that anyone at the table can handle. No mystery ingredients, no fussy techniques, just a single pot and about ninety minutes of mostly hands-off simmering.
I've tested this against an actual cup from the drive-thru more times than I'd like to admit, and the trick really comes down to three things: an 80/20 ground beef ratio for richness, leaving the bean liquid in the pot for body, and giving it enough time to reduce so the tomato turns silky instead of soupy. Once you've made it once, it'll slot right into your rotation alongside the other copycat fast food recipes you already love.
This is the kind of recipe that feels like a small miracle on a Tuesday. It feeds a crowd, freezes beautifully, and tastes even better on day two when the chili powder and cumin have had time to settle in.
Wendy's chili has been on the menu since 1969, and a big part of its staying power is how unmistakably not a spicy Texas chili it is. It's mild, beany, and a little tomato-heavy, more like a hearty stew than a smoky bowl of red. That balance is exactly what makes it so crave-able and so beginner-friendly: kids will eat it, picky in-laws will eat it, and you can ladle it over fries or hot dogs without overpowering them.
The other signature move is the texture. The vegetables are diced small enough that they almost melt into the sauce, the beef is broken up fine, and the beans stay whole. You get something to chew in every spoonful, but nothing dominates. Recreating that at home is mostly about restraint, no smoked chiles, no bacon, no dark beer, just clean, classic flavor.
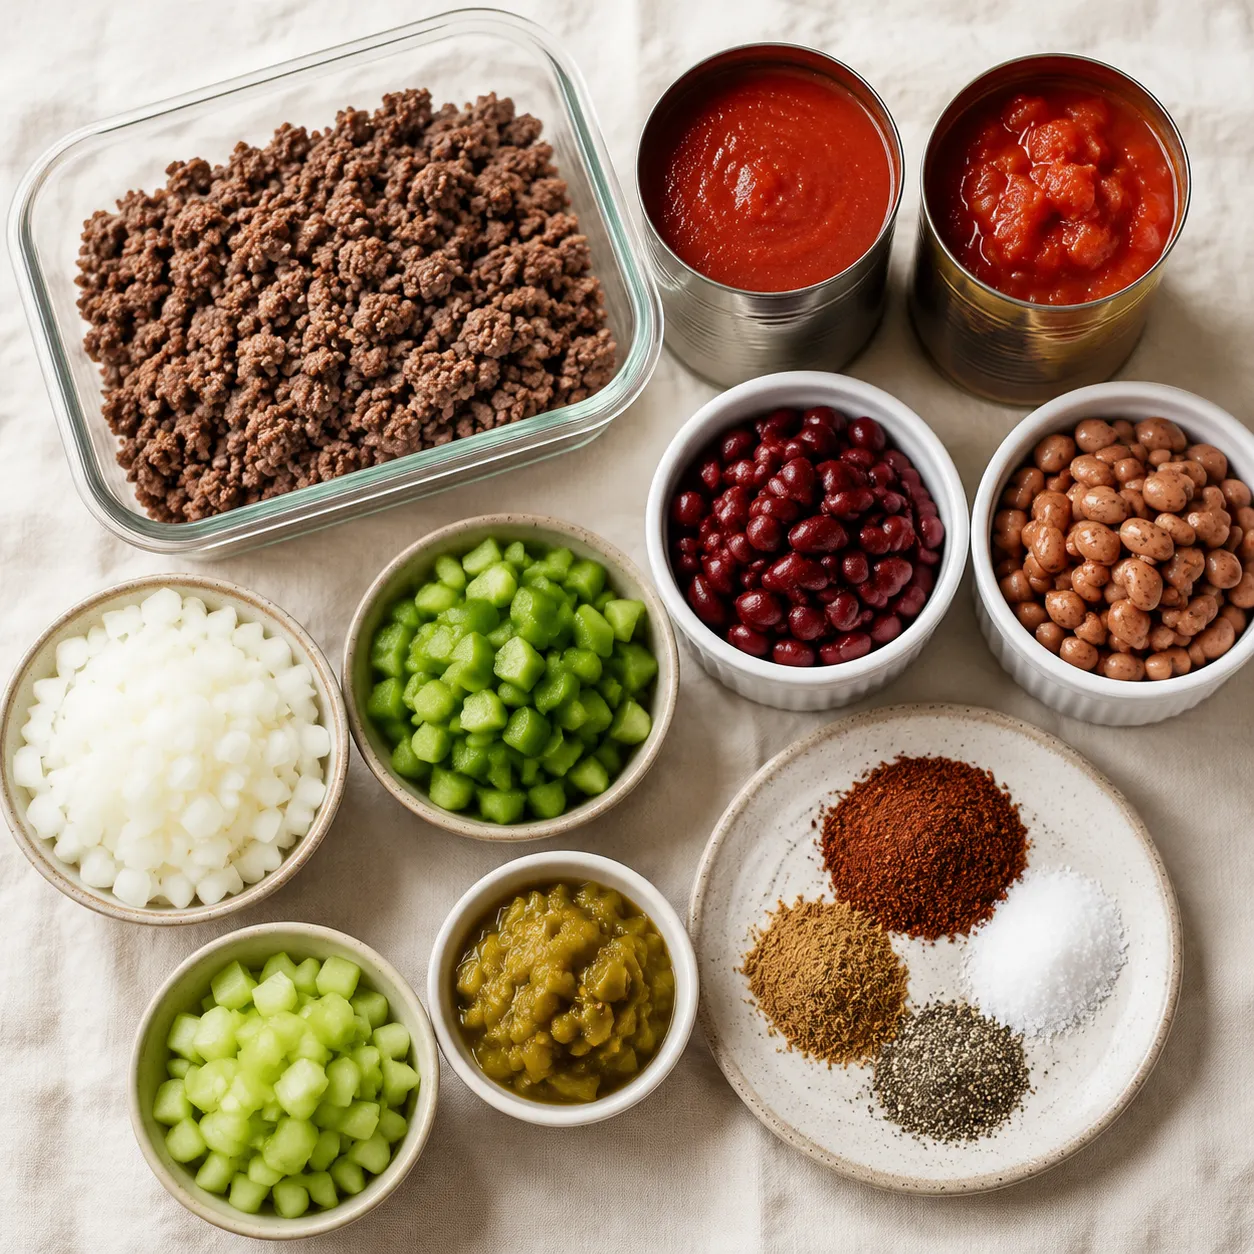
Almost everything for this wendy's chili recipe is pantry and freezer staples, which is why it's such a reliable pick for easy weeknight soups when the cupboard is looking thin. Here's what each component is doing for you, and where there's room to flex.
Ground beef. Stick with 80/20 if you can. The extra fat melts into the tomato base and gives that glossy, slightly rich sheen Wendy's is known for. Leaner beef works in a pinch, but the chili will taste a little flatter, so add a tablespoon of olive oil to compensate.
Two kinds of beans. Small red kidney beans and pinto beans, equal parts, undrained. The starchy bean liquid is doing real work here, thickening the sauce and adding savoriness. Don't drain it. If you only have one type, the recipe still works, but the dual-bean texture is what makes this taste like the original ground beef chili and not just any old pot.
Tomato sauce plus diced tomatoes. The sauce gives you smoothness and color, the diced tomatoes give you the soft little chunks Wendy's has in every cup. A 29-ounce can of each is the sweet spot for a full pot.
Onion, green bell pepper, celery, and green chiles. Dice them small, smaller than you think. They should disappear into the chili rather than stand out. The mild green chiles add a whisper of warmth without making things spicy.
The spice blend. Chili powder, ground cumin, salt, and black pepper. That's it. If you make a homemade chili seasoning blend, three tablespoons of it can stand in for the chili powder, just taste before adding more salt.
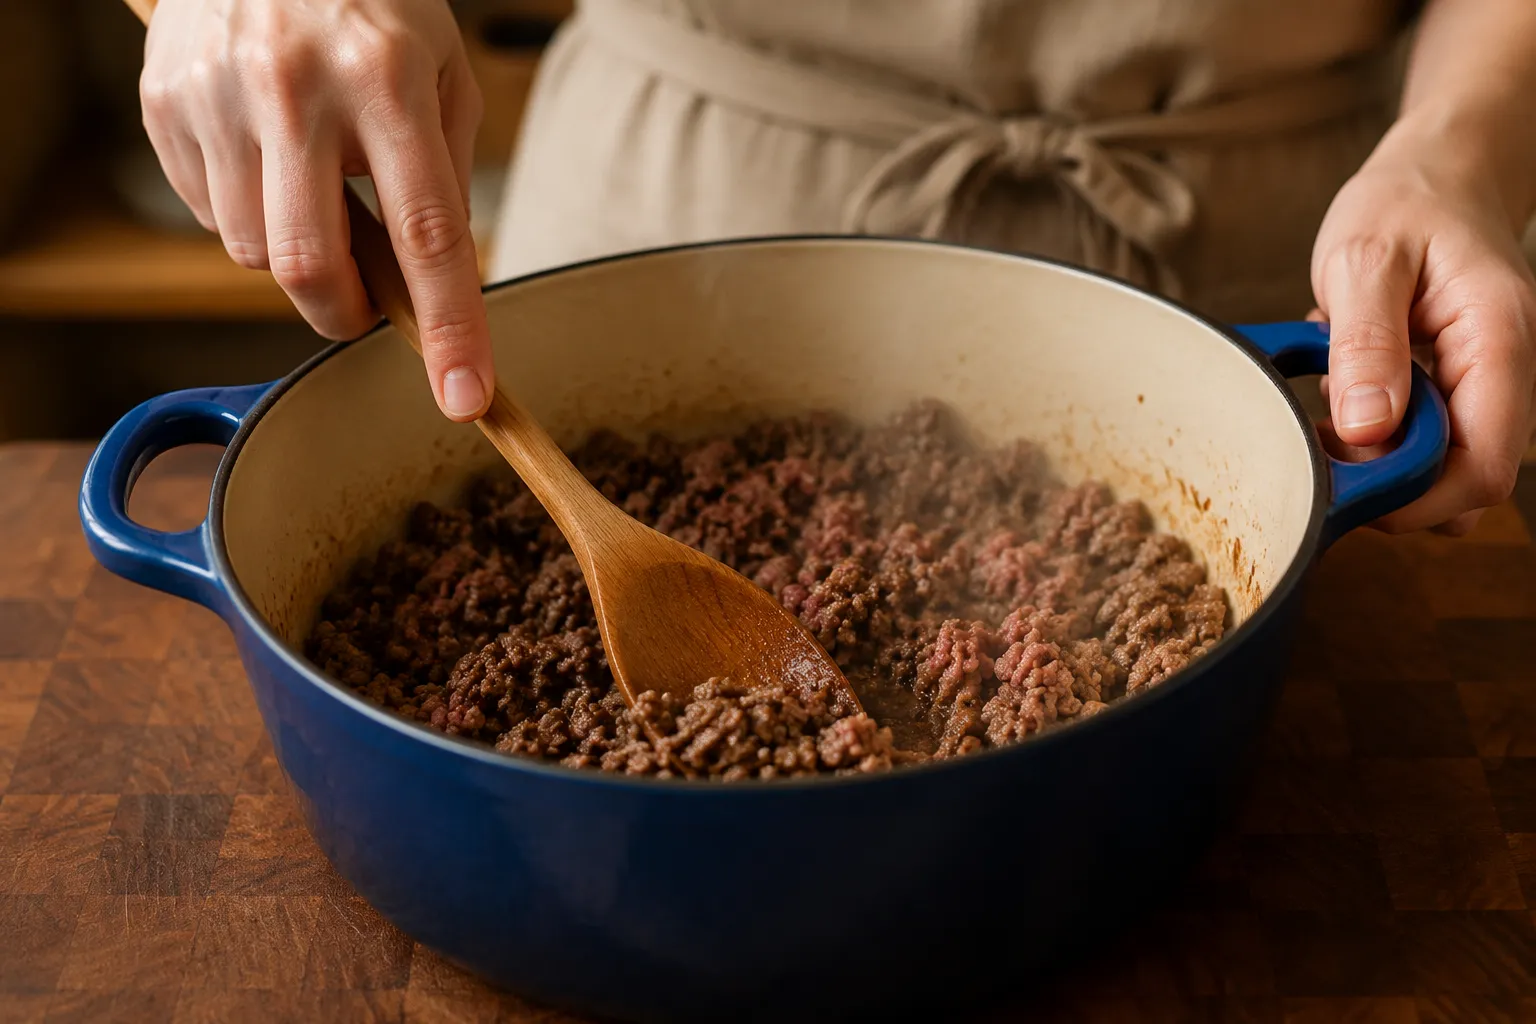
The full step-by-step is in the recipe card below, but here's the rhythm of the cook so you know what to expect. Start by browning the beef in a large Dutch oven or heavy soup pot over medium-high heat, breaking it into small crumbles as it cooks. You want real color on the meat, those browned bits are flavor, so resist the urge to stir constantly. Drain off most of the fat but leave a thin slick behind for richness.
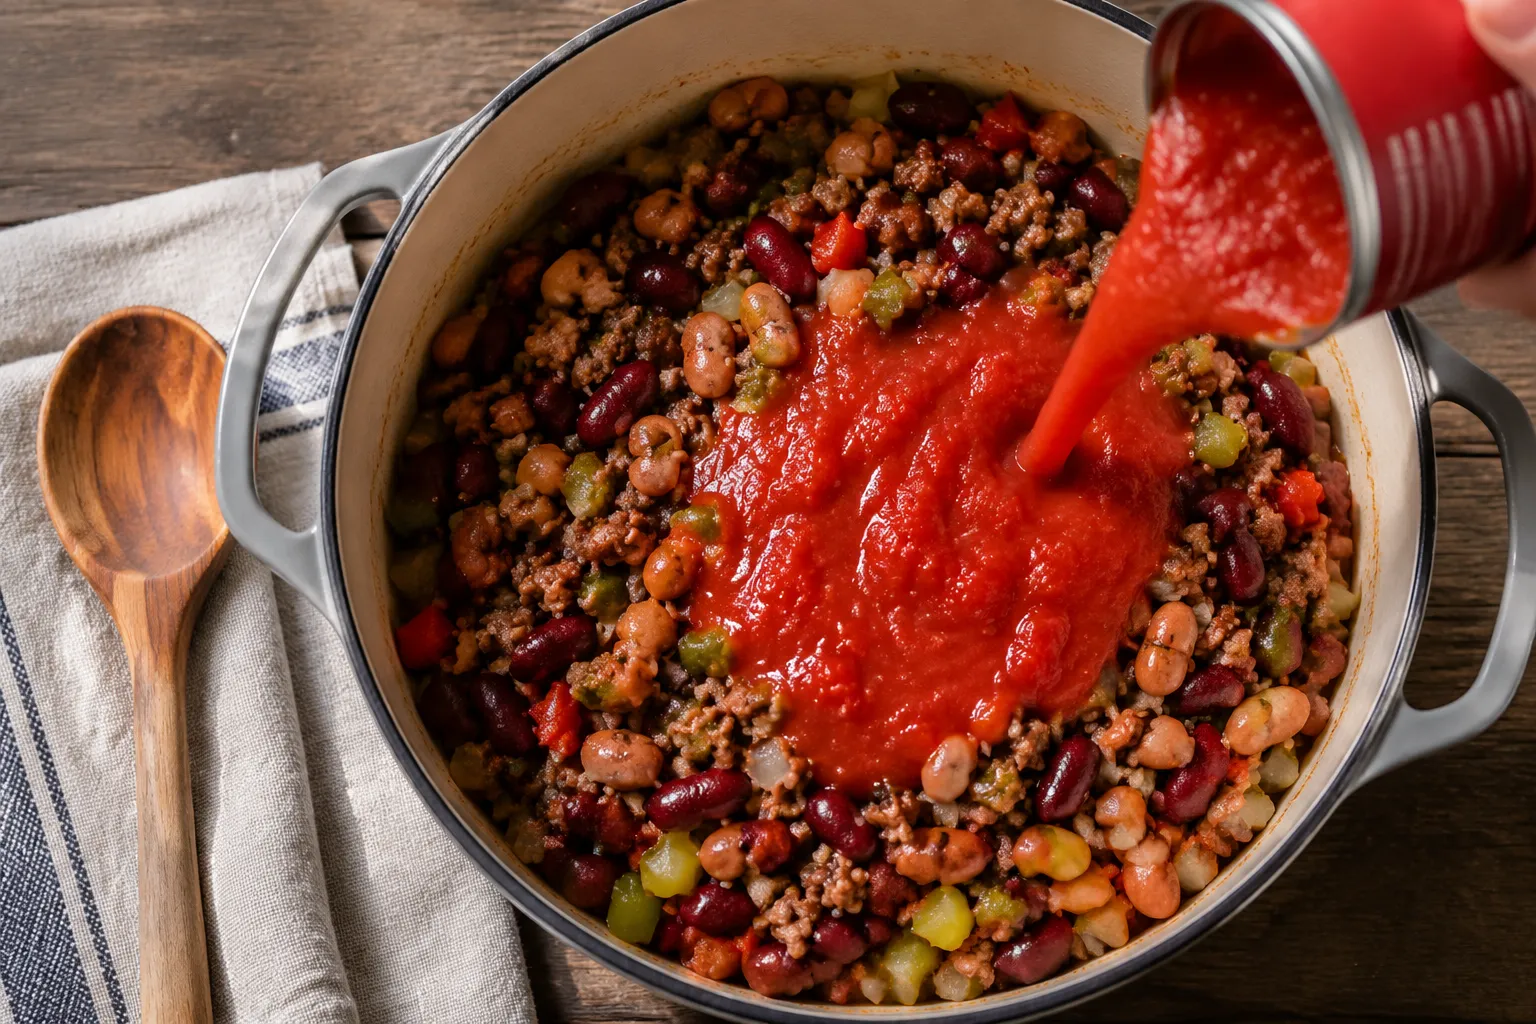
Next, add the diced onion, bell pepper, and celery directly to the pot with the beef and let them soften for about five minutes. Then in goes everything else: tomato sauce, diced tomatoes, both undrained cans of beans, the green chiles, and all your spices. Stir well, scraping up anything stuck to the bottom of the pot. This is the moment the kitchen starts to smell like a diner.

Bring the pot to a gentle boil, then drop the heat to low and let it simmer uncovered for at least an hour, stirring every fifteen minutes or so. Uncovered is non-negotiable, that's how the chili reduces and thickens to that signature consistency. If it looks too thick at the end, splash in a little water or beef broth. Too thin, give it another twenty minutes.
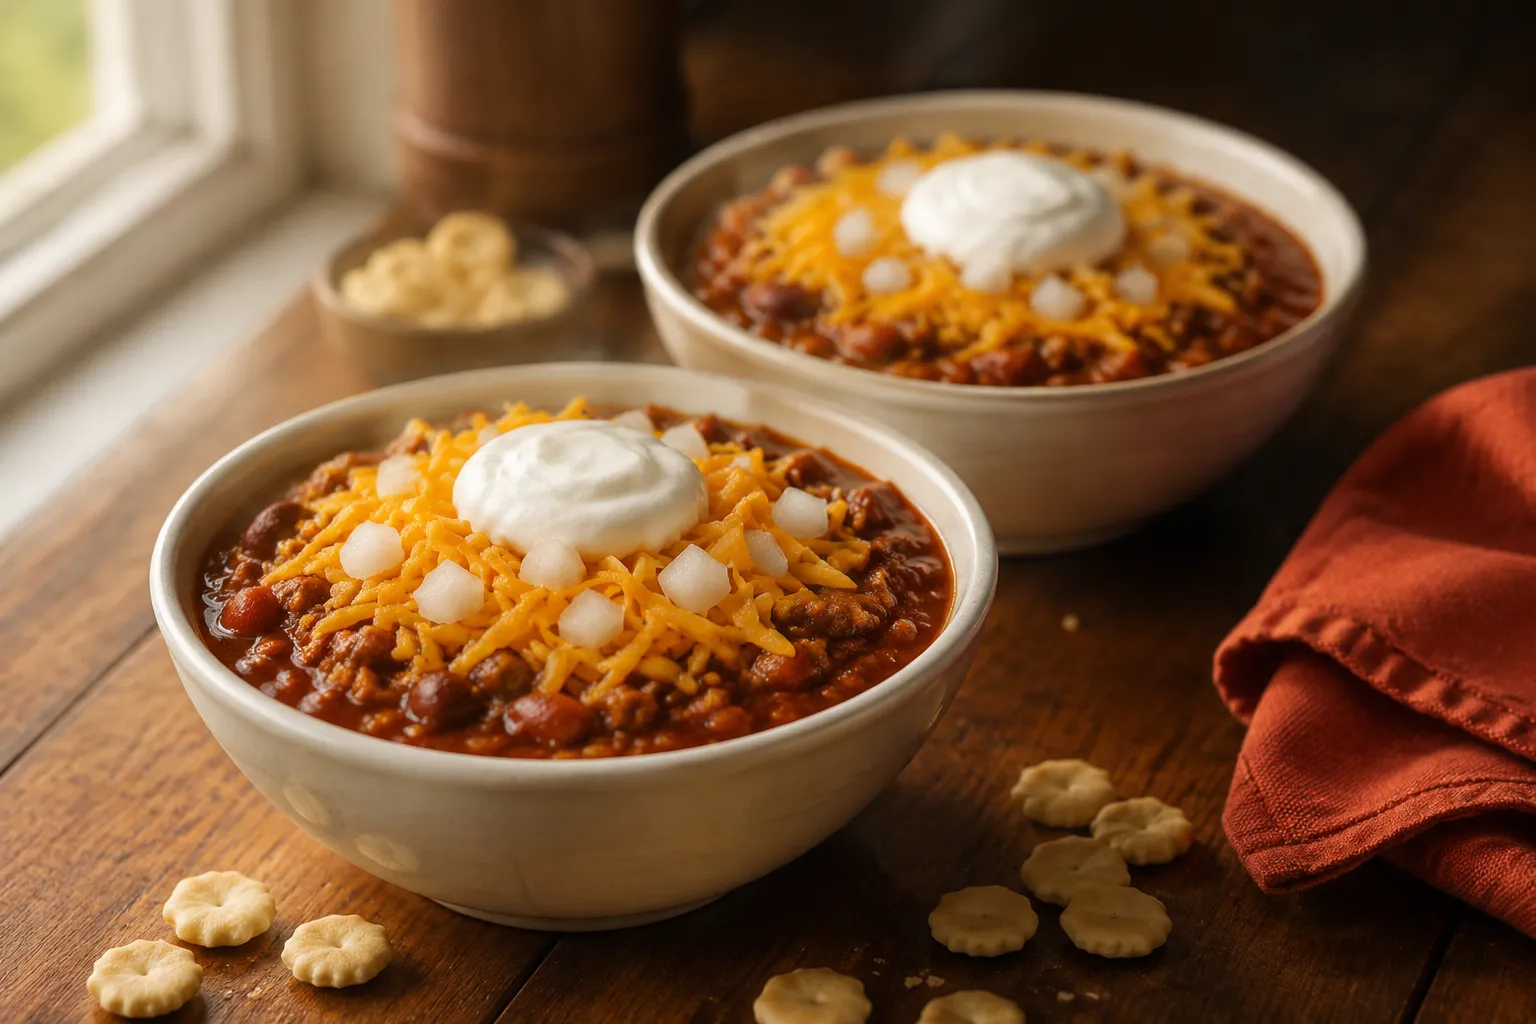
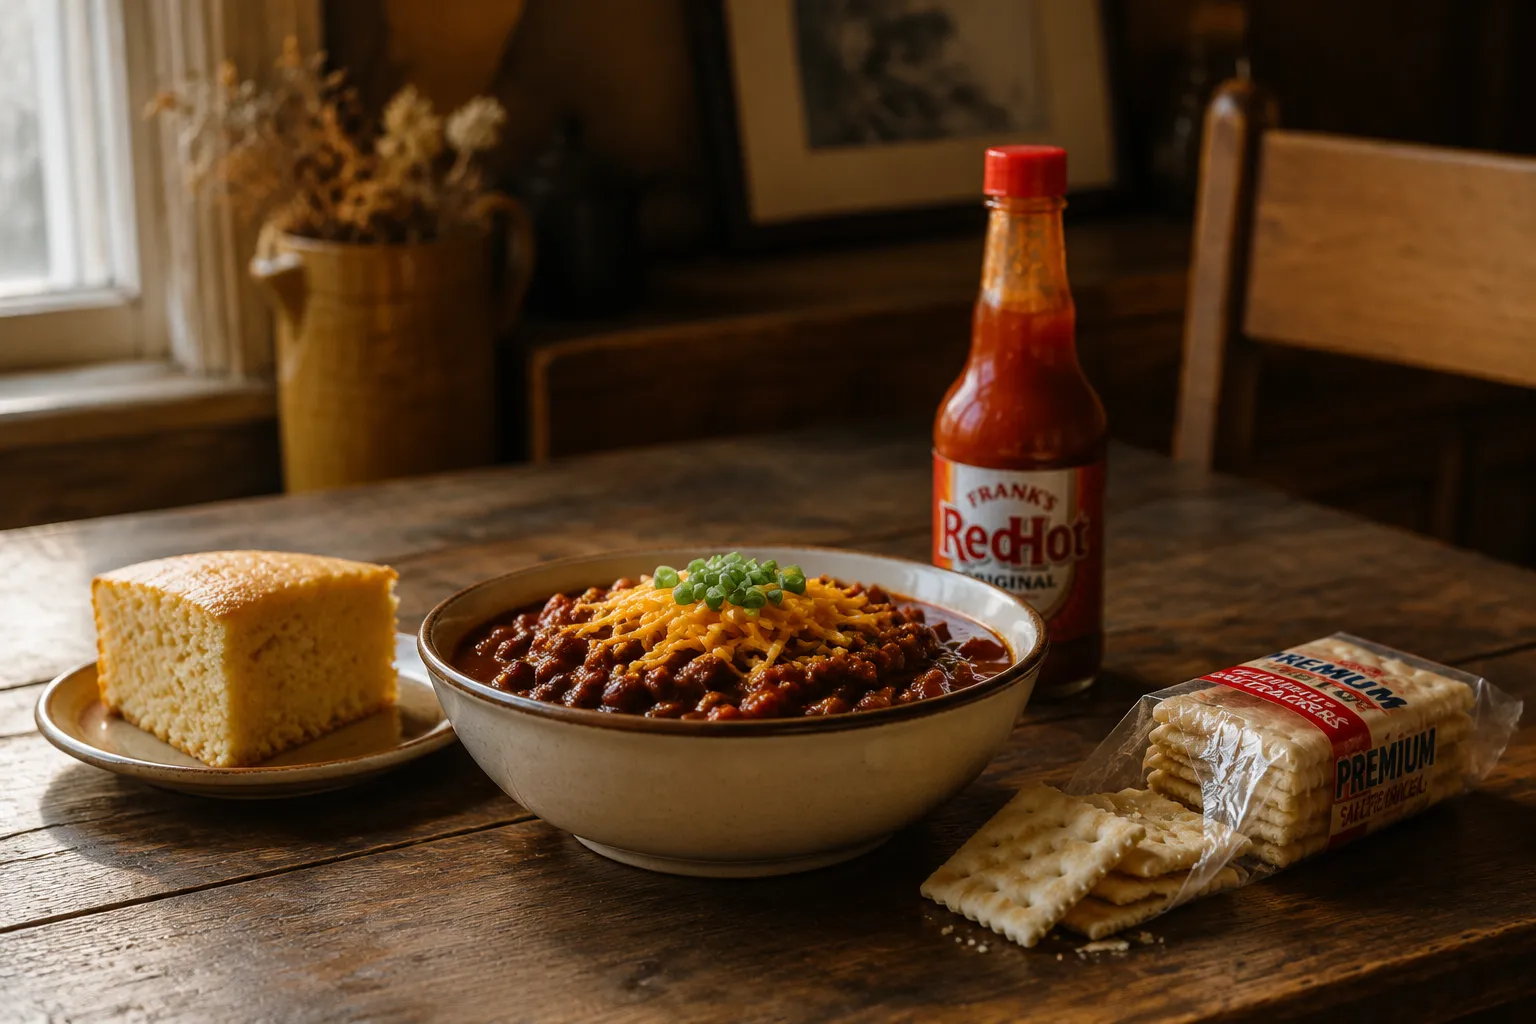
The classic Wendy's lineup is sharp shredded cheddar, finely diced white or red onion, and a small dollop of sour cream. That trio is non-negotiable in my house. From there, the world is your oyster cracker, literally, oyster crackers or saltines are the move if you want the full fast-food experience.
For something heartier, ladle the chili over baked potatoes, crinkle-cut fries, or a split hot dog with a soft bun. Cornbread side dishes are the all-American partner here, a square of buttery skillet cornbread next to a bowl of this is genuinely one of life's small pleasures. If you're feeding a crowd for game day, set up a chili bar with bowls of jalapeños, hot sauce, scallions, lime wedges, and crushed tortilla chips and let everyone build their own.
For lunches through the week, I love spooning leftover chili over a plain baked sweet potato or stuffing it into a quesadilla with extra cheese. The recipe stretches surprisingly far, and the flavor only gets better the longer it sits.
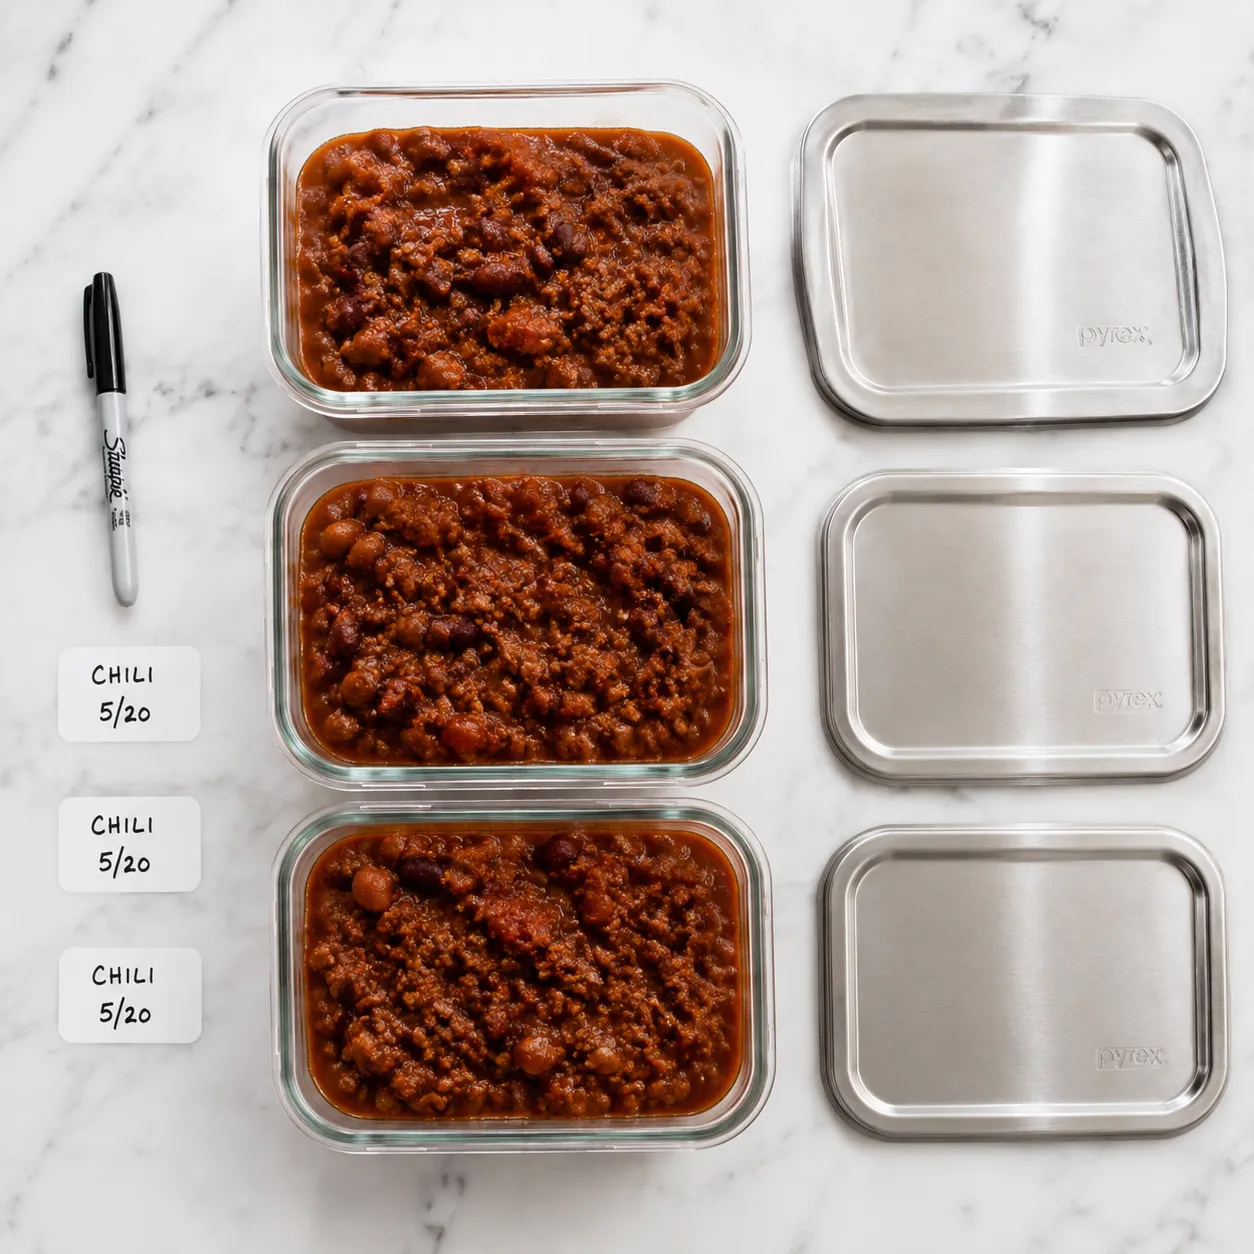
This is one of those recipes that's almost engineered for meal prep. A double batch on Sunday gives you lunches all week and a stash in the freezer for the inevitable busy night. I portion it into glass containers once it's fully cooled, label with the date, and stack them flat in the freezer so they thaw quickly. If you'd rather walk away from the stove entirely, you can also adapt this into a slow cooker chili by browning the beef first and letting everything simmer on low for six to eight hours, more on that in the variations below.
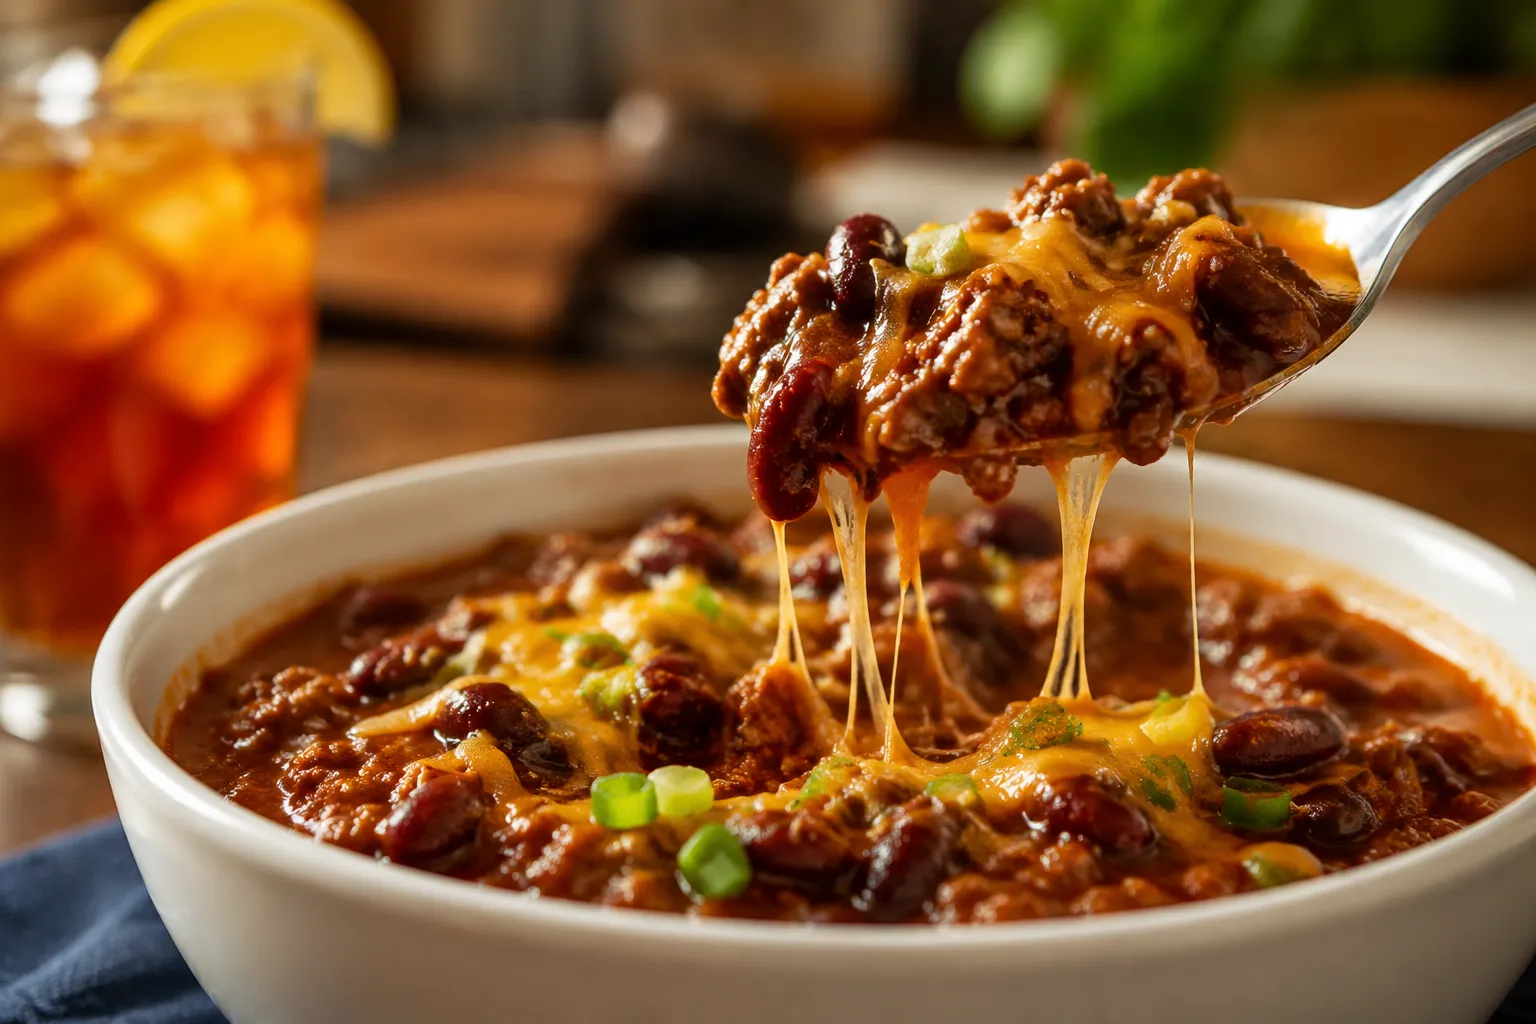
However you make it, this is the kind of one pot chili that earns a permanent spot in your rotation, the kind you stop needing to look up because your hands just know what to do. Grab a bowl, pile on the cheese, and welcome to the club.
This recipe is a great launchpad, the base is so balanced that it stands up to swaps and shortcuts without losing its character. A few favorites worth trying once you've nailed the original:
Cooled chili keeps in an airtight container in the refrigerator for up to 4 days, and the flavor genuinely improves overnight as the spices meld. For longer storage, freeze in portion-sized containers or freezer bags laid flat for up to 3 months. Thaw overnight in the fridge before reheating.
To reheat, warm gently on the stovetop over medium-low heat with a splash of water or broth to loosen it back up, stirring occasionally until heated through. The microwave works in a pinch, just cover the bowl loosely and stir every 60 seconds to avoid hot spots. Avoid boiling on reheat, it can break the beans down and make the chili pasty.