Chicken Bone Broth Recipe: Rich, Golden & Easy
Ingredients
Scale
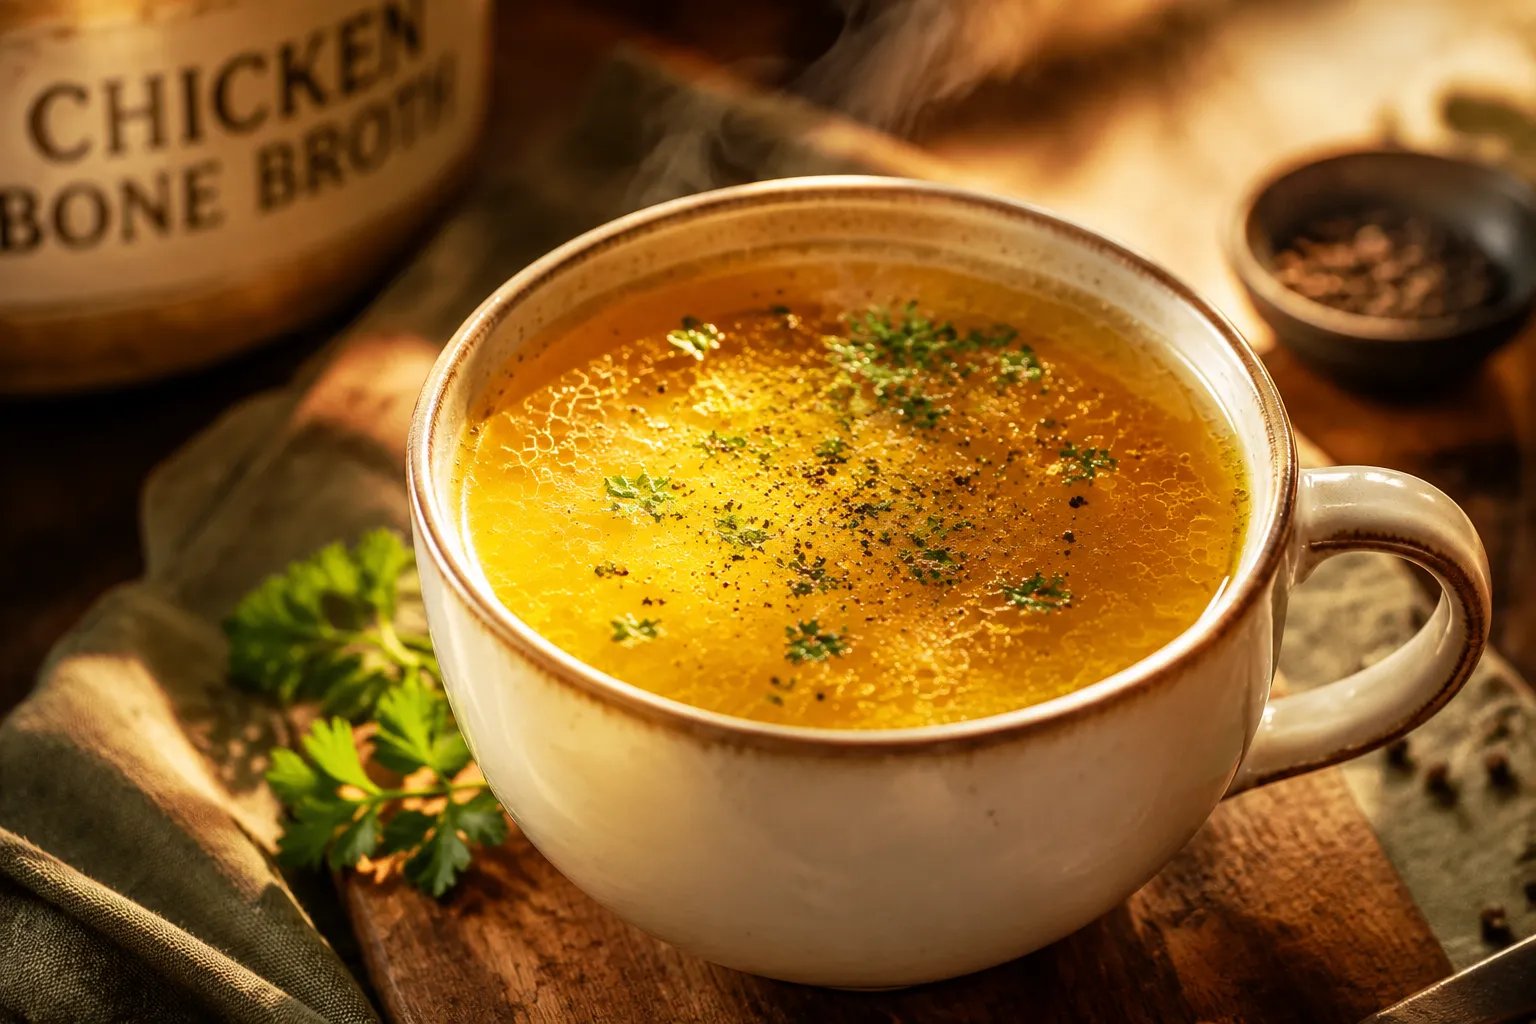
A deeply golden, gelatinous chicken bone broth recipe made with roasted bones, aromatics, and a splash of vinegar — sip it warm or use it anywhere stock goes.
This chicken bone broth recipe transforms a humble pile of leftover bones into a glossy, golden elixir that gels in the fridge and warms you from the inside out. If you've ever cracked open a cold jar of homemade bone broth and watched the spoon stand straight up out of the wobble, you know there's a quiet magic in a long, slow simmer — and once you taste a batch you simmered yourself, the cartons at the store start to feel like a different product entirely.
I started making my own broth years ago after pricing fancy refrigerated cartons at the grocery store and realizing I was tossing the good stuff (the bones) straight into the trash after Sunday dinner. Now every roast chicken becomes two meals: dinner that night and a stockpot-sized batch of liquid gold the next day. The flavor is deeper, the body is silkier, and the cost is basically zero.
Below you'll find three reliable methods (stovetop, slow cooker, and pressure cooker), the exact bone-to-water ratio that produces a wobbly, gelatin-rich set, and a troubleshooting fix for the most common homemade bone broth disappointment: a thin, flat batch that never gels.
Bone broth and stock occupy the same shelf at the grocery store, but they aren't quite the same animal. Stock is built mostly from meaty bones and aromatics simmered three to four hours, just long enough to pull flavor and a little body into the liquid. Bone broth is essentially homemade chicken stock taken to its extreme: twelve to twenty-four hours of gentle cooking that breaks down cartilage, joints, and connective tissue into rich, slurpable collagen.
That long simmer is what turns the liquid jiggly when chilled, and the jiggle is the whole point. A splash of apple cider vinegar at the start helps coax minerals and gelatin out of the bones; it's mildly acidic, then cooks off, so you won't taste it in the finished broth. And while plain broth is the workaday cousin (water, meat, vegetables, salt, ready in an hour), bone broth lands somewhere between food and supplement, with widely discussed bone broth benefits ranging from joint comfort to gut support to a hit of easy protein when you're feeling under the weather.
Practically speaking, the difference shows up in your fridge: cold stock is liquid; cold bone broth is set, like a savory aspic. Both belong in your kitchen, but only one of them is worth sipping from a mug.
The best chicken bone broth recipe starts with a generous mix of parts, not just one carcass. Aim for three to four pounds of mixed roasted chicken bones: a leftover roasted chicken carcass, plus wings, backs, and (if you can find them) chicken feet. Feet sound dramatic, but they're pure collagen and the fastest path to a deeply gelatinous broth. Most Asian markets and many farmers' market poultry vendors keep them in the freezer for a couple of dollars a pound, and they make a noticeable difference in body.
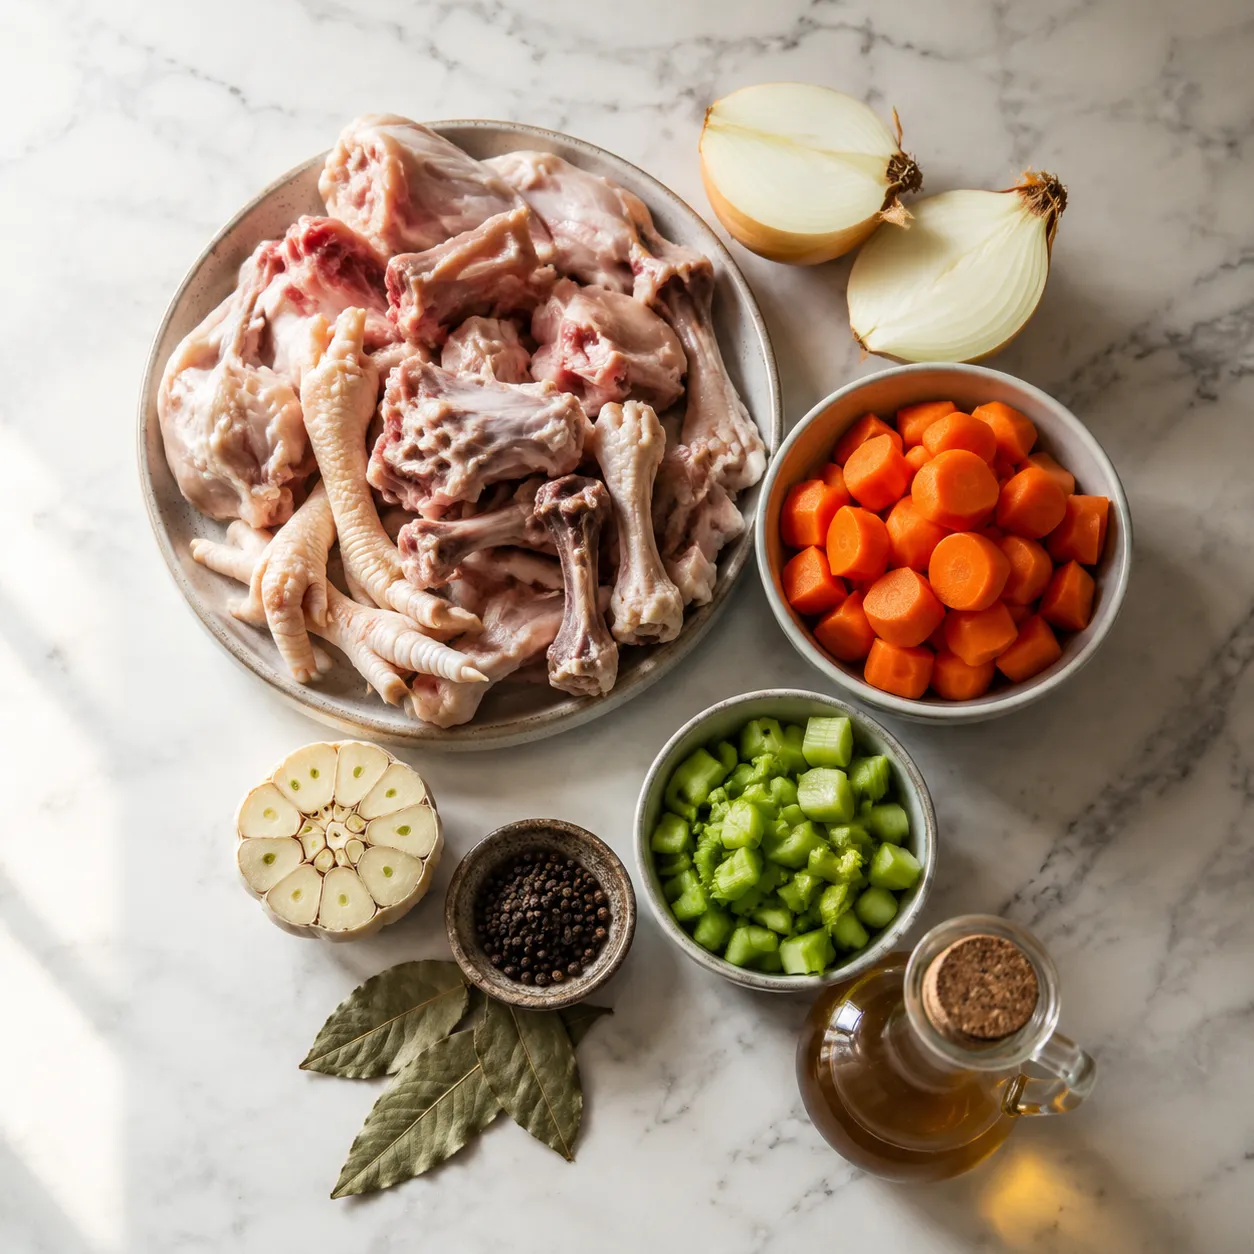
Aromatics stay simple on purpose: a quartered yellow onion (skin on, for color), two roughly chopped carrots, two celery stalks, and a head of garlic halved across the equator so the cloves can release their flavor without you having to peel a thing. Two bay leaves and a teaspoon of whole black peppercorns round things out. The only non-negotiable pantry ingredient is two tablespoons of apple cider vinegar, which sits in the cold water for the first thirty minutes to start drawing minerals out of the bones before heat even enters the picture. Skip salt for now — you'll season at the end so the broth doesn't over-concentrate as it reduces.
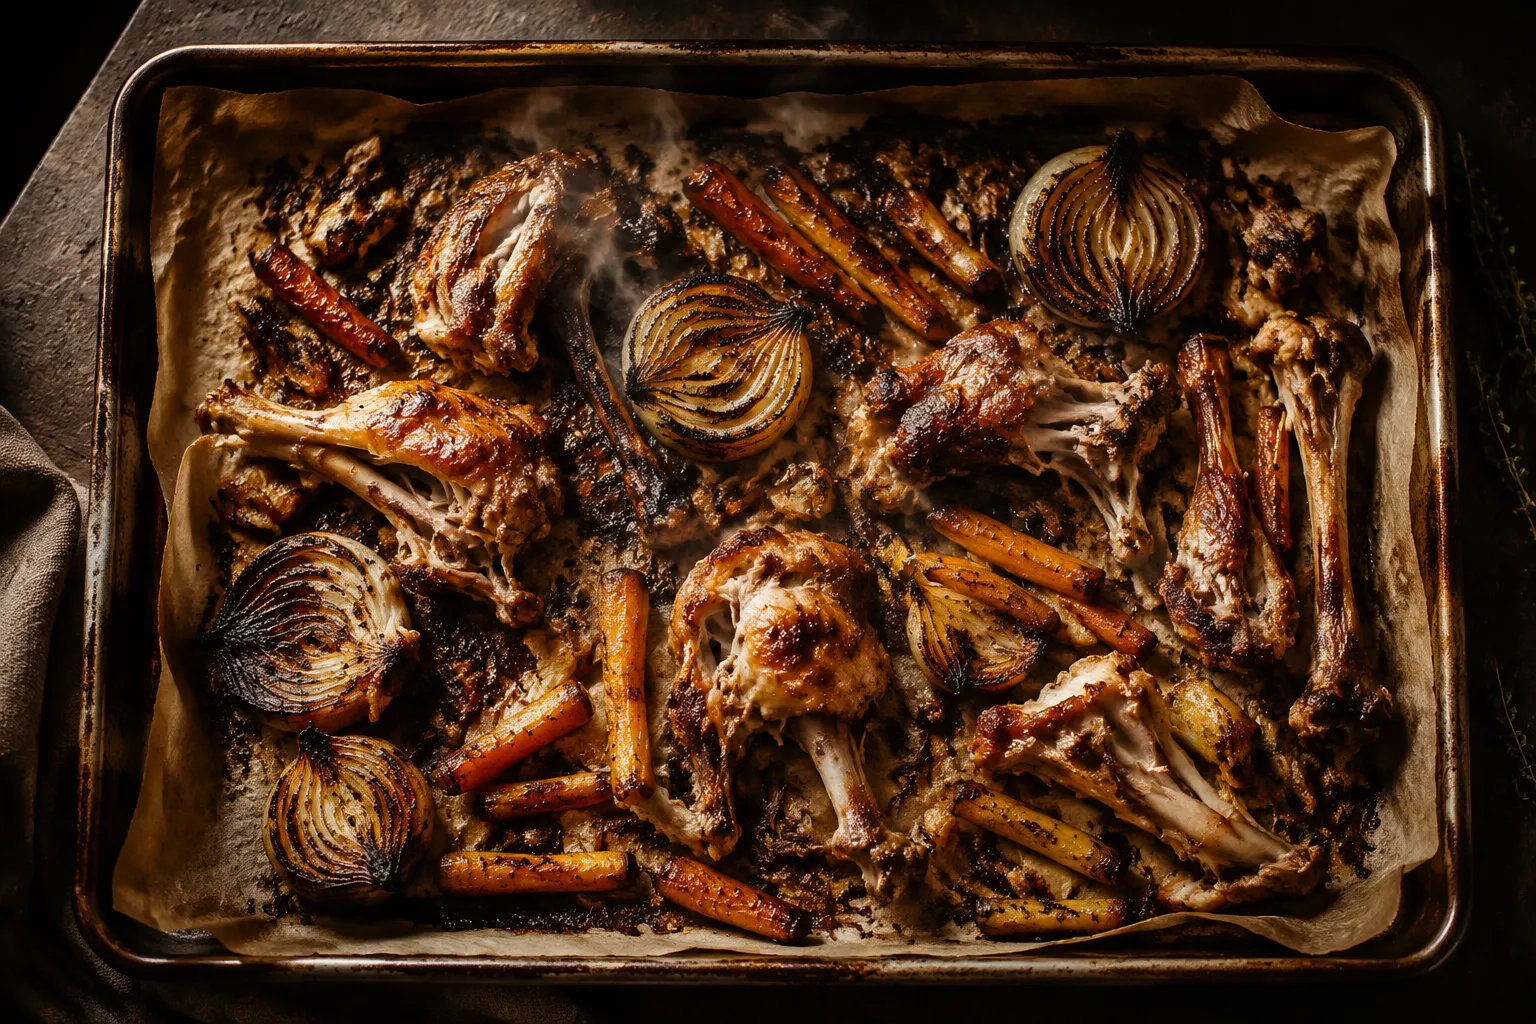
Roasting is the unskippable step. Even if your bones come from an already-roasted bird, scatter them on a sheet pan with the onion and carrots and slide the pan into a 425°F oven for thirty to forty minutes, until everything is deeply browned and a little caramelized at the edges. This is where the broth's golden color and savory depth come from; pale roasted bones make pale broth.
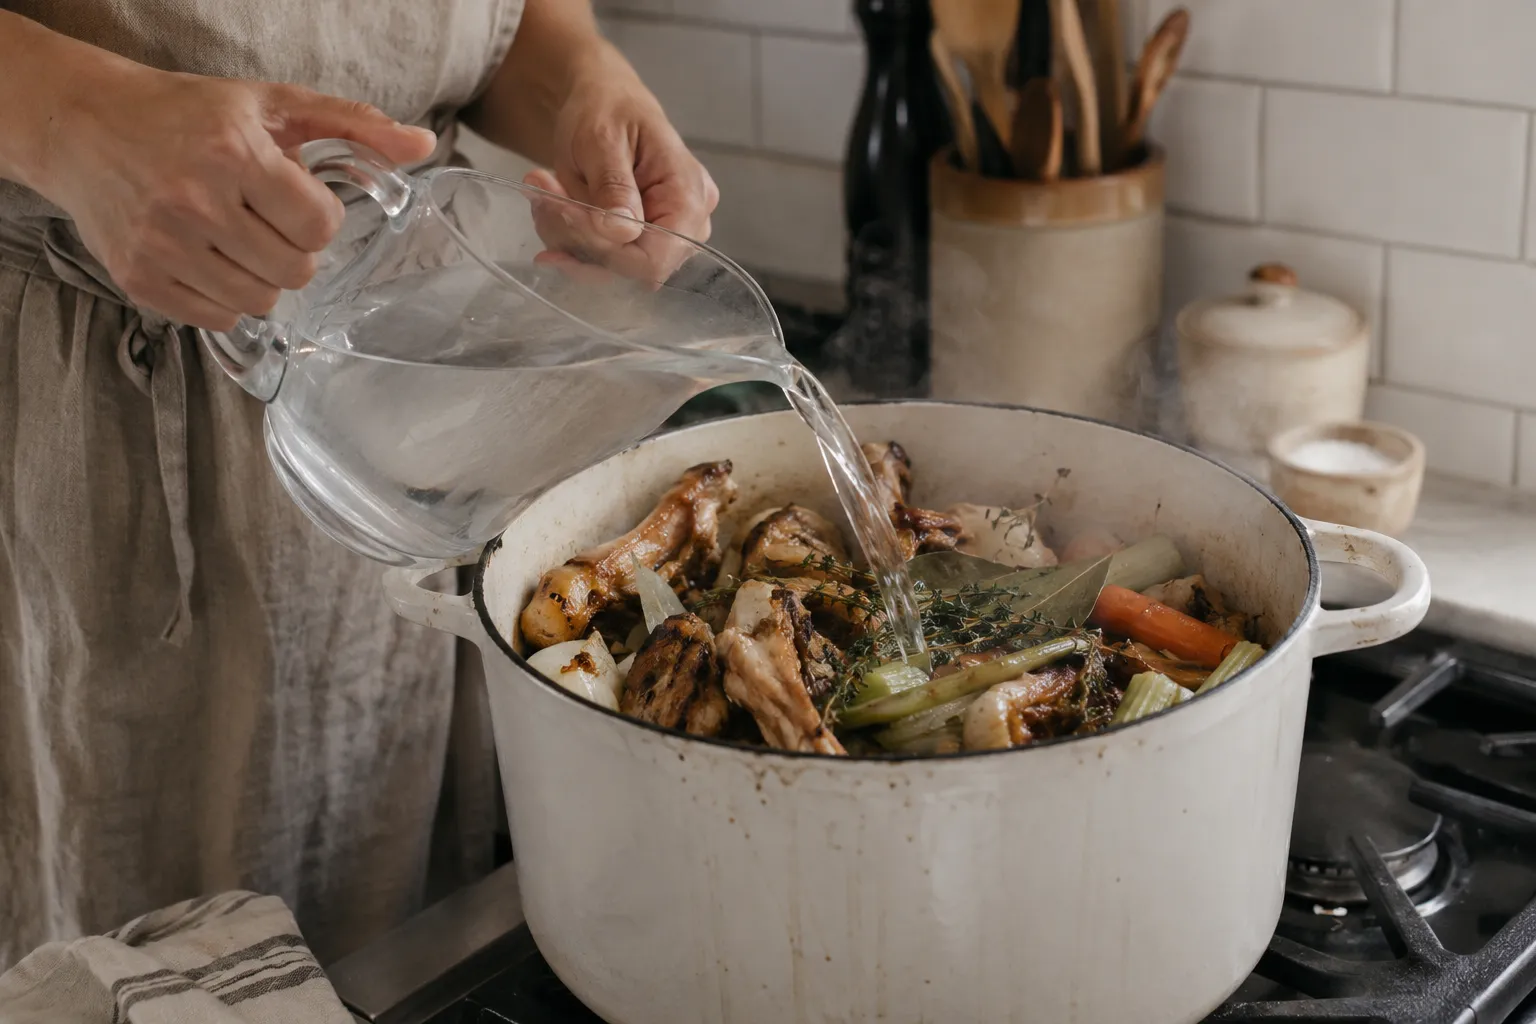
Transfer the roasted bones and vegetables to a heavy six- to eight-quart stockpot, scraping every browned bit and drop of fat from the pan into the pot. Add the celery, garlic, bay leaves, peppercorns, and apple cider vinegar, then cover with about twelve cups of cold filtered water — just enough so the bones are submerged but the pot is no more than two-thirds full.
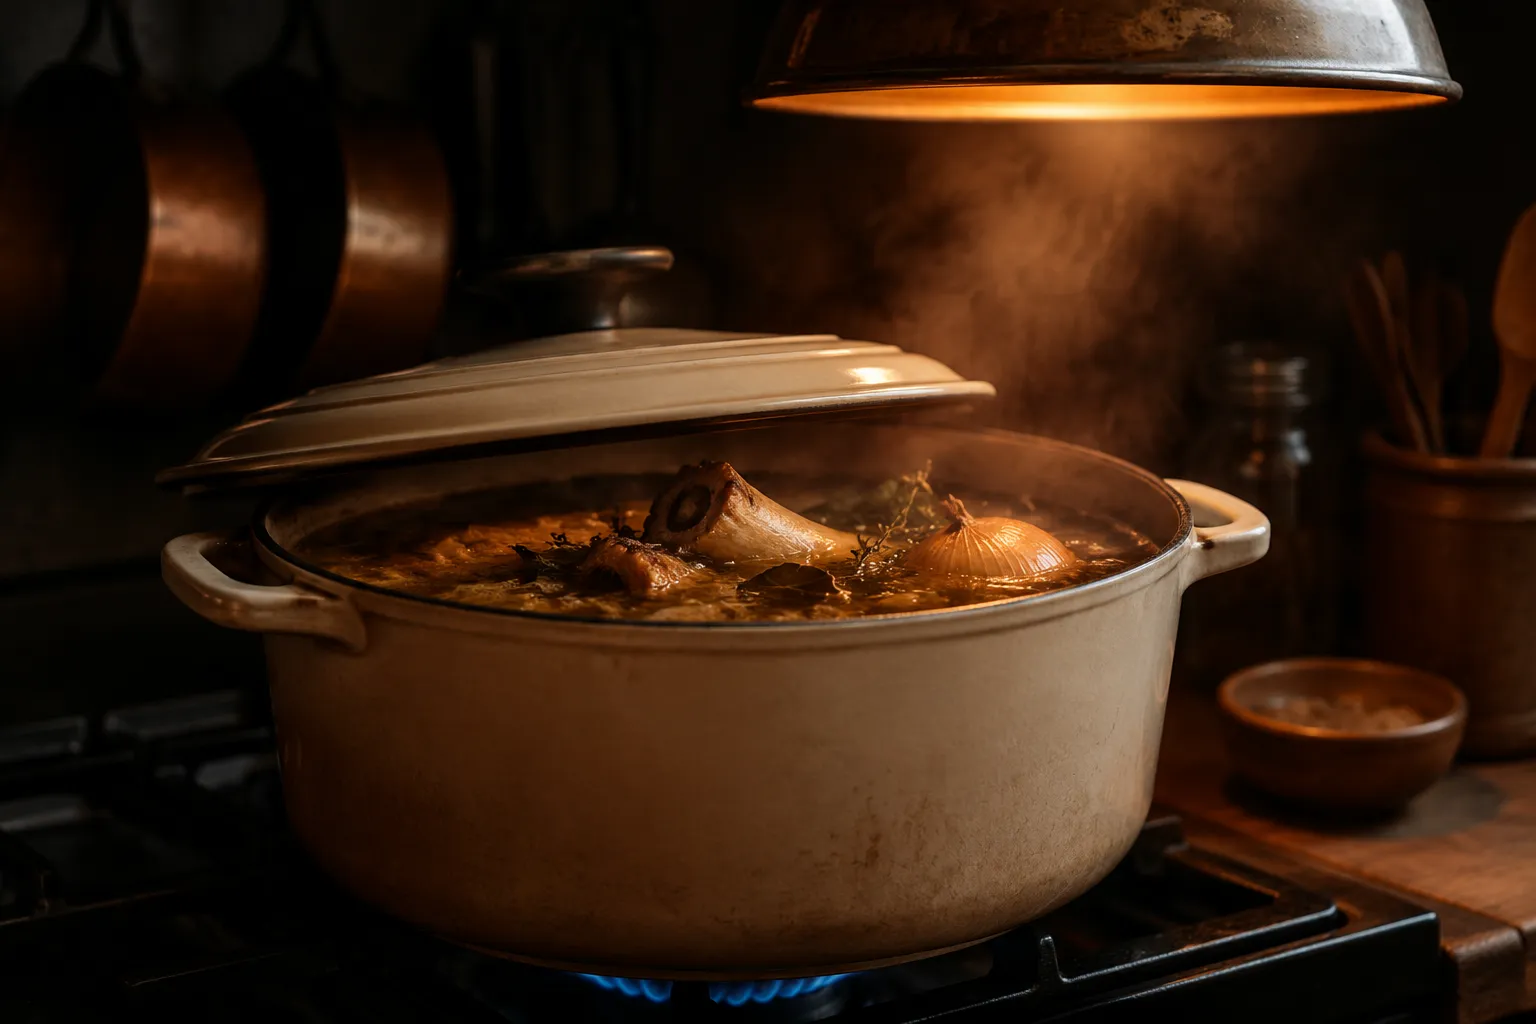
Bring the pot to the gentlest possible simmer (you want lazy, intermittent bubbles, not a rolling boil) and let it cook for twelve to twenty-four hours, skimming any gray foam off the top during the first hour and topping up with hot water only if the bones ever poke above the surface. The longer it goes, the more body you'll get, but anywhere past twelve hours produces a broth worth bragging about.
When the broth is the color of strong tea and smells unmistakably savory, ladle it through a fine-mesh strainer set over a large heatproof bowl, pressing gently on the solids to extract every drop. Cool it on the counter for thirty minutes, then refrigerate uncovered until cold, at which point a thin cap of golden fat will set on top. Leave the fat in (more flavor, more richness) or peel it off and save it for sautéing greens and starting soups.
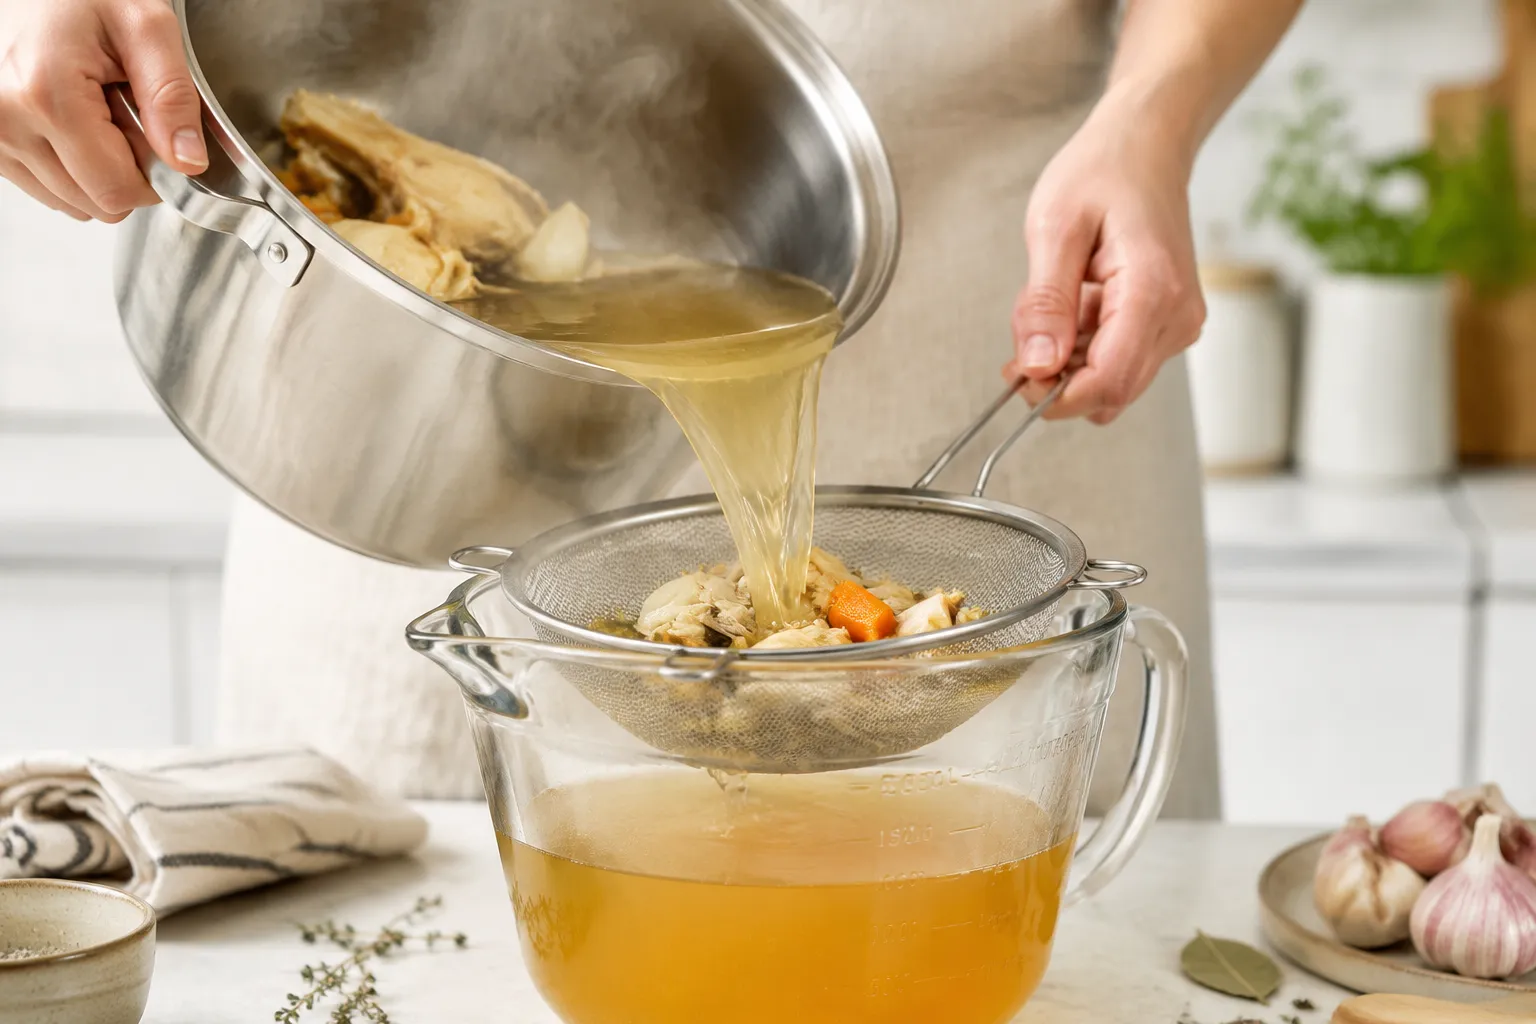
The same recipe works in three different vessels; pick the one that fits your week. On the stovetop, the broth wants twelve to twenty-four hours of bare-simmer attention with the lid cracked, which is perfect if you're home on a slow weekend and don't mind a kitchen that smells like Sunday dinner for an entire day.
A slow cooker bone broth setup is the most forgiving of the three: roast the bones, dump everything into a six-quart slow cooker, set it to LOW for twenty-four hours, and walk away. There's no stove vigilance, no checking the bubble level, and your kitchen stays cool. I default to this method whenever I have the time runway, because the result is reliably gelatinous and there's almost nothing to babysit.
For the schedule-pressed cook, instant pot bone broth is a small miracle. Roast the bones the same way, then pile everything into the pressure cooker, cover with water (don't exceed the max-fill line), and cook at high pressure for two and a half to three hours with a full natural release. The gelatin set is genuinely indistinguishable from a twenty-four-hour stovetop batch in side-by-side tests, and it's the method I reach for on weeknights when I want a fresh batch by morning.
Each method produces the same wobbly, golden result. The only adjustment is liquid: the Instant Pot loses almost no water during cooking, so you'll end up with a slightly more concentrated broth that you can dilute to taste before sipping or using in soups.
The proof of a great chicken bone broth recipe is the test the next morning: tip the cold jar sideways. A good batch barely budges. A great batch wobbles like Jell-O and clings to the spoon when you scoop it. That texture is dissolved collagen, and it's a sign you've extracted everything the bones had to give.
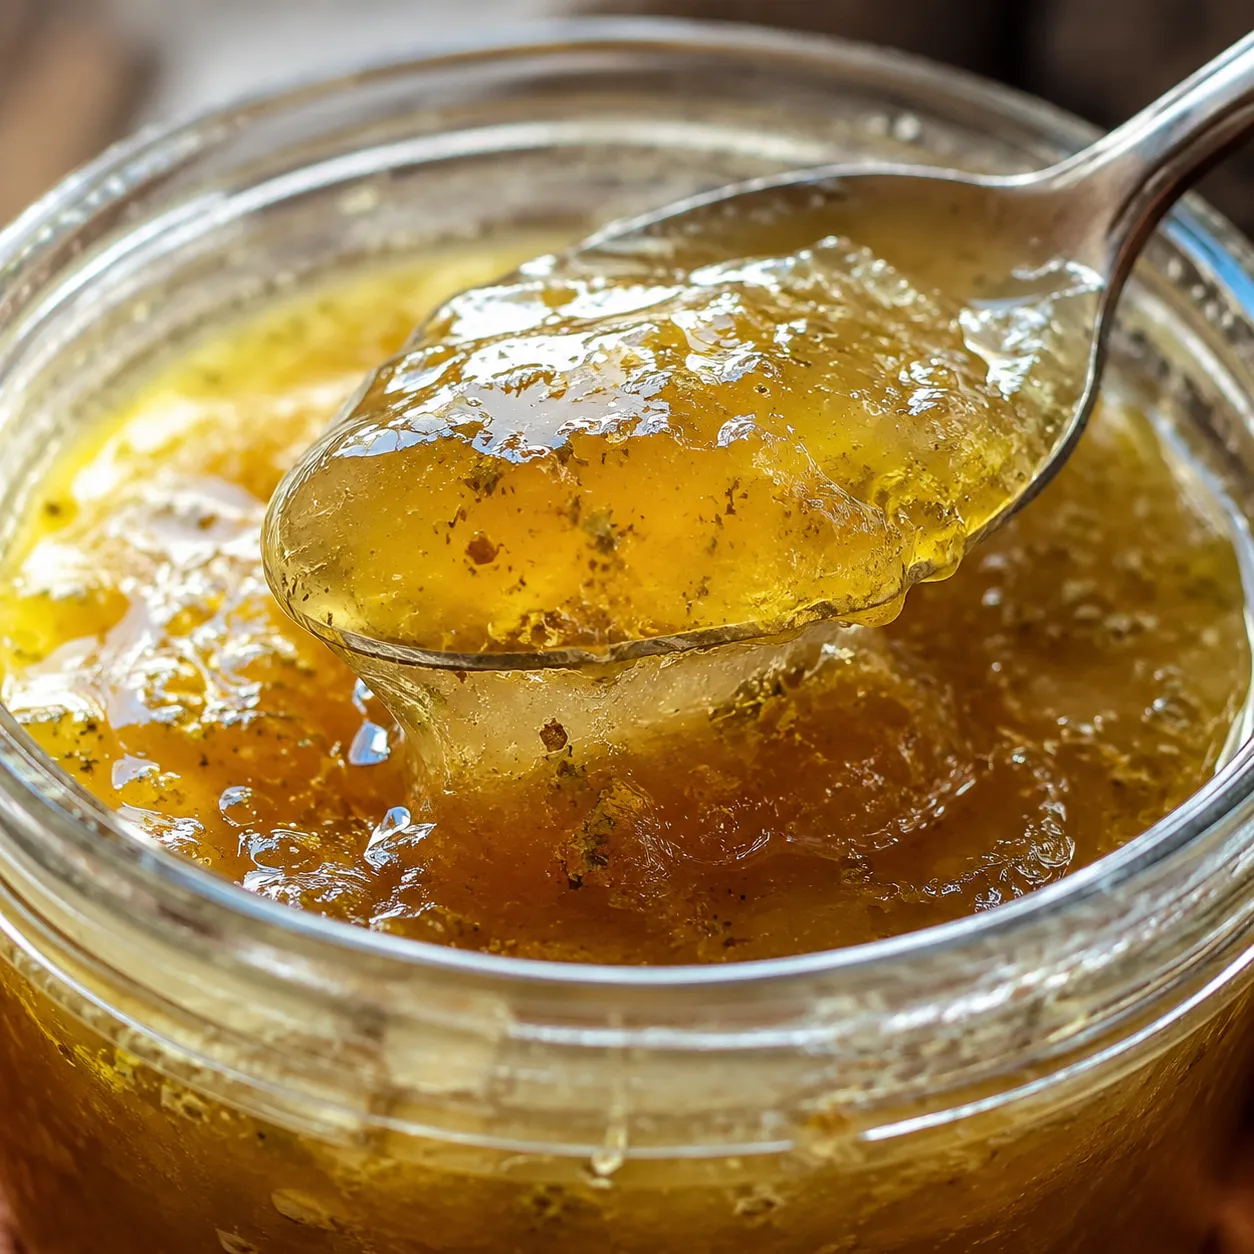
If your broth turns out thin, it's almost always a ratio problem (too much water for too few bones) or a parts problem (no feet, wings, or knuckly joints in the mix). The fix is straightforward: next time, use less water, add chicken feet, and resist the urge to top up the pot too aggressively during simmering. Once it warms back up on the stove, even the most jiggly broth turns liquid again, so the wobble only matters as a quality check, not a serving texture. Don't be alarmed when your beautifully set broth melts into pourable gold the second it hits a warm pan.
A jar of homemade bone broth in the fridge changes how you cook all week. Sip it warm from a mug with a pinch of flaky salt and a squeeze of lemon, or use it as the base for chicken-and-rice soup, French onion, ramen, or matzo ball. It transforms plain rice, farro, and polenta when you swap it in for water, and it deglazes a pan of sautéed mushrooms or braised greens like nothing else.
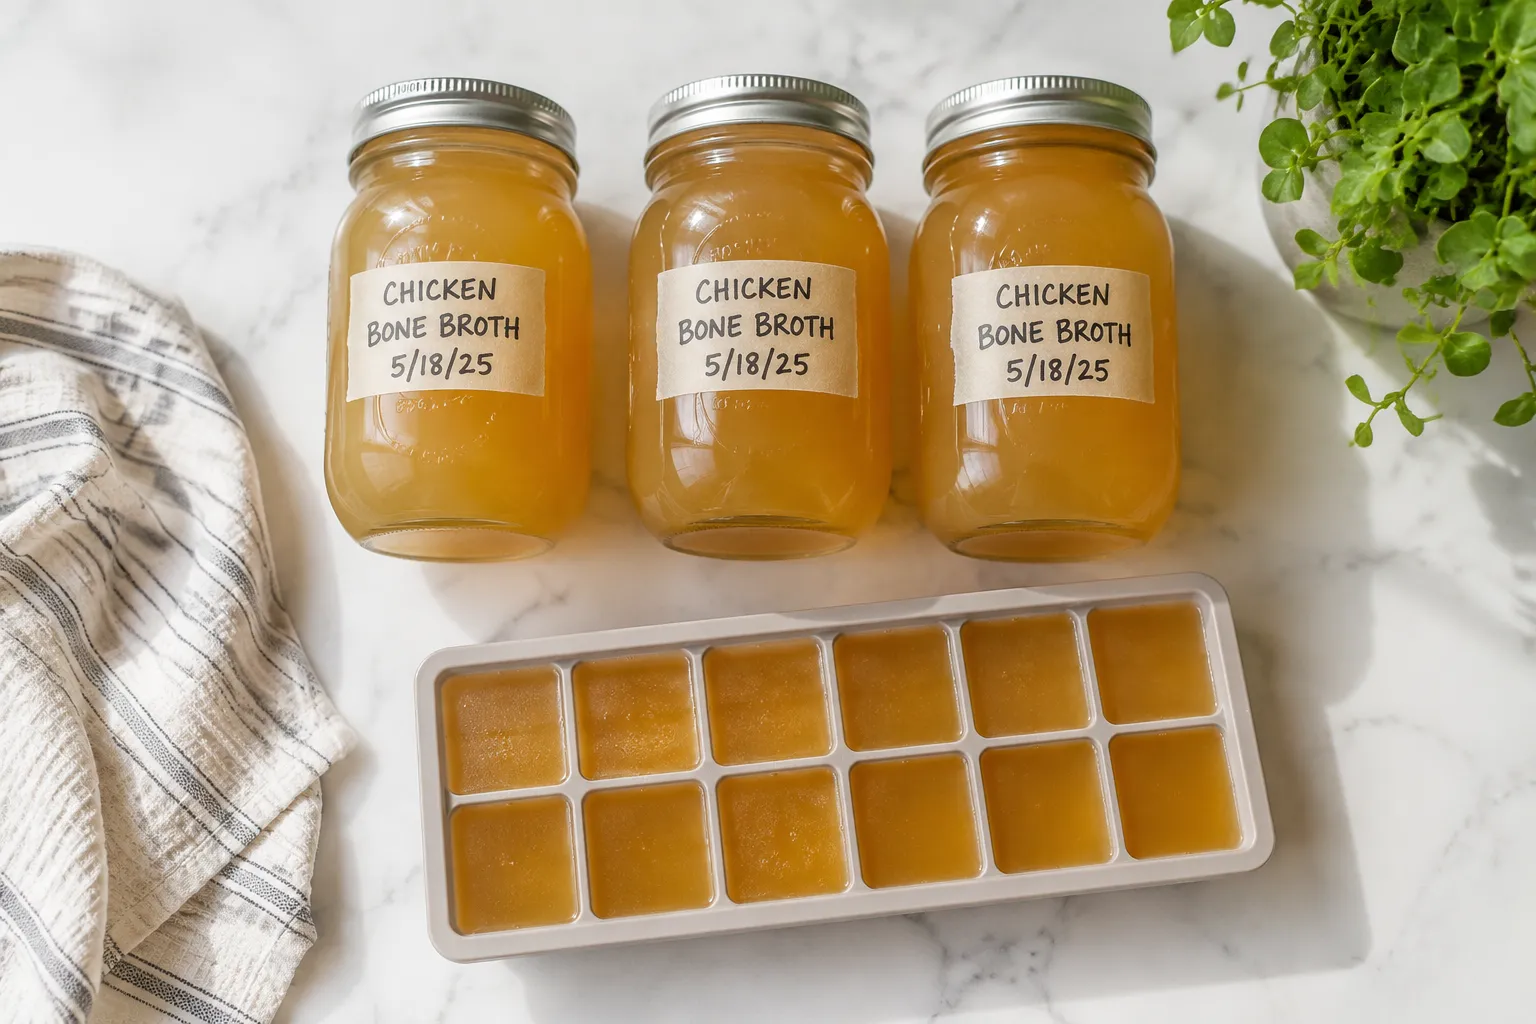
For batch cooking, I freeze most of mine in a mix of quart-sized mason jars (for soup nights) and silicone freezer cubes (for splashes into pan sauces and risotto). If you want a fuller breakdown of how to use bone broth across the week, plan one soup night, one grain night, and one pan-sauce night per quart and you'll never let a batch go to waste.

Cradling a mug at the desk on a cold afternoon is the simplest, most satisfying use of all. Once you've tasted a batch you simmered yourself, the difference is impossible to unsee, and the weekly habit of saving carcasses for the freezer becomes second nature.
A good chicken bone broth recipe is less a dish and more a kitchen habit, the kind of slow, low-input cooking that pays you back every time you open the fridge. Make a batch on the weekend, freeze half, and you'll have a richer pantry, a warmer mug, and a smaller grocery bill all at once. For complete bone broth storage tips, including freezer life and jar headspace, scroll to the storage section just below.
The base recipe is endlessly adaptable — once you've made it once, swap the aromatics to match the cuisine you plan to cook all week.
Properly cooled and sealed, your bone broth will keep up to 5 days in the refrigerator and up to 6 months in the freezer. Always cool the broth fully on the counter (about 30 minutes) and then in the fridge before transferring to a covered container — sealing hot broth traps steam and can sour the batch within a day.
For the freezer, I split each batch between quart-sized mason jars (for full pots of soup) and silicone freezer cubes (for splashes into rice, pan sauces, and skillet vegetables). Leave at least 1 inch of headspace in jars to allow for expansion, and label everything with the date. Reheat gently in a saucepan over medium-low heat — never boil to thaw, or you'll cloud the broth and lose some of that beautiful body.