How to Make Oat Milk at Home (Creamy, Not Slimy)
Ingredients
Scale
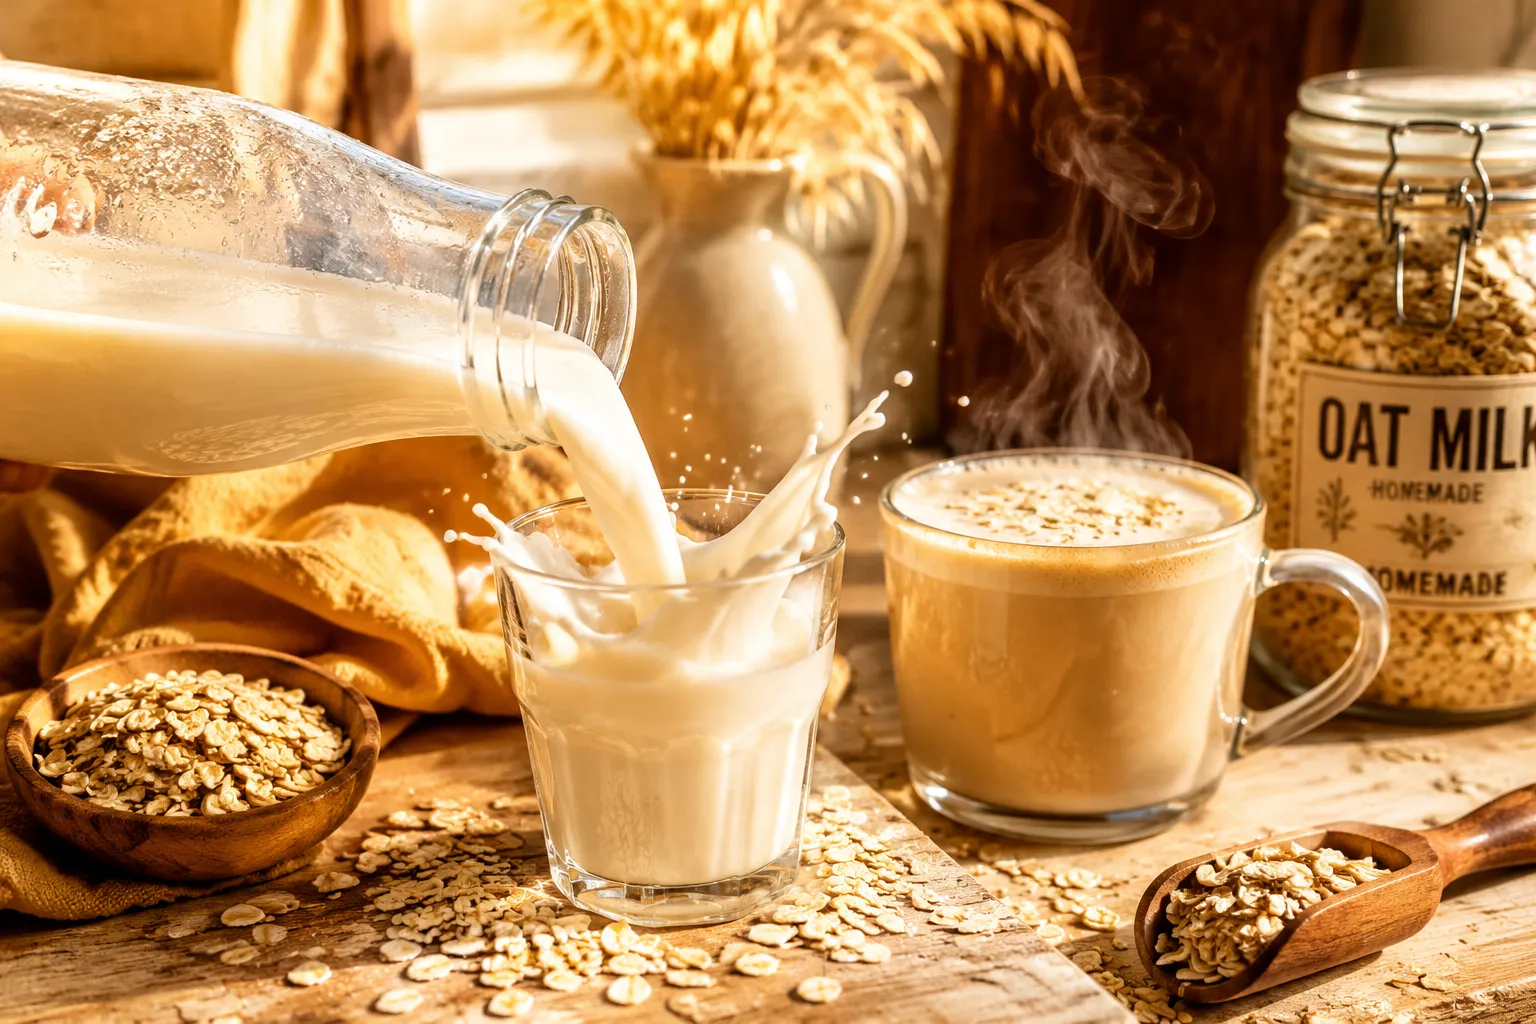
Homemade oat milk in 5 minutes for pennies a glass, no slime, no chalky texture, just creamy plant-based milk that froths beautifully in your morning coffee.
If you've ever wondered how to make oat milk at home and ended up with a glass of slimy, gluey liquid that ruined your latte, you're not alone. Most online recipes leave out the one thing that matters most: temperature and timing. The good news? Once you know the trick, you can blend up a batch of creamy, non-slimy oat milk in five minutes flat using two ingredients you almost certainly already have in the pantry.
I've been making homemade oat milk every week for years, and after testing every variation I could find — soaked oats, hot water, agar gums, double-strained, blender brands, you name it — I landed on a method that's almost embarrassingly simple. Cold water. A 30-second blast in the blender. A gentle squeeze through a nut milk bag. That's the whole secret. No soaking, no straining the strain, no thickeners. Just clean, dairy-free milk that froths in coffee and tastes like the inside of a freshly baked oat cookie.
This guide walks you through everything: the right oats, the right ratio, the equipment that actually matters, and the small details that separate silky barista oat milk from chalky disappointment. We'll also cover how to flavor it, how to froth it, and what to do with the leftover pulp so nothing goes to waste.
Open a carton of store-bought oat milk and you'll see a list that reads more like a chemistry lab order than a recipe: rapeseed oil, gellan gum, dipotassium phosphate, calcium carbonate, natural flavors. None of it is dangerous, but none of it is necessary either. Real homemade oat milk needs nothing but oats and water. Stripping away the additives also strips away the price tag — a quart of name-brand oat milk runs $5 to $7 in most US grocery stores, while a homemade quart costs roughly 30 cents.
Beyond cost and cleanliness, homemade gives you control. You decide how thick it is, how sweet it is, whether you want a hint of vanilla or a whisper of cinnamon. If you're already comfortable making homemade almond milk, the technique here will feel familiar, just faster — there's no overnight soak and no peeled almonds to deal with. And unlike almond, oat is naturally creamy, naturally sweet, and totally allergen-friendly for nut-free households.
There's also the sustainability piece. Oats use a fraction of the water that almonds do, and the leftover pulp is a usable byproduct rather than waste. If you've been working through a plant-based milk guide trying to figure out which option is right for your kitchen, oat is the easiest entry point: cheap inputs, fast process, and a flavor that plays well in coffee, cereal, baking, and smoothies without dominating any of them.
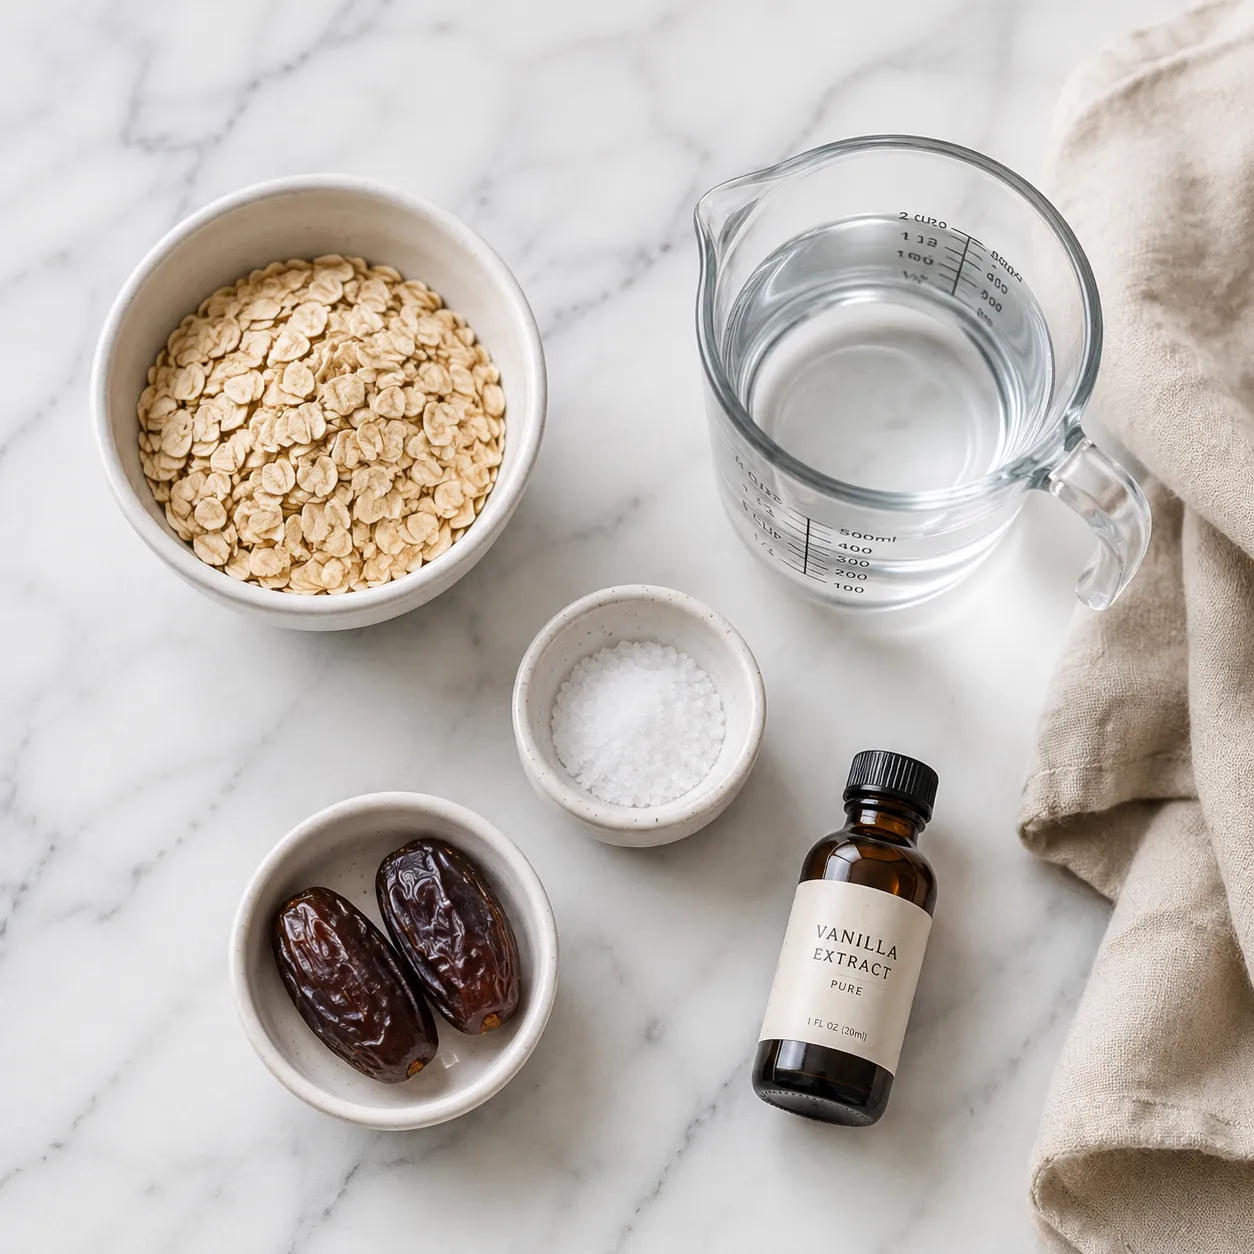
The ingredient list is so short it almost feels like a typo. One cup of rolled oats. Four cups of cold filtered water. A pinch of salt. That's the foundation, and that alone makes a perfectly drinkable batch. Everything else — dates, vanilla, cinnamon, a splash of maple syrup — is optional flavor work that depends on how you plan to use it.
For oats, reach for old-fashioned rolled oats, sometimes labeled "old-fashioned" or "thick rolled." They blend evenly, strain cleanly, and don't release the gluey starch that quick-cooking and instant oats are notorious for. Steel-cut oats are too dense to break down in 30 seconds, which means you'll either over-blend (slime) or end up with chunky milk. Rolled is the sweet spot.
Water is the other half of the equation, and the temperature is non-negotiable: cold, ideally straight from the fridge or with a couple of ice cubes added. Warm water activates the starch in oats and turns your batch into wallpaper paste within seconds. Filtered water also makes a difference if your tap is heavily chlorinated, since chlorine flavors come through in such a clean drink.
For sweetness and depth, one or two pitted Medjool dates blended into the batch add a subtle caramel note without making it taste like dessert. A half teaspoon of vanilla extract rounds out coffee applications, and a tiny pinch of sea salt — really, just a pinch — sharpens the flavor and keeps it from tasting flat. If you want barista oat milk for frothing, add one teaspoon of neutral oil (avocado or refined coconut work well) per batch.
You don't need a fancy setup, but two pieces of equipment make a real difference. The first is your blender. A high-speed blender like a Vitamix or Blendtec will give you the smoothest texture in the shortest time, which matters because shorter blend times mean less starch released and less slime. A standard blender works too — you'll just want to give it the full 30 seconds and accept that the texture will be slightly less silky.
The second piece is your strainer. A nut milk bag is the gold standard: it's a fine mesh pouch that catches all the oat particles while letting the smooth milk pass through. They cost about $10 and last for years. If you don't have one yet, a double layer of cheesecloth draped over a fine mesh strainer will work, though it's slower and messier. A regular fine mesh strainer alone won't catch the small particles and you'll end up with gritty milk.
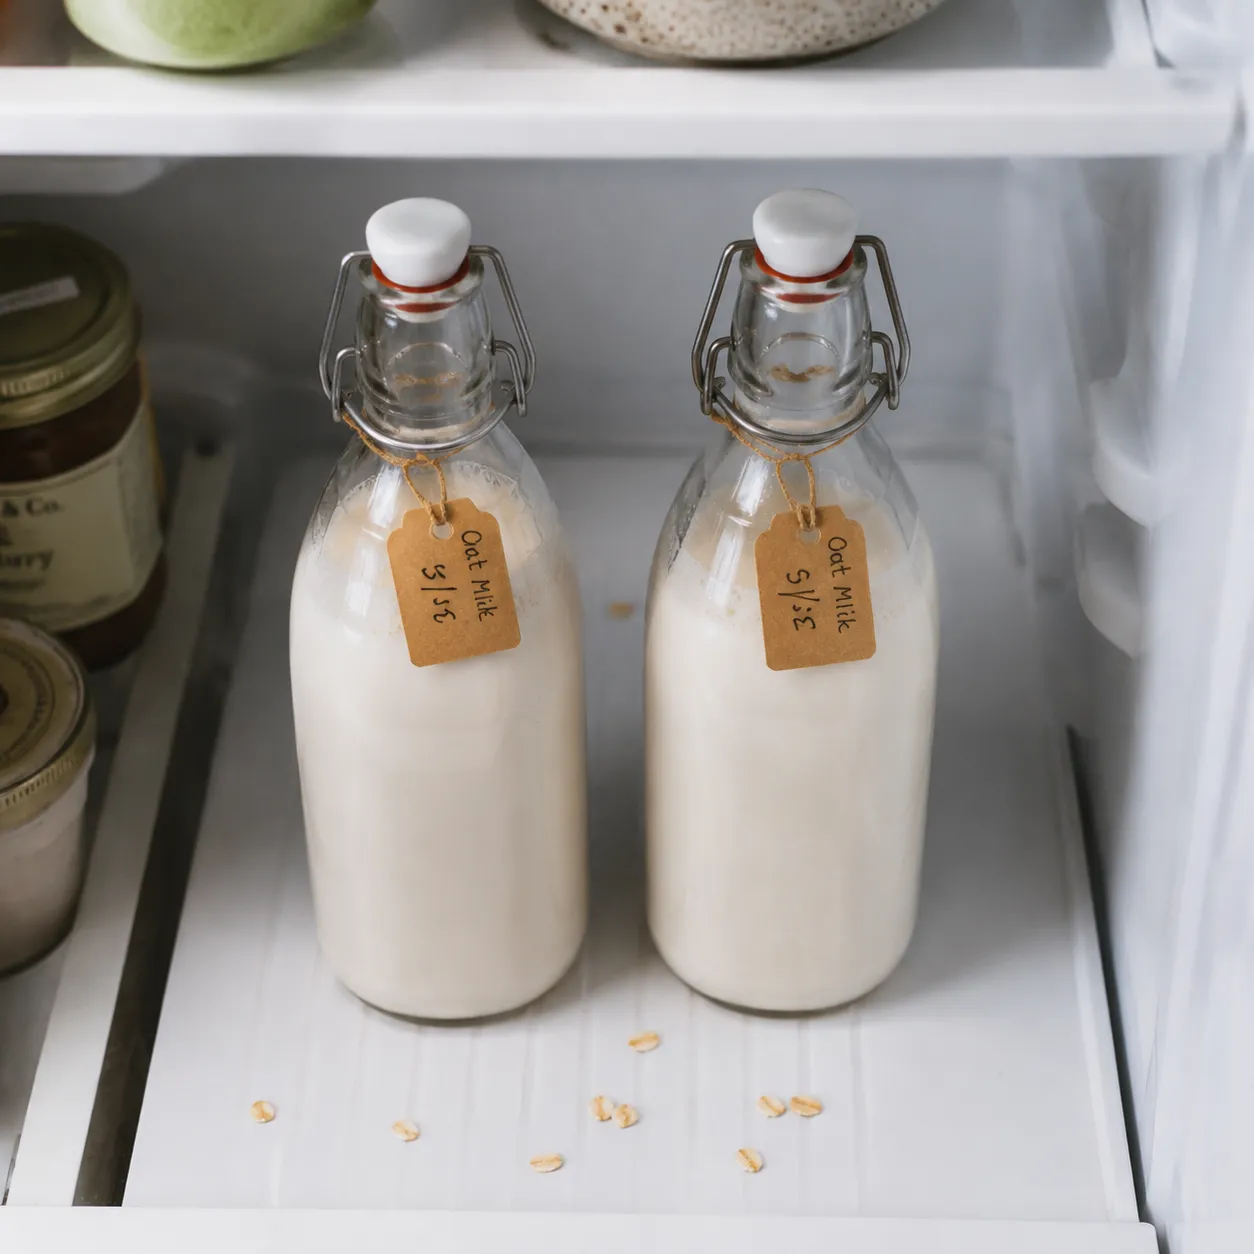
You'll also want a wide-mouth jar or pitcher for storing the finished milk. Glass swing-top bottles look beautiful and seal well, but a quart mason jar with a lid does the job just fine. Skip plastic if you can — oat milk picks up flavors easily, and glass keeps each batch tasting fresh.
Here's where the technique earns its keep. The full method takes five minutes from start to finish, and the order matters more than the precision.
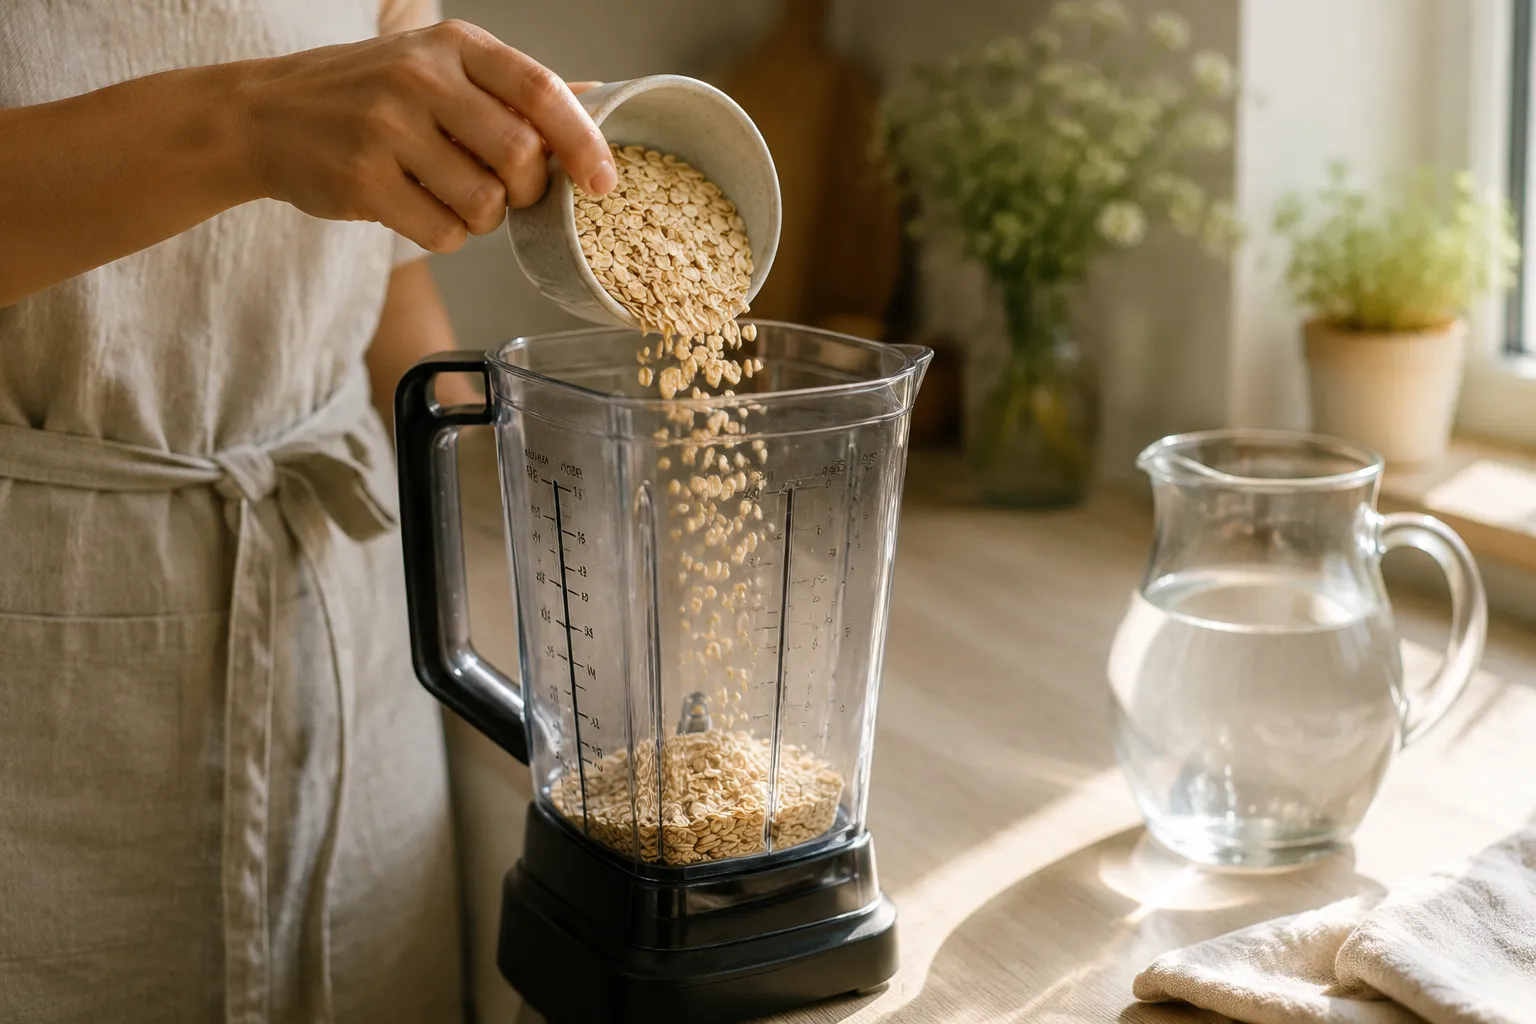
Start by adding one cup of rolled oats and four cups of cold water to your blender, along with a pinch of salt and any optional flavorings. Resist the urge to soak the oats first. Soaking is the single biggest mistake in most recipes — it pre-hydrates the starch, which then releases en masse when blended. Dry oats hitting cold water and blending immediately is what keeps the texture clean.
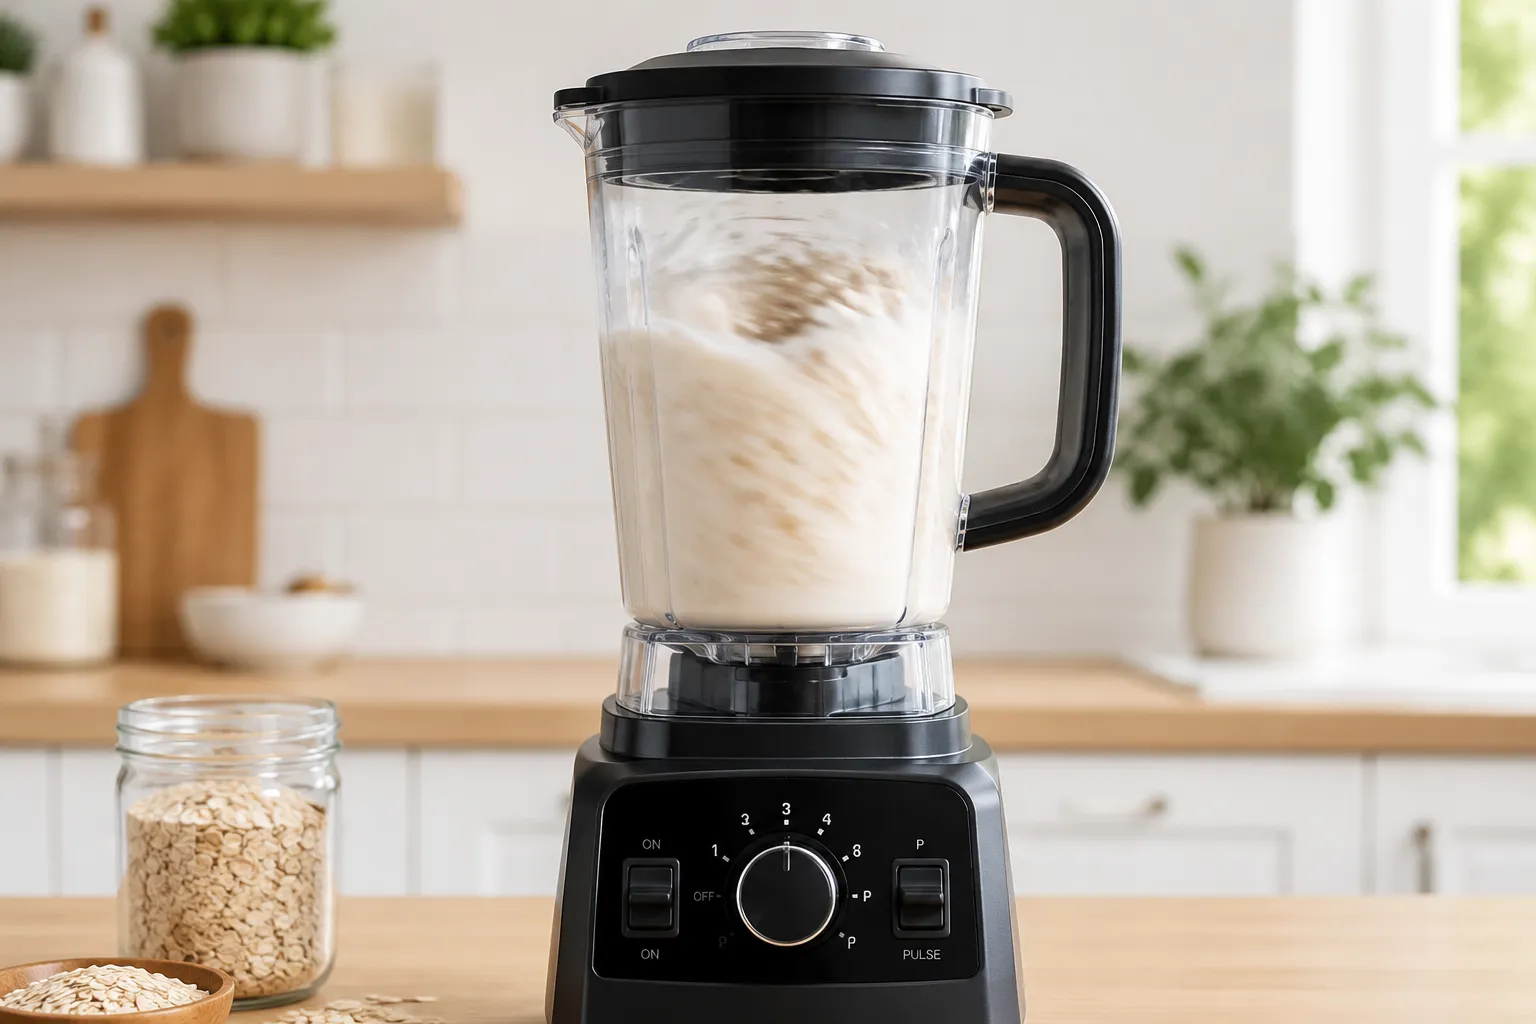
Blend on high for 25 to 30 seconds, no longer. You're not pulverizing the oats into oblivion; you're just breaking them down enough to release flavor and creaminess. Long blends generate heat, and heat plus oat starch equals slime. Set a timer if you tend to lose track — those last ten seconds are usually where things go sideways.
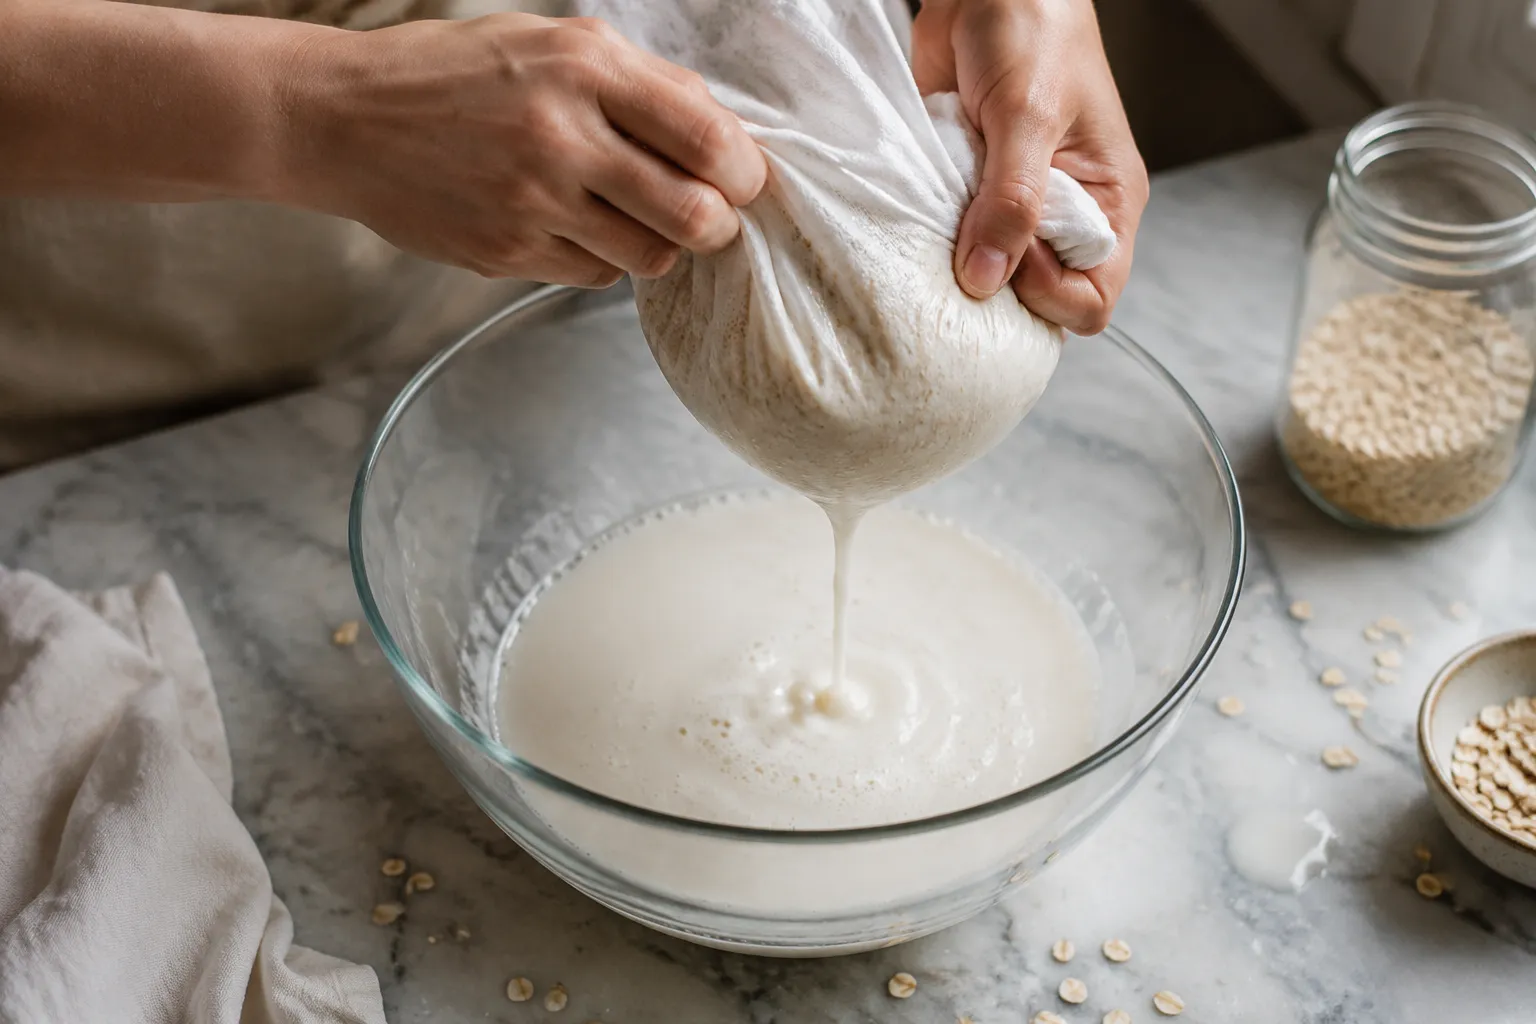
Pour the blend through a nut milk bag set over a large bowl. Lift the bag and let gravity do most of the work. When the dripping slows, gently squeeze from the top down — never wring or twist hard. Aggressive squeezing forces fine starch particles through the bag and undoes everything you just did. A soft, patient squeeze gives you maximum yield without sacrificing texture.
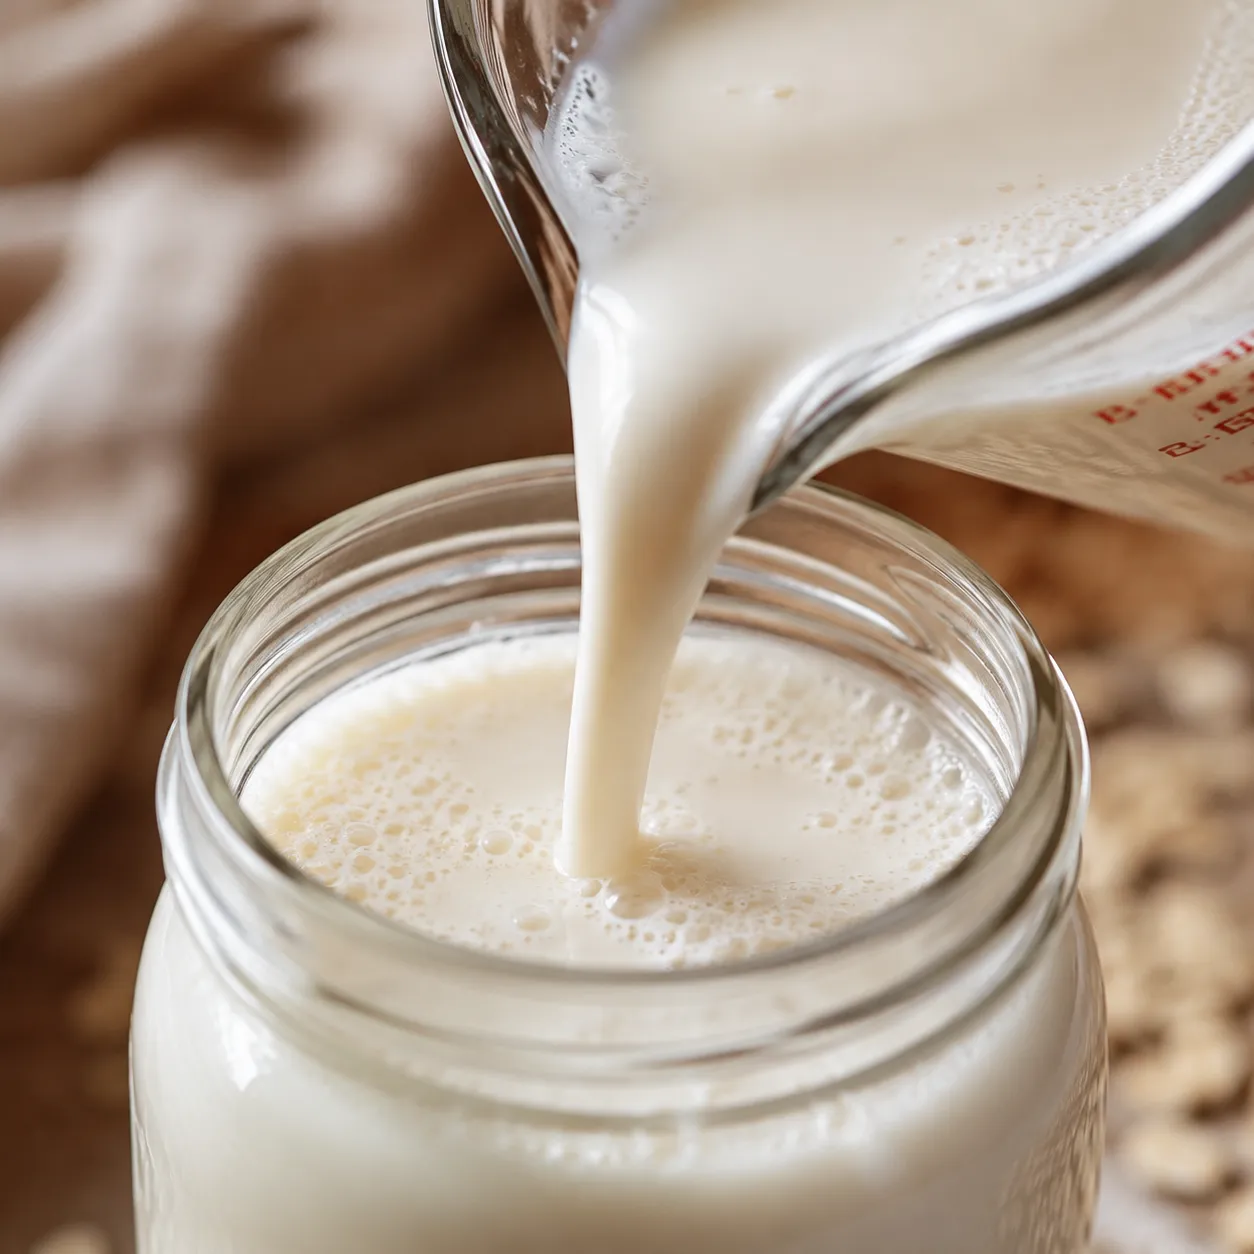
Taste the milk. If it needs more sweetness, blend the strained liquid with a date or a teaspoon of maple syrup for another five seconds — short enough that it won't re-thicken. Pour into a jar, seal, and refrigerate. The whole process from dry oats to sealed jar takes under five minutes, which is faster than the line at most coffee shops.

The whole reason most people learn how to make oat milk is the morning coffee, and this is where homemade really shines. Pour it cold into iced coffee for the cleanest, creamiest result, or warm it gently on the stove (don't boil it) for hot drinks. If you added the optional teaspoon of oil, it'll froth into legitimate barista oat milk with a handheld frother — thick, glossy microfoam that holds its shape on top of espresso. It's the closest you'll get to cafe-quality at home, and it makes an excellent base for any vegan latte recipe you want to try, from classic cortado to pumpkin spice.

Beyond coffee, this milk slips into anywhere you'd use the dairy version. It's a natural in smoothies, where its creaminess masks the iciness of frozen banana. It transforms overnight oats into something almost pudding-like — a small irony, given that you're soaking oats in oat milk, but the texture is unmatched. Pour it over granola, splash it into chia pudding, or use it as the soaking liquid for French toast.
For baking, oat milk is one of the most forgiving substitutes. Use it 1:1 in pancakes, muffins, quick breads, and most cakes. The natural sweetness actually helps in things like banana bread and cinnamon rolls. It also works as a dairy-free coffee creamer base when blended with a little maple syrup and cocoa powder for a homemade mocha creamer that costs a fraction of the bottled stuff.
Once you've got the rhythm down, making a fresh batch becomes a Sunday morning ritual that takes less time than brewing a pot of coffee. The first time you taste a properly made batch — silky, faintly sweet, completely free of that telltale gumminess — you'll wonder why you ever paid for the carton. Two ingredients, five minutes, and a coffee shop's worth of lattes ahead of you. That's the entire pitch for learning how to make oat milk at home, and it really is that simple.
The base recipe is a launch pad. Once you've got the technique locked in, the flavor variations are endless and take an extra five seconds at most.
Pour the finished oat milk into a sealed glass jar or swing-top bottle and refrigerate for up to 5 days. Because there are no commercial stabilizers, the milk will naturally separate within a few hours — heavier solids settle at the bottom while a thin layer rises at the top. This is normal and not a sign of spoilage. Just give the bottle a firm shake before each pour and it comes back together instantly.
I don't recommend freezing oat milk for drinking. The texture breaks down badly and never fully recovers, even after thawing and re-blending. If you have leftover milk you can't use in time, freeze it in ice cube trays specifically for smoothies, overnight oats, or baking — applications where the texture change won't matter. The leftover oat pulp keeps in the fridge for 3 days or freezes well for up to 2 months in a sealed container.