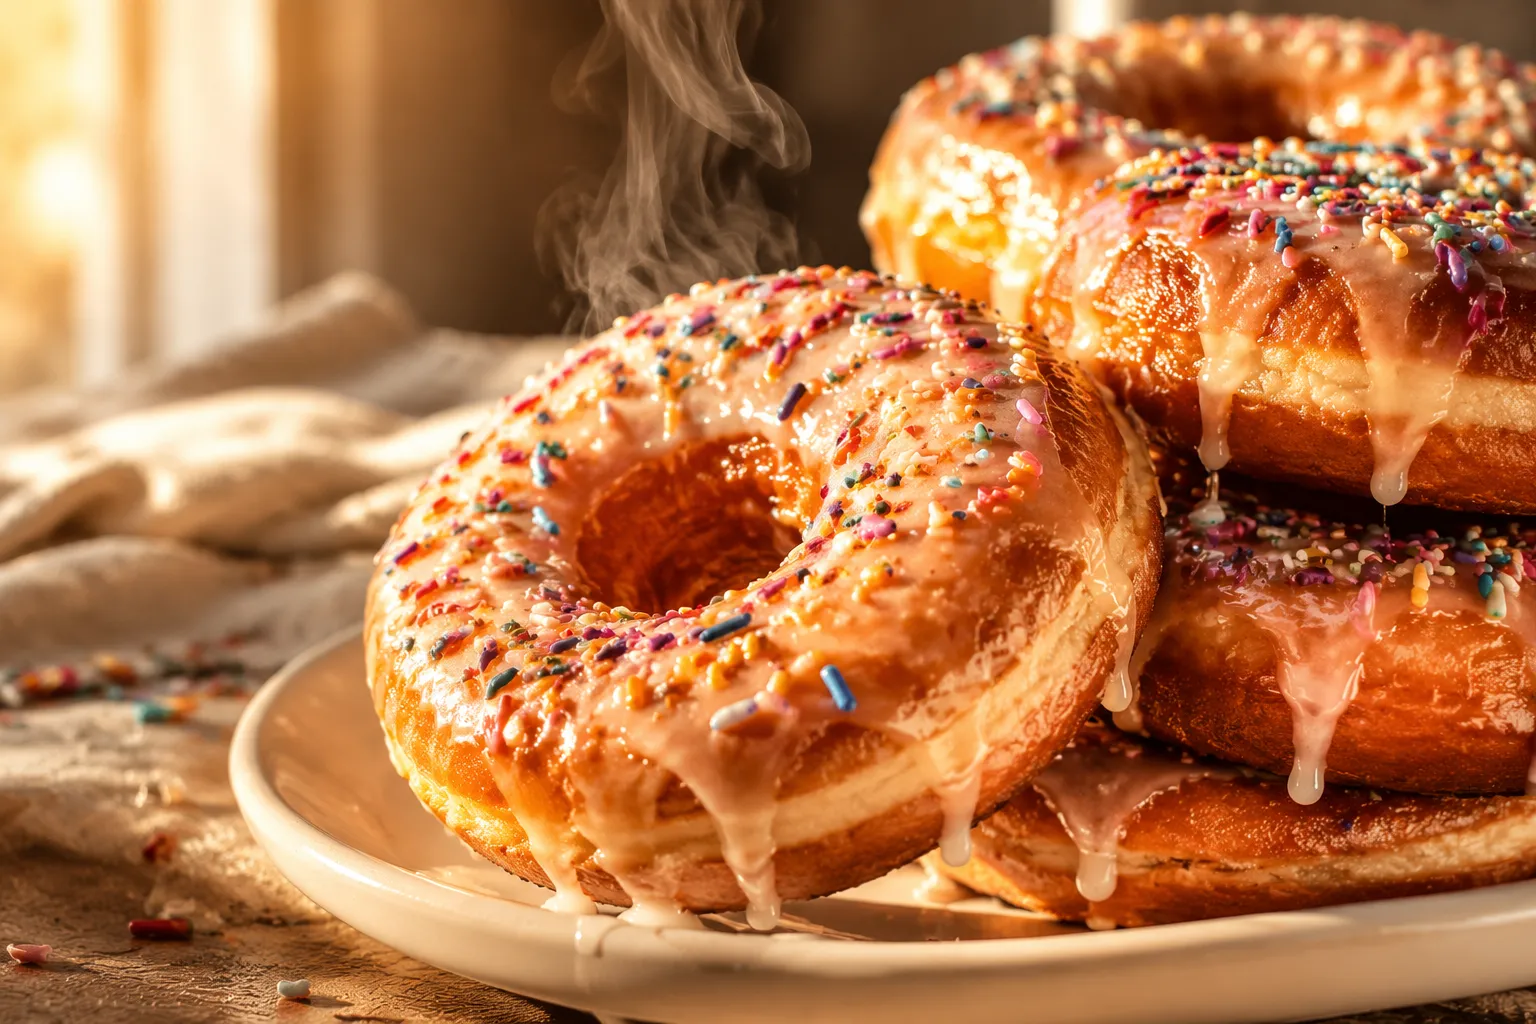
Pillowy, golden, and irresistibly tender — this homemade donut recipe gives you bakery-quality results with pantry staples and one easy dough.
Why You'll Love This Recipe
Bakery-style texture at home — a tender, airy crumb that rivals anything from your favorite donut shop, no specialty equipment needed.
One dough, endless variations — glazed rings, donut holes, filled, twisted, or cinnamon-sugared, all from the same base.
Pantry-staple ingredients — flour, milk, yeast, butter, eggs, and sugar are all you need to get started.
Includes a cake donut option — for when you want that dense, old-fashioned crumb without the wait.
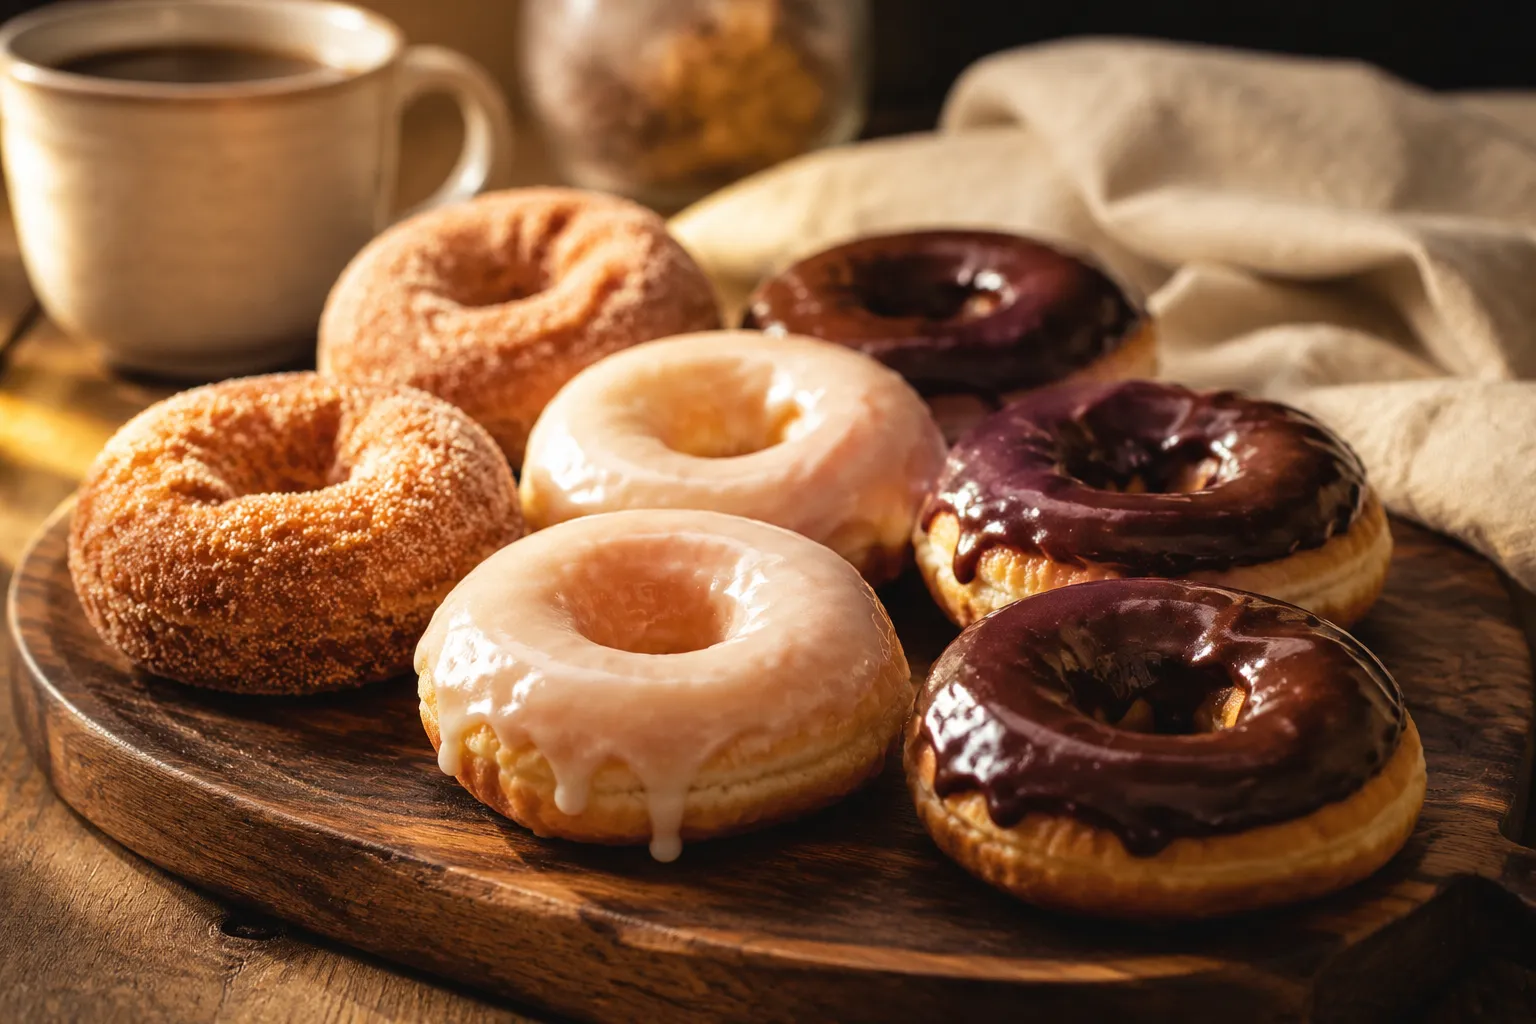
Three glaze recipes built in — vanilla, chocolate, and cinnamon sugar so you can please every crowd.
Make-ahead friendly — the dough can rise overnight in the fridge for fresh donuts in the morning.
There's a particular magic to a warm donut — the kind with a tender, cottony interior, a crackly glaze that shatters under your teeth, and that unmistakable bakery-shop aroma drifting through the kitchen. This donut recipe captures all of it, and it does so without a stand mixer, a deep fryer, or any specialty pantry item you'd need to hunt down. If you've been intimidated by the idea of making fried donuts at home, consider this your gentle nudge: it's far easier than you think.
I've been tinkering with this dough for years, and the version below is the one I keep returning to — soft and slightly sweet, enriched with butter and egg, and forgiving enough for a Saturday morning when the kids are circling the kitchen. Better still, the same base dough doubles as the foundation for filled donuts, twists, donut holes, and even a quick cake donut variation when you don't have time to wait on yeast.
Whether you're chasing childhood nostalgia or just want a project that pays you back in pillowy, sugar-dusted joy, this is the donut recipe to bookmark. Grab your flour, warm your milk, and let's make something wonderful.
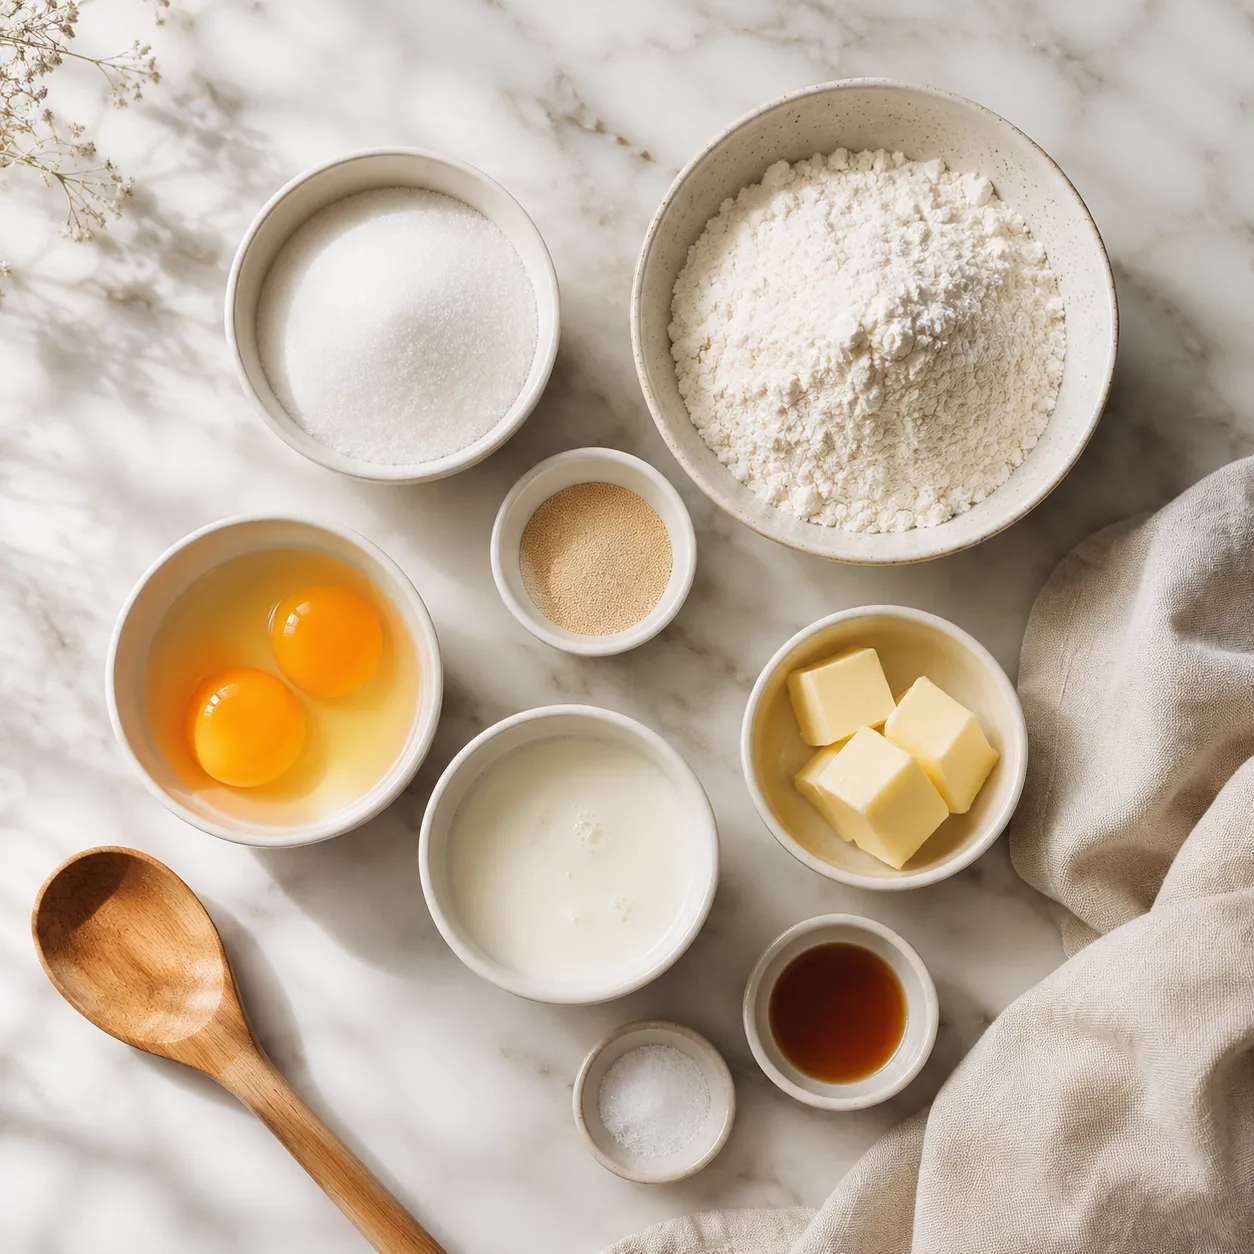
Ingredients You'll Need
The beauty of homemade donuts is that the dough leans on staples you almost certainly already have. The structure comes from all-purpose flour, the lift from active dry yeast, and the richness from whole milk, butter, and a couple of eggs. A little granulated sugar feeds the yeast and adds a subtle sweetness, while vanilla extract and salt round out the flavor so the dough doesn't taste flat under the glaze.
For the glaze, you'll need powdered sugar, a splash of milk or cream, vanilla, and — if you're going chocolate — cocoa powder or melted chocolate. If you'd like to swap things up, bread flour will give you a chewier crumb, and instant yeast can stand in for active dry (just skip the bloom step). Plant-based milk works in the dough, though the texture is slightly less rich. For the cake donut version, buttermilk is non-negotiable — its tang and acidity are what make buttermilk donuts taste like the ones from your favorite roadside bakery.
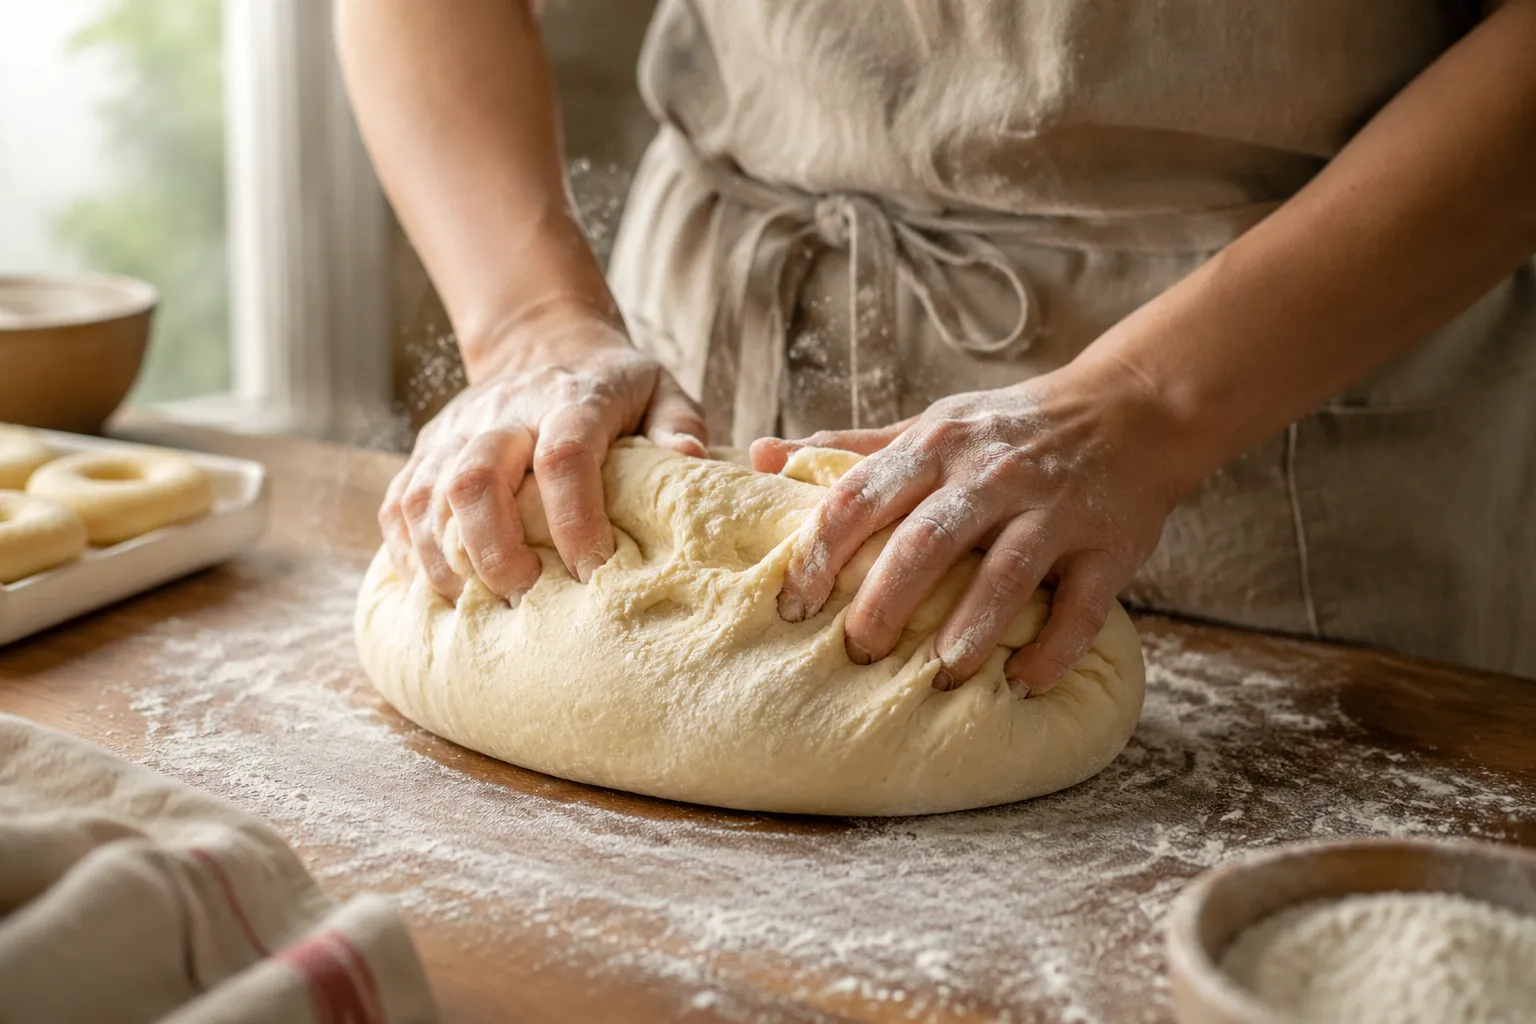
How to Make Donuts from Scratch
The process breaks down into four unhurried stages: mix, proof, shape, fry. None are difficult, but each rewards a little patience. Start by warming your milk to about 110°F — warm enough to feel like bathwater, not hot — and stirring in the yeast and a pinch of sugar. After five minutes, it should look foamy and smell yeasty. That's your green light.
Mix the activated yeast into the rest of the dough ingredients and knead until smooth and elastic, about 6–8 minutes by hand or 4–5 minutes with a dough hook. The yeast donut dough should be soft and slightly tacky, not sticky. Cover and let it rise in a warm spot until doubled, roughly 60–90 minutes. Roll it out to about ½-inch thick, cut your rounds, and let them proof a second time on parchment until pillowy and jiggly when nudged.
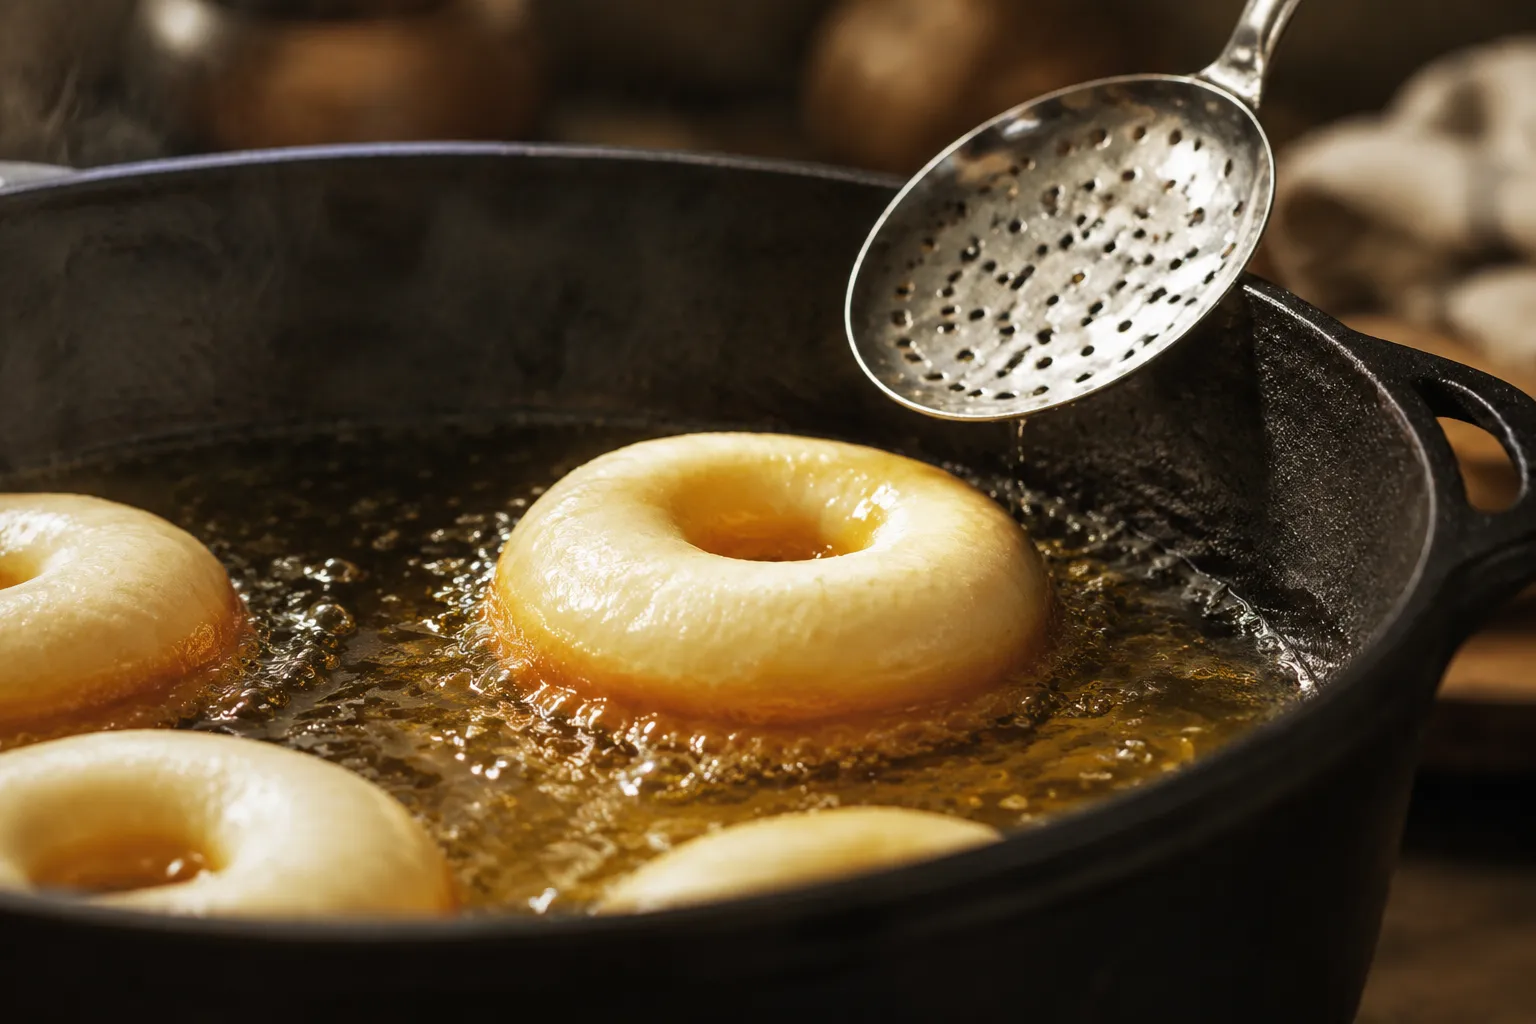
Heat 2 inches of neutral oil in a heavy Dutch oven to 350°F — a clip-on thermometer is your best friend here. Fry the donuts in small batches, about 60–75 seconds per side, until deeply golden. Drain on a wire rack (not paper towels, which trap steam and lead to soggy bottoms) and let them cool just enough to handle before glazing.
Cake Donut Recipe Variation
If you don't want to wait for yeast — or you simply prefer that dense, crumbly old-fashioned texture — a cake donut recipe is the way to go. Cake donuts use baking powder instead of yeast, which means no proofing, no kneading, and a totally different mouthfeel. They're sturdier, more crumbly, and especially good with a thick glaze that soaks into the craggy edges.
For a buttermilk version, whisk together 2 cups flour, 1½ tsp baking powder, ½ tsp baking soda, ½ tsp salt, and a pinch of nutmeg. In another bowl, beat 2 eggs with ⅔ cup sugar, then stir in ½ cup buttermilk, 2 tbsp melted butter, and 1 tsp vanilla. Combine wet and dry just until a soft dough forms, chill for 30 minutes, then roll, cut, and fry exactly like the yeast version. The dough is more delicate, so handle it gently.
Glazes, Toppings, and Flavor Ideas
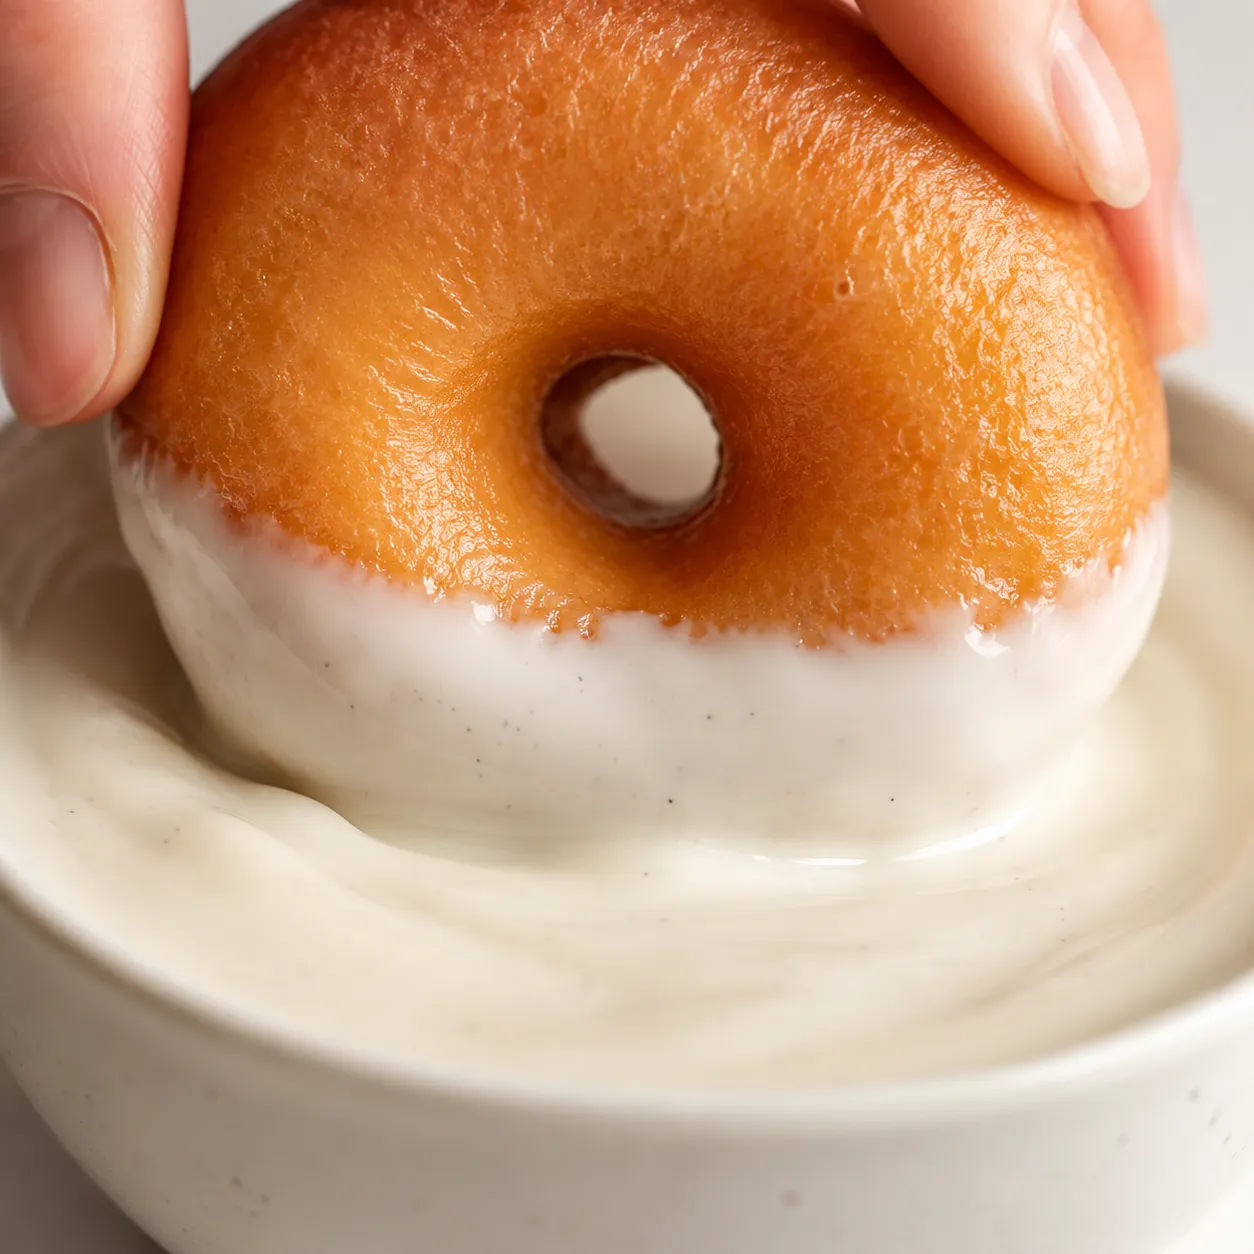
A great donut glaze should be glossy, set quickly, and crack just so when you bite in. The classic vanilla glaze is nothing more than 2 cups powdered sugar whisked with 3–4 tablespoons of milk and a teaspoon of vanilla — dunk the warm donuts face-down, lift, and let the excess drip off. For a chocolate glaze, whisk 2 tablespoons of cocoa powder and a tablespoon of melted butter into the same base, adding milk a teaspoon at a time until pourable.
For a no-glaze option, toss warm donuts in a bowl of cinnamon sugar (½ cup sugar to 1 tbsp cinnamon) the moment they leave the oil. The residual heat melts the sugar slightly and creates that craggy, sparkly coating you remember from cider mills in the fall. Maple, lemon, espresso, and brown butter glazes are all easy riffs on the vanilla base — just swap a tablespoon of the milk for the corresponding extract or syrup.
Serving Suggestions
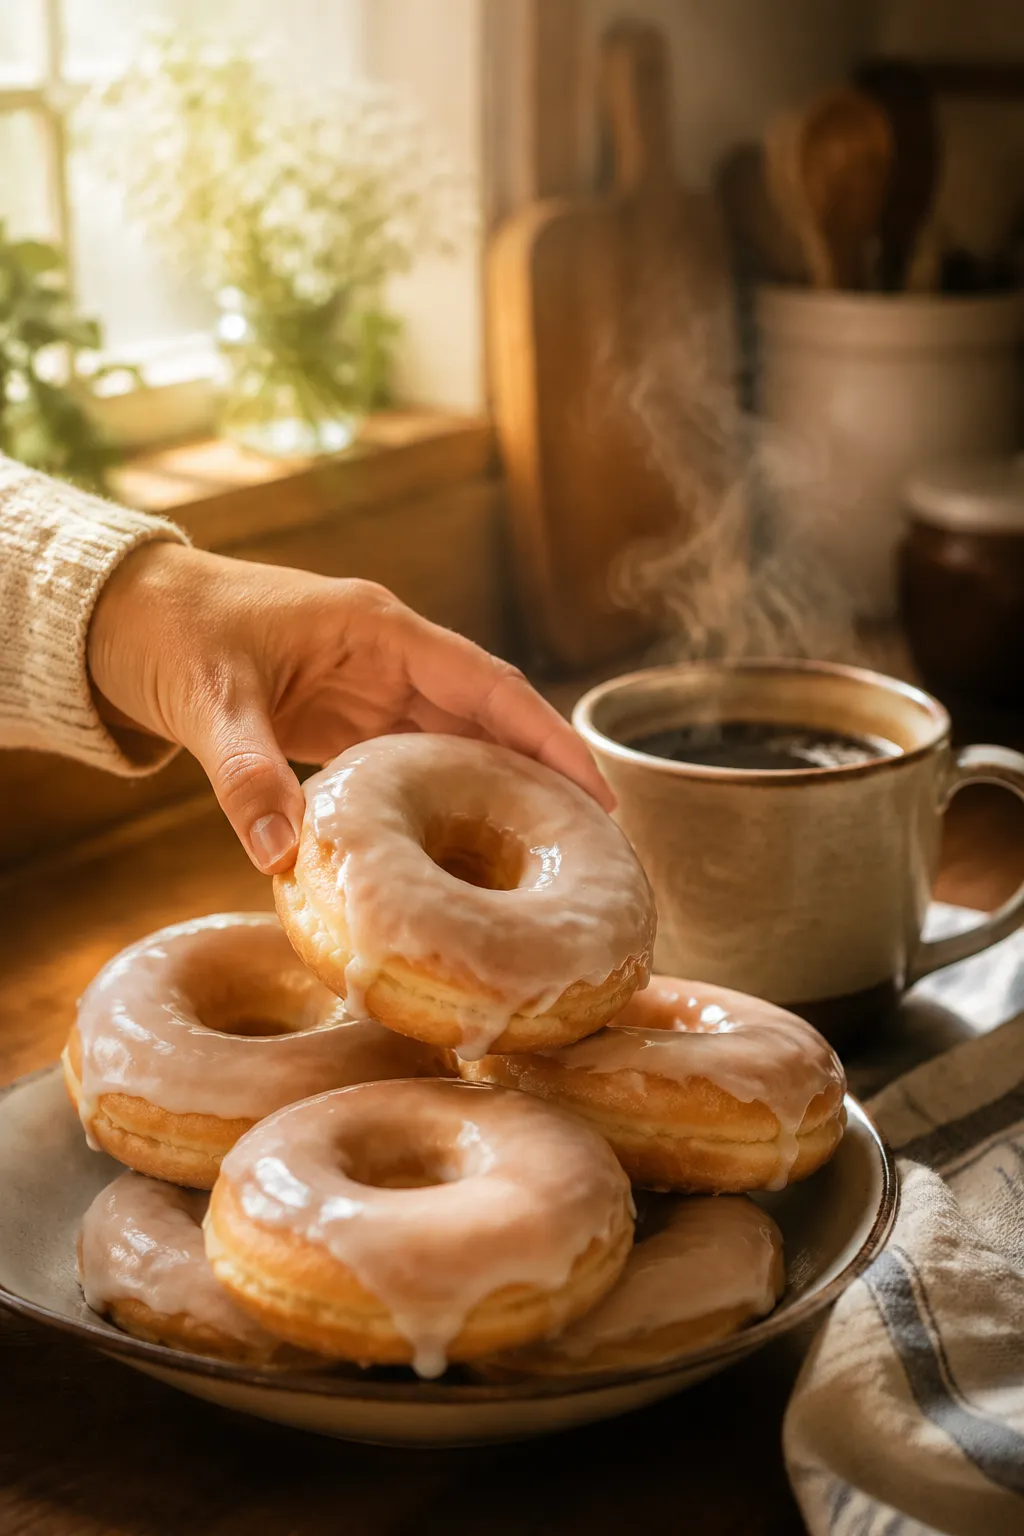
Fluffy donuts are best eaten within a couple of hours of frying, ideally with strong black coffee or a tall glass of cold milk. Pile them on a wooden board for a weekend brunch, set out little bowls of sprinkles and toppings so guests can decorate their own, or tuck a few into a bakery box for a thoughtful neighbor drop-off. They're also showstoppers at birthday breakfasts — stack them on a cake stand with candles for a non-traditional centerpiece.
A Note on Frying Safely
Frying at home isn't scary if you respect the oil. Use a deep, heavy-bottomed pot, never fill it more than halfway, and keep a lid nearby in case of flare-ups. A thermometer takes the guesswork out — drop in temperature is the number-one reason donuts come out greasy. Fry in small batches of 2–3 to keep the oil between 345°F and 355°F, and let it recover between rounds.
With one bowl, a little patience, and a pot of warm oil, you've got everything you need for soft, golden, glaze-dripped donuts that rival anything behind a bakery counter. Once you've made them once, you'll find yourself dreaming up new flavors every weekend.
💡 Expert Tips
Mind your oil temperature. 350°F is the sweet spot — too hot and the outsides burn before the insides cook, too cool and they'll soak up grease and turn heavy.
Don't over-proof. The dough should look puffy and jiggle slightly when nudged, not balloon to twice its size — over-proofed donuts collapse in the oil.
Glaze while still warm. A barely-warm donut grabs the glaze better and gives you that signature glossy set as it cools.
Use a thermometer, always. Eyeballing oil temperature is the fastest way to greasy or scorched donuts. A clip-on candy thermometer costs less than $10.
Drain on a rack, not paper towels. Air circulation underneath keeps the bottoms from getting soggy as they cool.
🔄 Variations & Substitutions
Once you've nailed the base recipe, the riffs are nearly endless. The dough is a blank canvas that takes well to fillings, flavorings, and creative coatings.
Filled donuts — skip the hole, fry as rounds, and pipe in jam, lemon curd, or pastry cream once cooled.
Maple bacon — top a maple glaze with crumbled crispy bacon for a sweet-savory twist.
Apple cider donuts — replace the milk with reduced apple cider in the cake donut variation and toss in cinnamon sugar.
Chocolate dough — swap ¼ cup of the flour for cocoa powder for a double-chocolate situation.
Baked version — pipe into a donut pan and bake at 375°F for 8–10 minutes for a lighter alternative.
🧊 Storage & Leftovers
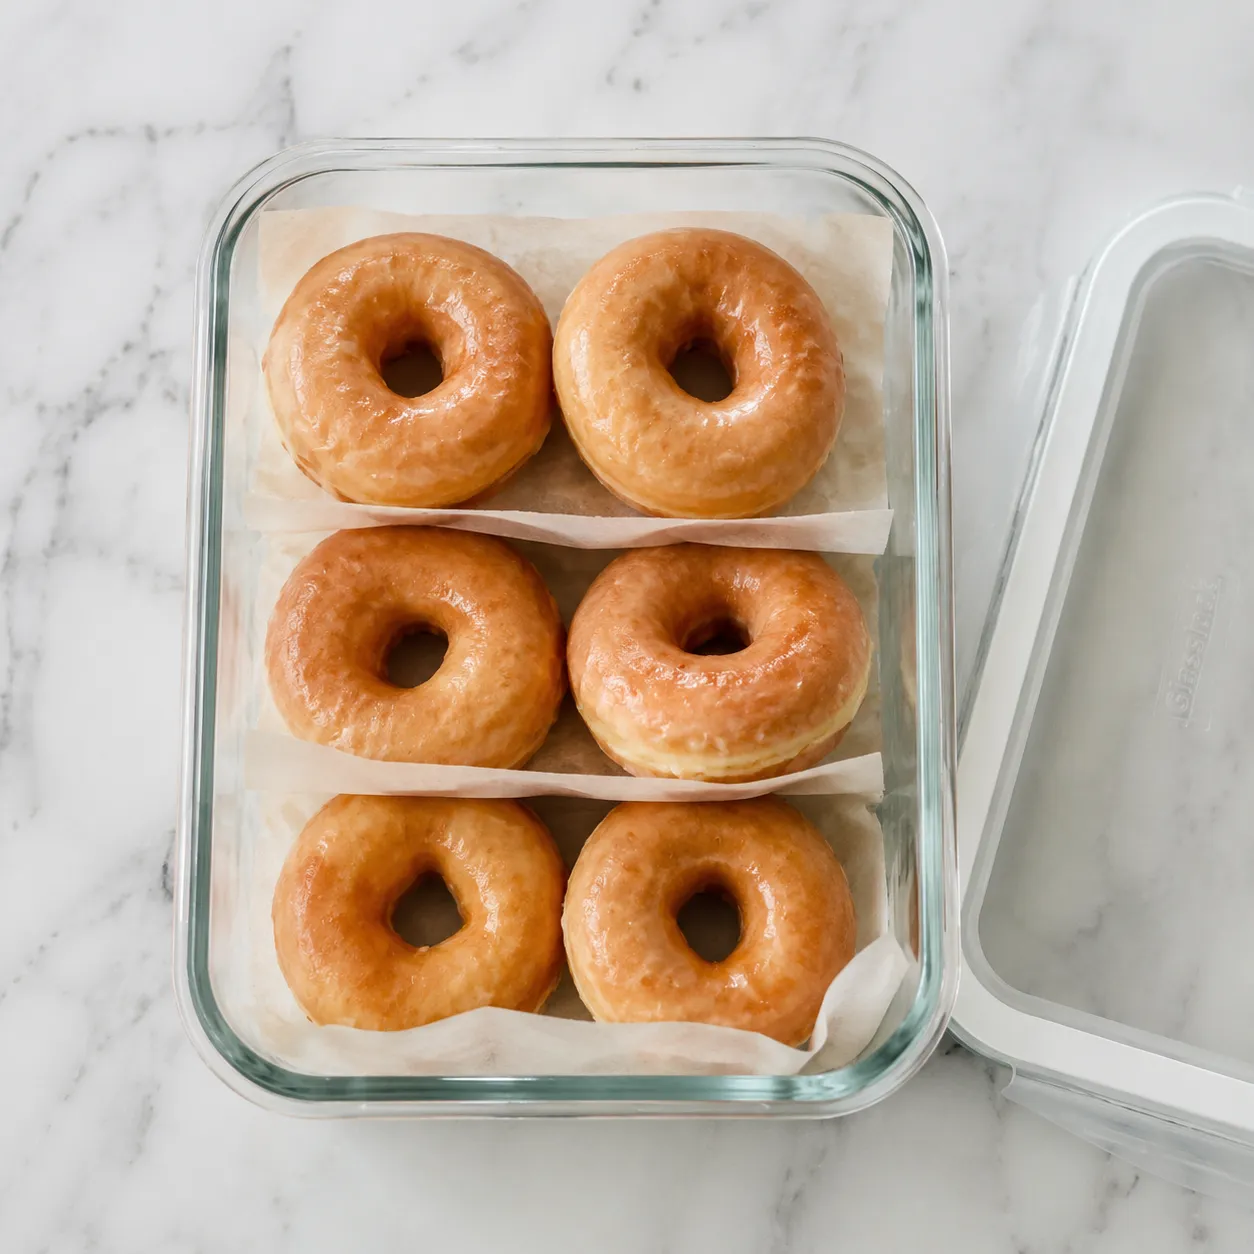
Homemade donuts are unquestionably best the day they're made — that's just the truth of fried dough. For same-day freshness, store unglazed donuts loosely covered at room temperature; glazed ones can sit on a wire rack under a cake dome for up to a day. Avoid the fridge, which dries them out fast.
For longer storage, freeze unglazed donuts in a single layer until solid, then transfer to a zip-top bag for up to 2 months. To revive, thaw at room temperature for 30 minutes and warm in a 300°F oven for 5 minutes before glazing. You'll be amazed how close to fresh they taste.
Frequently Asked Questions
What's the difference between a yeast donut and a cake donut?
Yeast donuts and cake donuts are two completely different beasts despite sharing a shape. Yeast donuts use active dry or instant yeast as their leavener, which means a longer process with rising time, but the payoff is that classic light, airy, slightly chewy texture you find at most donut shops. Cake donuts skip the yeast entirely and rely on baking powder (and sometimes baking soda) for lift. The result is denser, more tender, and crumbly — closer to a pound cake or muffin in texture. Cake donuts come together in under an hour, while yeast donuts typically need two to three hours start to finish.
Can I bake these donuts instead of frying?
Absolutely, and it's a great option if you're avoiding deep frying. Pipe the dough (the cake donut variation works best) into a well-greased donut pan, filling each cavity about two-thirds full. Bake at 375°F for 8–10 minutes, until the tops spring back when lightly pressed and a toothpick comes out clean. Let them cool in the pan for 5 minutes before turning out onto a rack. The texture will be more cake-like and less pillowy than classic fried donuts, but they're still delicious — and you can glaze them exactly the same way once they're cool enough to handle.
What oil is best for frying donuts?
You want a neutral-flavored oil with a high smoke point so it can hold a steady 350°F without breaking down or imparting off-flavors. Vegetable oil, canola oil, peanut oil, and refined sunflower oil are all excellent choices. Avoid olive oil, butter, and unrefined oils — they'll smoke and taste wrong. Use a deep, heavy-bottomed pot like a Dutch oven and fill it no more than halfway. Maintain 350°F with a clip-on thermometer for golden, grease-free results. After frying, you can strain and reuse the oil once or twice if it's still clean and clear.
Why are my donuts greasy or dense?
Greasy donuts almost always come down to oil temperature being too low. When the oil is below 340°F, the dough sits in it longer and absorbs fat instead of forming a quick crisp crust. Use a thermometer and fry in small batches so the temperature doesn't crash. Dense, heavy donuts usually mean the dough was under-proofed or had too much flour worked in. Make sure the second proof is full — the rounds should look pillowy and jiggle slightly. Add flour sparingly during kneading; the dough should remain soft and slightly tacky, not stiff or dry.
How long do homemade donuts stay fresh?
Donuts are at their absolute peak within a few hours of frying — this is one of those recipes that truly rewards same-day eating. Stored in an airtight container at room temperature, they'll remain pleasantly soft for up to 2 days, though the glaze may weep slightly. Refrigeration is not recommended; it dries them out quickly. For longer storage, freeze unglazed donuts in a single layer until firm, then transfer to a freezer bag for up to 2 months. Thaw at room temperature, warm briefly in a 300°F oven, and glaze fresh for results that taste nearly bakery-new.