Dutch Oven Bread: Easy No-Knead Crusty Loaf Recipe
Ingredients
Scale
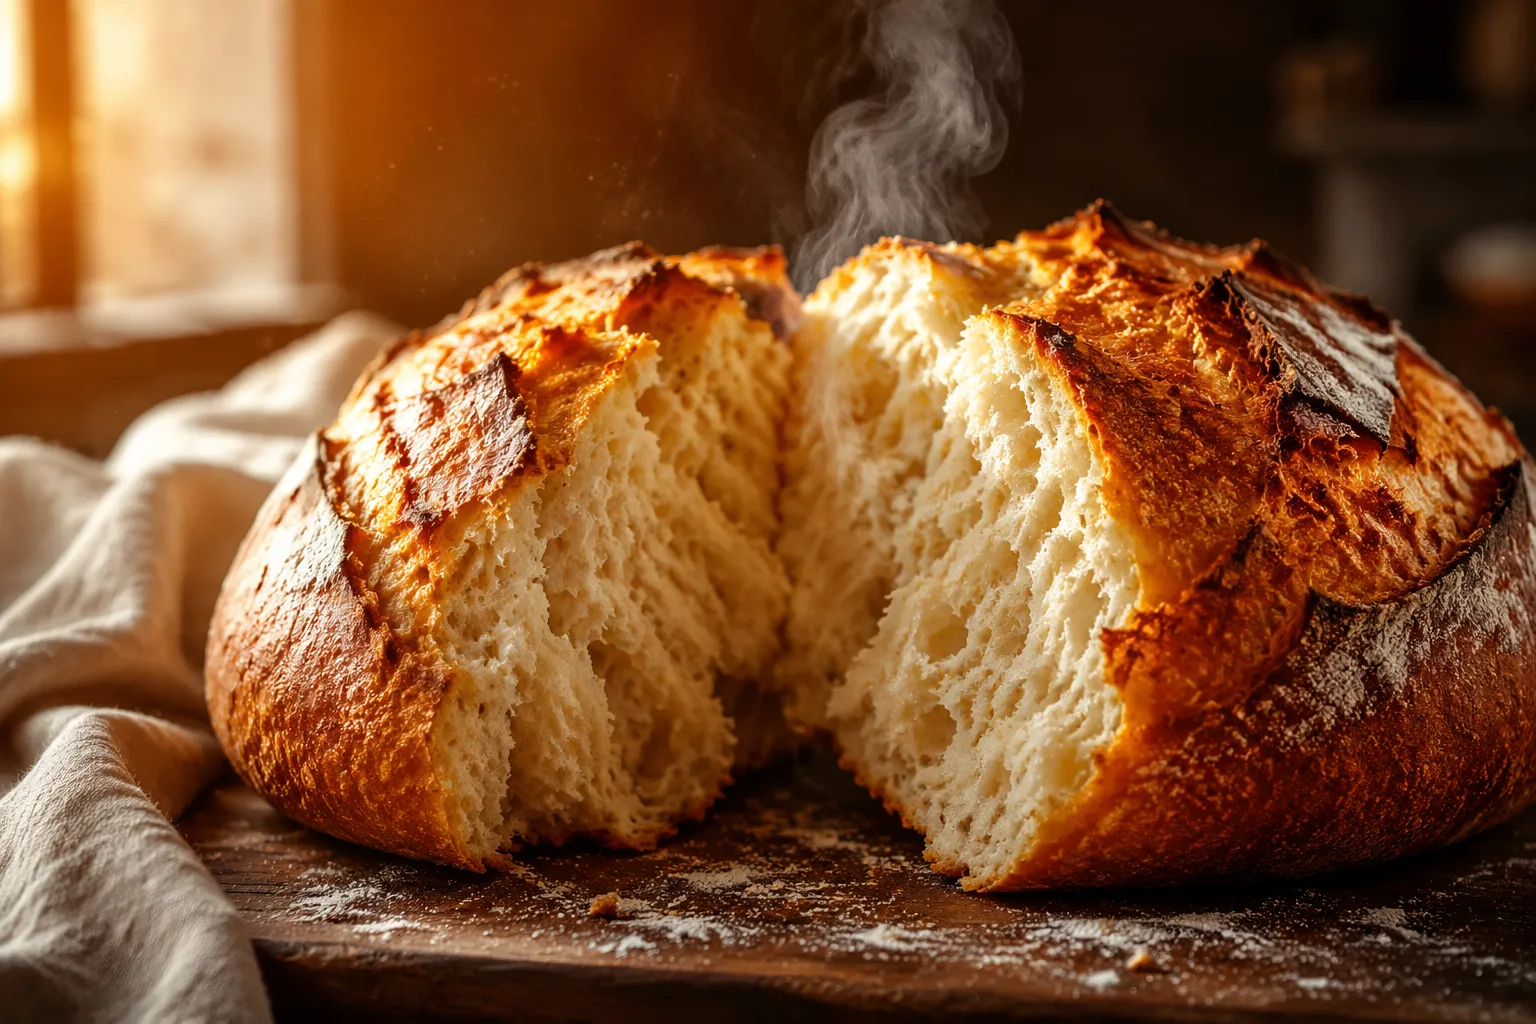
Crackly golden crust, soft pillowy interior, and just 4 pantry ingredients. This Dutch oven bread recipe is the easiest way to bake bakery-quality loaves at home.
The first time I pulled a dutch oven bread loaf out of a screaming-hot cast iron pot, I genuinely thought I'd cheated somehow. The crust shattered when I knocked on it. The interior was open, glossy, and smelled like the kind of bakery where they don't bother putting prices on a chalkboard. And the dough? Stirred together with a wooden spoon the night before, in a single bowl, in about ten minutes flat.
This recipe is the reason I stopped buying $9 boules at the farmer's market. It uses just four ingredients you already have on hand — flour, water, salt, and yeast — and zero kneading. The work happens while you sleep, in the form of a slow overnight rise that builds bakery-deep flavor without any effort on your part. Then a preheated pot does the rest, trapping steam around the dough so the crust blisters and the crumb springs tall.
Whether you've never baked a loaf in your life or you're an experienced baker who hasn't yet been converted to no-knead bread, this is the recipe that makes you feel like a magician in your own kitchen. Let's get into it.
Four ingredients. That's genuinely it. No oil, no sugar, no fancy flours hidden in the back of someone's pantry. The simplicity is exactly what makes this artisan loaf so satisfying to bake — every variable matters, but none of them are scary, and you almost certainly already own all of them.
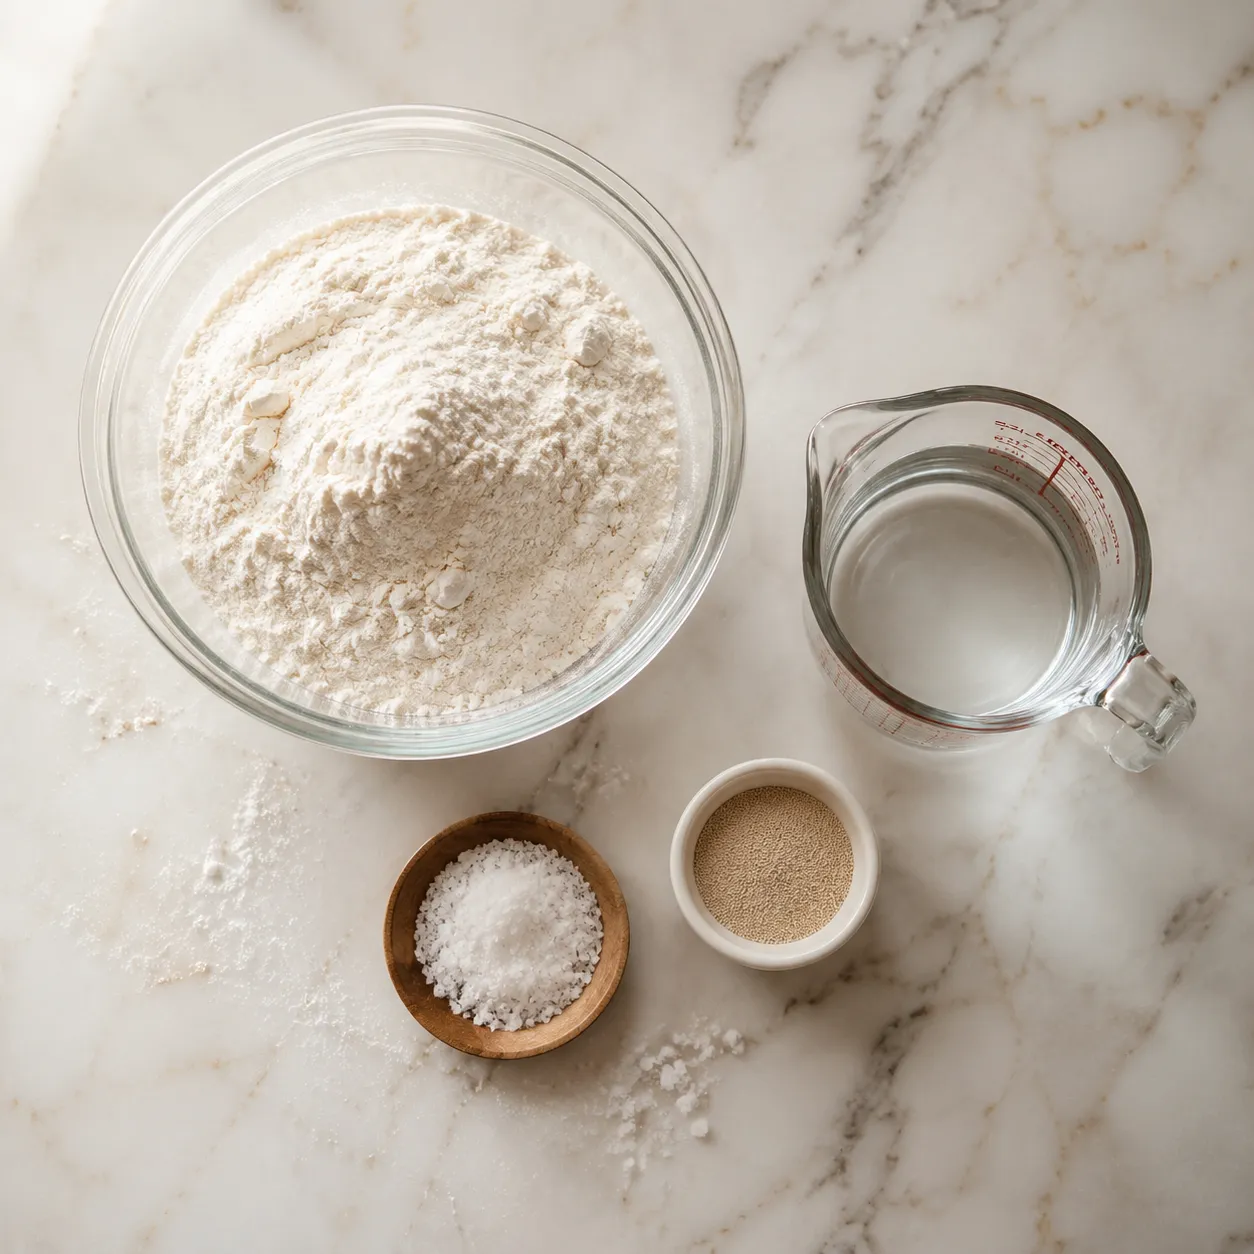
You can use either, but bread flour is what gives you that chewy, holey, deli-bakery texture. Bread flour clocks in around 12 to 13% protein, while all-purpose hovers near 10 to 11%. That extra protein builds more gluten during the long bulk fermentation, which translates to taller oven spring and a more open, irregular crumb. If all-purpose is what you've got, the loaf will still be excellent — just slightly softer and a little less dramatic in the slice.
This recipe is written for instant yeast (sometimes labeled rapid rise or bread machine yeast), which can be added directly to the dry ingredients with no fuss. If you only have active dry yeast, swap in equal amounts and proof it first in the warm water with a pinch of sugar for five minutes until foamy. The overnight rise is forgiving enough to handle either, and a long ferment masks any minor differences in vigor.
Use fine sea salt or kosher salt and avoid iodized table salt, which has a faintly metallic edge that you'll taste in something this minimalist. For water, aim for around 95°F — warm to the touch but not hot. Anything over 110°F can stress the yeast and shorten the long flavor-building ferment we're after.
Your pot is the unsung hero of this whole operation. A heavy lidded vessel mimics a professional steam-injected oven by trapping moisture released by the dough during the first 20 minutes of baking. That steam is what gives you the glossy, blistered, crackly crust that makes a dutch oven bread loaf look like it came from a wood-fired bakery instead of your apartment.
A 5 to 7 quart round pot is the sweet spot. The dough has just enough room to spring upward without flattening sideways, which gives you that classic round boule shape with high sidewalls. Oval pots work too if that's what you have on hand — just expect a longer, batard-style loaf rather than the postcard-round bakery look.
Both work beautifully. Enameled cast iron (think Le Creuset, Staub, or Lodge's enameled line) is easier to clean and won't react with acidic doughs down the road. Bare cast iron is bulletproof and budget-friendly. Just confirm whatever pot you're using is rated for 450°F before you crank the oven up.
Most modern enameled cast iron lids are safe to 450 to 500°F, but older Le Creuset pots came with phenolic plastic knobs rated only to about 390°F. Check the underside of your knob — if it's plastic and you're not sure of its rating, swap it for the brand's stainless steel replacement before baking.
The actual hands-on work here totals maybe 15 minutes spread across two days. Everything else is patience, which the dough rewards generously. Read through the steps once before you start so you can plan your timing — the bulk ferment is long, but it's almost entirely passive.
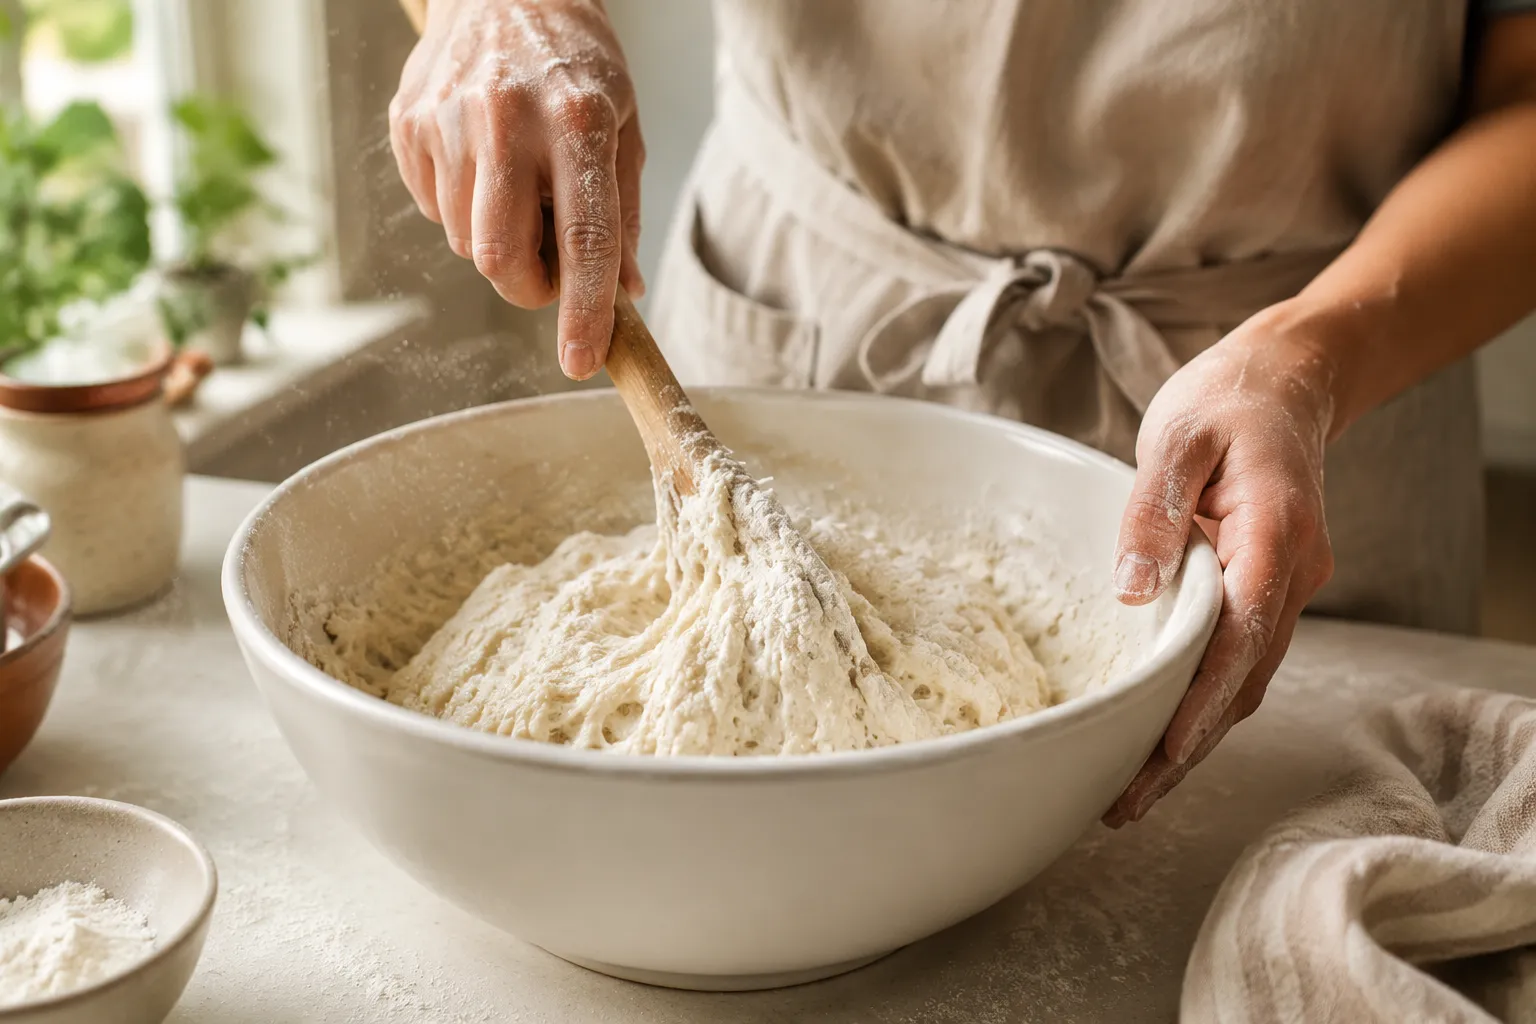
In a large bowl, whisk together your bread flour, instant yeast, and salt. Pour in the warm water and stir with a wooden spoon or silicone spatula until you have a shaggy, sticky mass with no dry flour pockets. It will look ugly. That's correct. This is genuinely the entire mixing process — no kneading, no folding, no autolyse rituals required.
Cover the bowl with plastic wrap or a plate and leave it on the counter for 12 to 18 hours. During this slow bulk fermentation, the yeast develops the deep, tangy, almost sourdough-like flavor we're after, and the gluten strands organize themselves without any kneading from you. The dough should at least double in volume and look bubbly and webbed across the top.
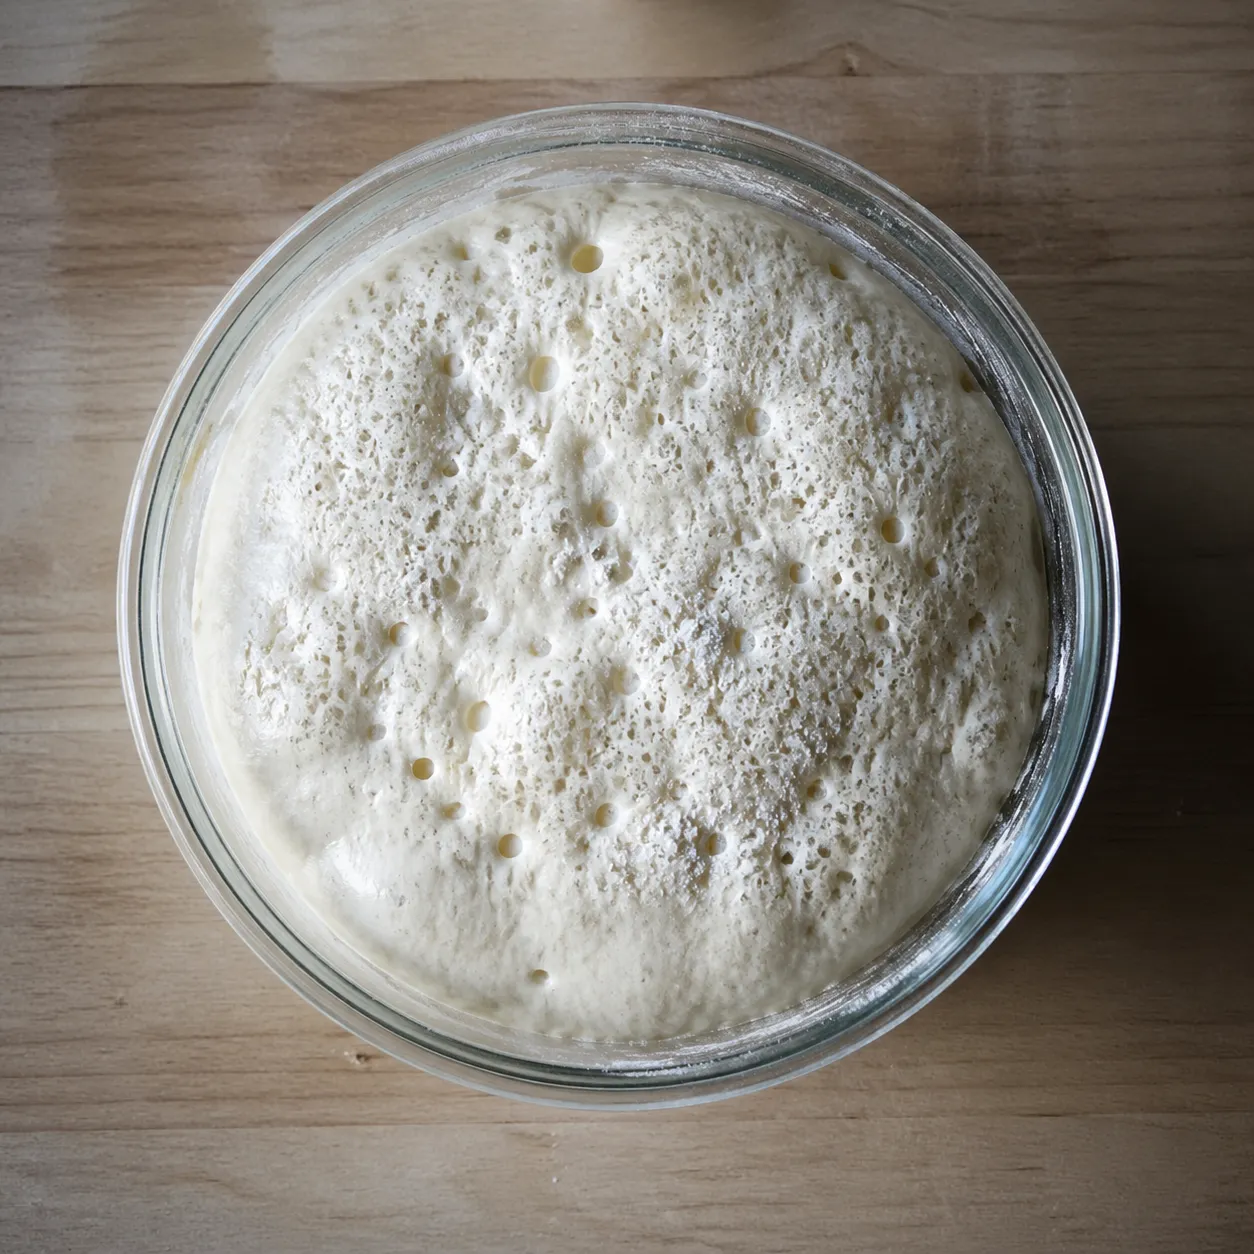
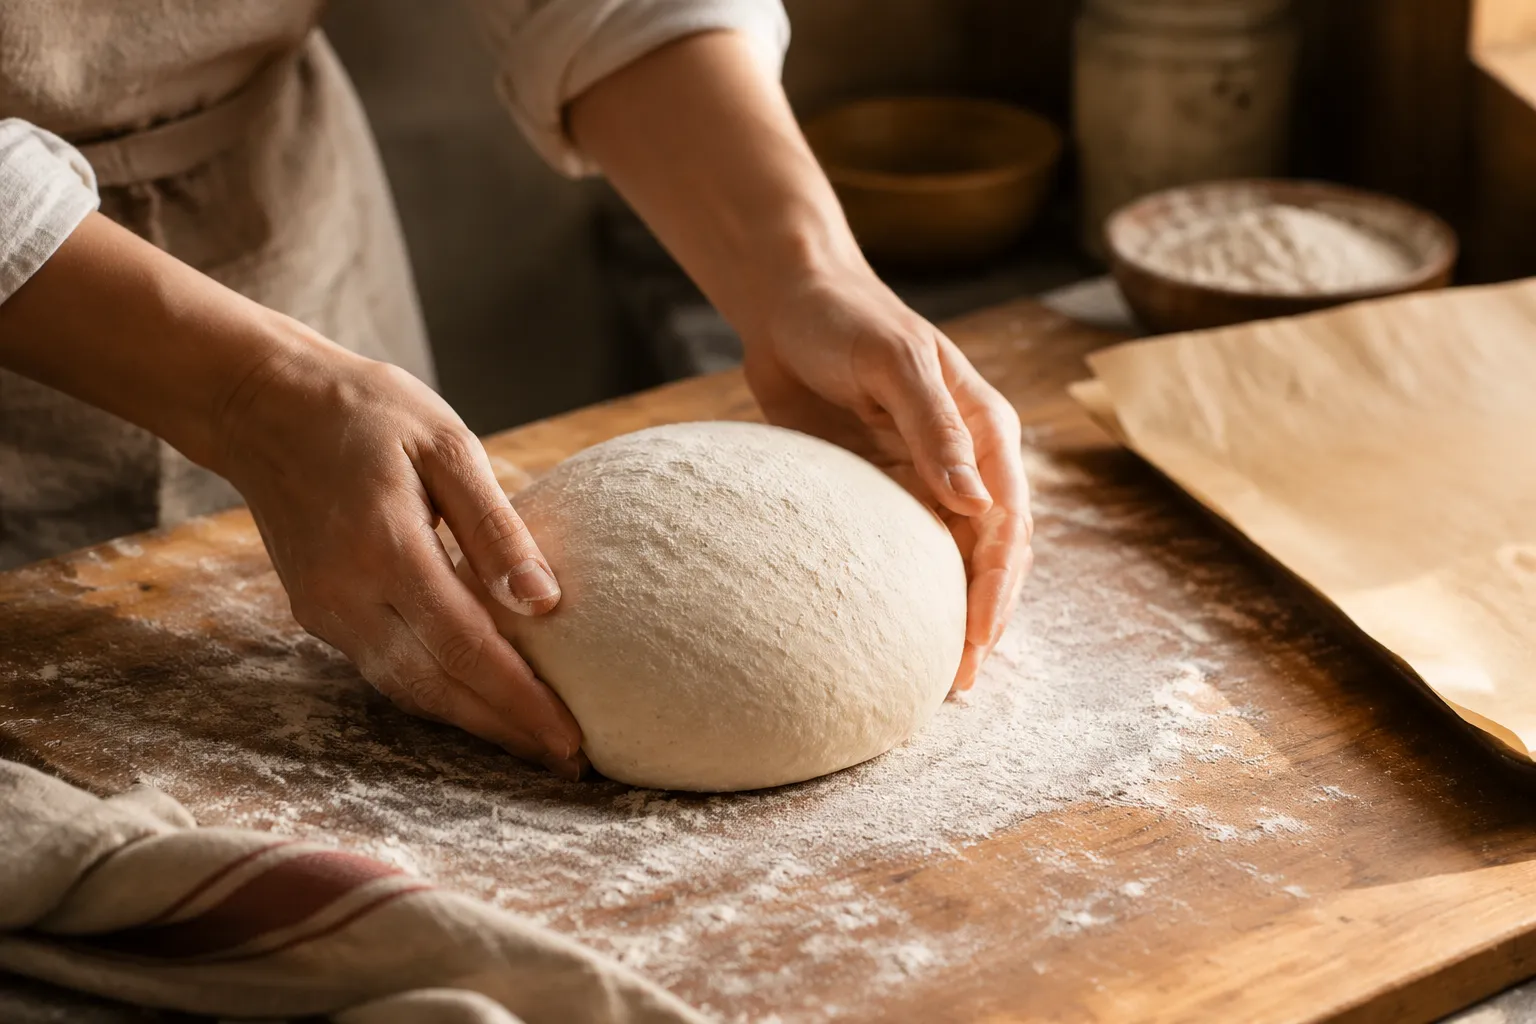
Generously flour a piece of parchment paper. Scrape the dough out with a bench scraper or floured hands, dust the top with more flour, and fold it over itself a few times — top, bottom, left, right — to build a little surface tension. Flip it seam-side down, cup your hands around it, and gently rotate to tighten into a round ball. Don't fight it; gentle shaping preserves all those gas bubbles you just spent twelve hours growing.
This is the step beginners skip and then wonder why their crust never crackles. Place your empty pot, lid on, into a cold oven and crank the dial to 450°F. Once the oven hits temperature, set a 30-minute timer and walk away. The pot needs to be ripping hot — sizzles-when-you-flick-water-on-it hot — when the dough goes in.
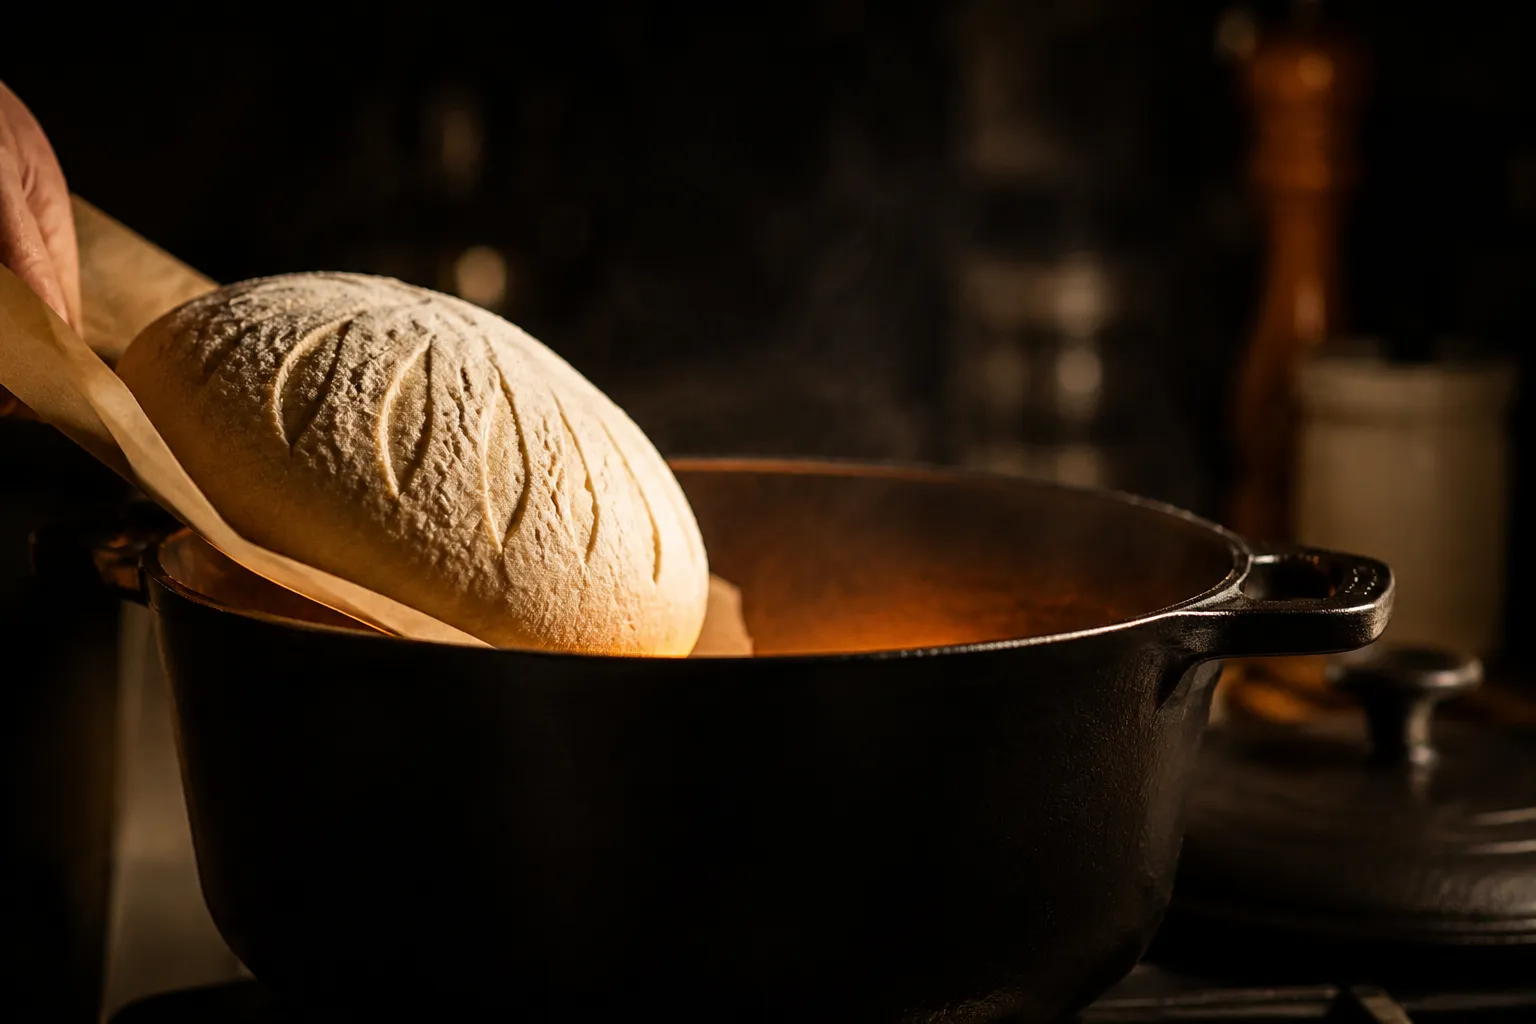
While the pot preheats, let your shaped boule rest on the parchment for a final 30-minute proof. Just before baking, dust the top with a whisper of flour and use a sharp paring knife or razor blade for scoring — one bold slash across the top, about a half-inch deep. This is your dough's pressure-release valve.
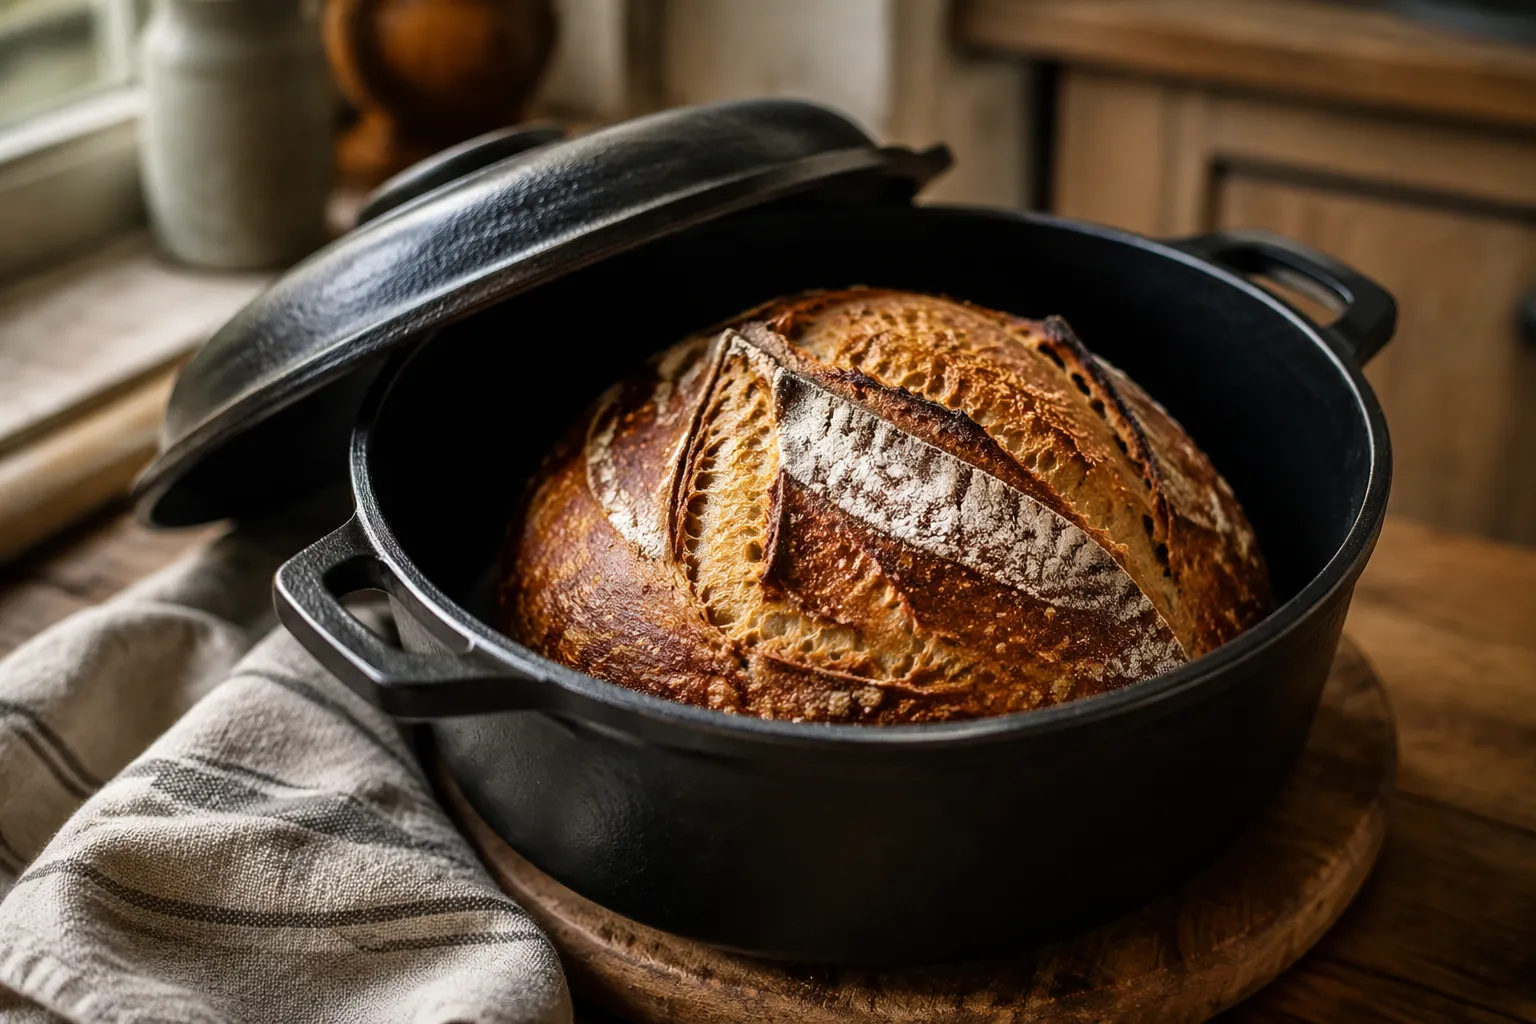
Carefully pull the screaming-hot pot out of the oven, lift the lid, and lower the dough (parchment and all) inside. Cover, slide it back in, and bake for 30 minutes covered. Then remove the lid and bake another 12 to 15 minutes uncovered until the crust is deeply golden and almost too dark — that's where the flavor lives.
A good dutch oven bread loaf is mostly physics. Once you understand what's happening inside that hot pot, you can troubleshoot any bake.
When the cool dough hits the 450°F environment, the surface starches gelatinize before the crust can fully set, and the trapped steam keeps that surface flexible and stretchy. Meanwhile, the yeast inside has one last violent burst of activity (called oven spring) before it dies off around 140°F. The score you cut tells the loaf where to expand, which is why a clean, confident slash gives you that gorgeous "ear" you see on bakery loaves.
To check doneness, the crust should be a deep mahogany brown, the loaf should sound hollow when you tap the bottom, and an instant-read thermometer in the center should read 200 to 210°F. Pull it earlier and the interior will be gummy. Pull it later and you'll have a doorstop, but a flavorful one.
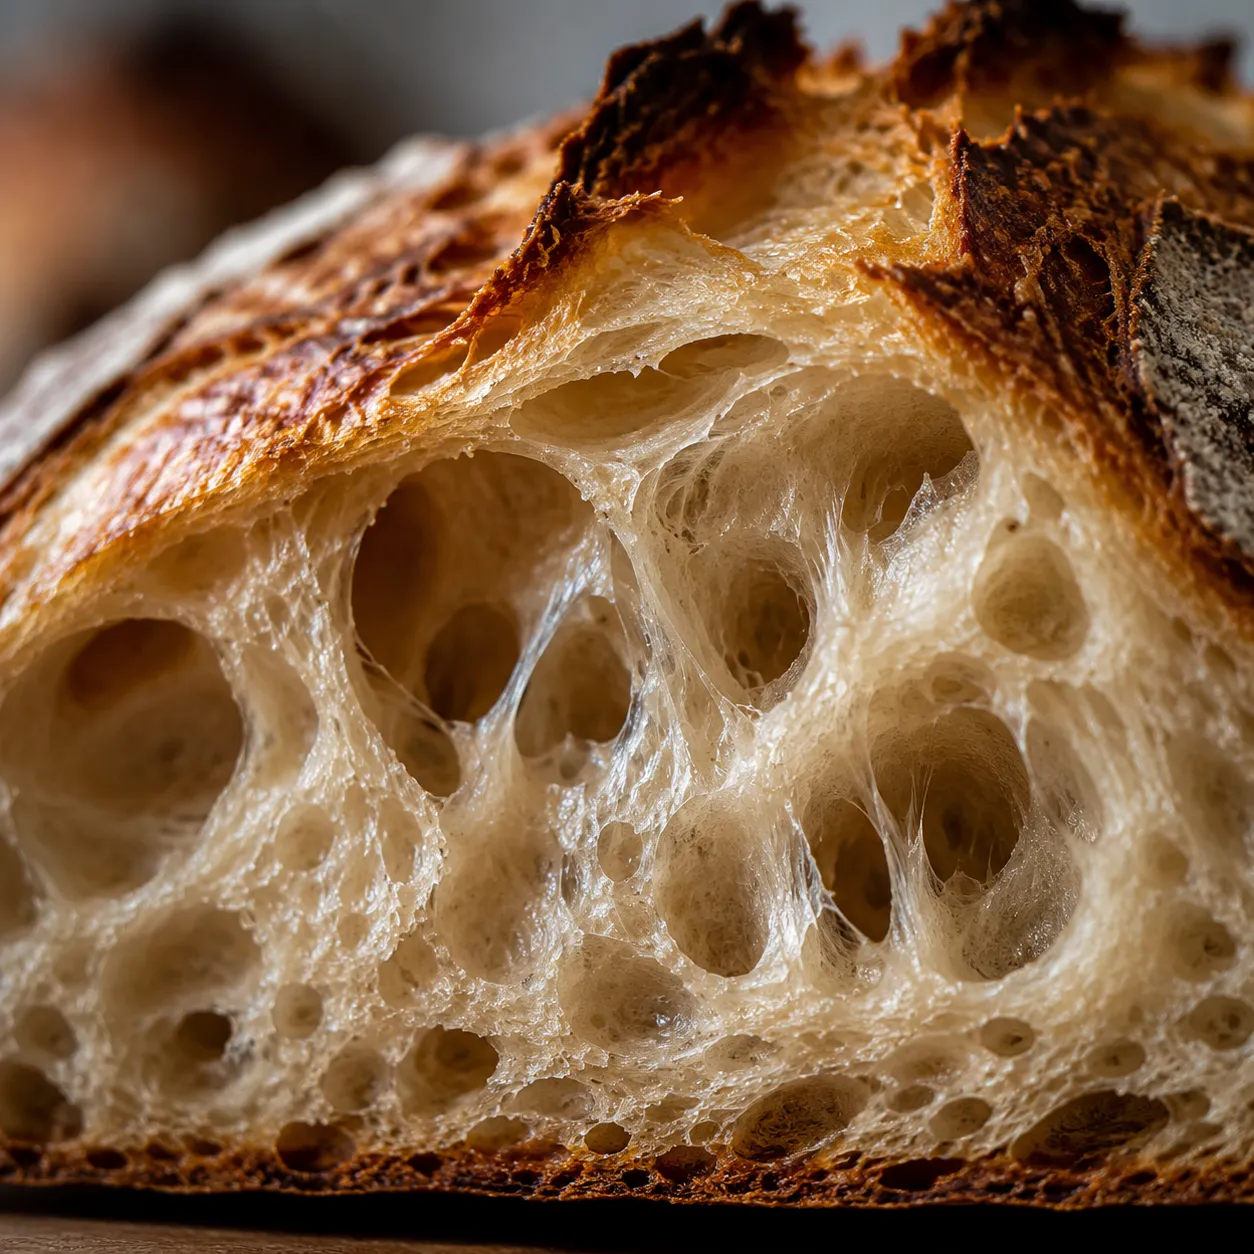
The hardest rule to follow is also the most important: let it cool. I know. The whole house smells incredible and you have butter at the ready. But the crumb is still finishing its set as steam escapes, and slicing too early gives you a gummy texture that has nothing to do with how well you baked it. Give the loaf at least an hour on a wire rack — two if you can manage. You'll often hear it crackling and singing as it cools, which is exactly what you want.
Once it's properly cooled, the world is your bread board. Thick slices smeared with cultured butter and flaky sea salt is the purest expression of this loaf, but it's also a serious team player at dinner. I love it alongside tomato soup, dragged through olive oil and balsamic, or used to mop up a pot of brothy white beans.
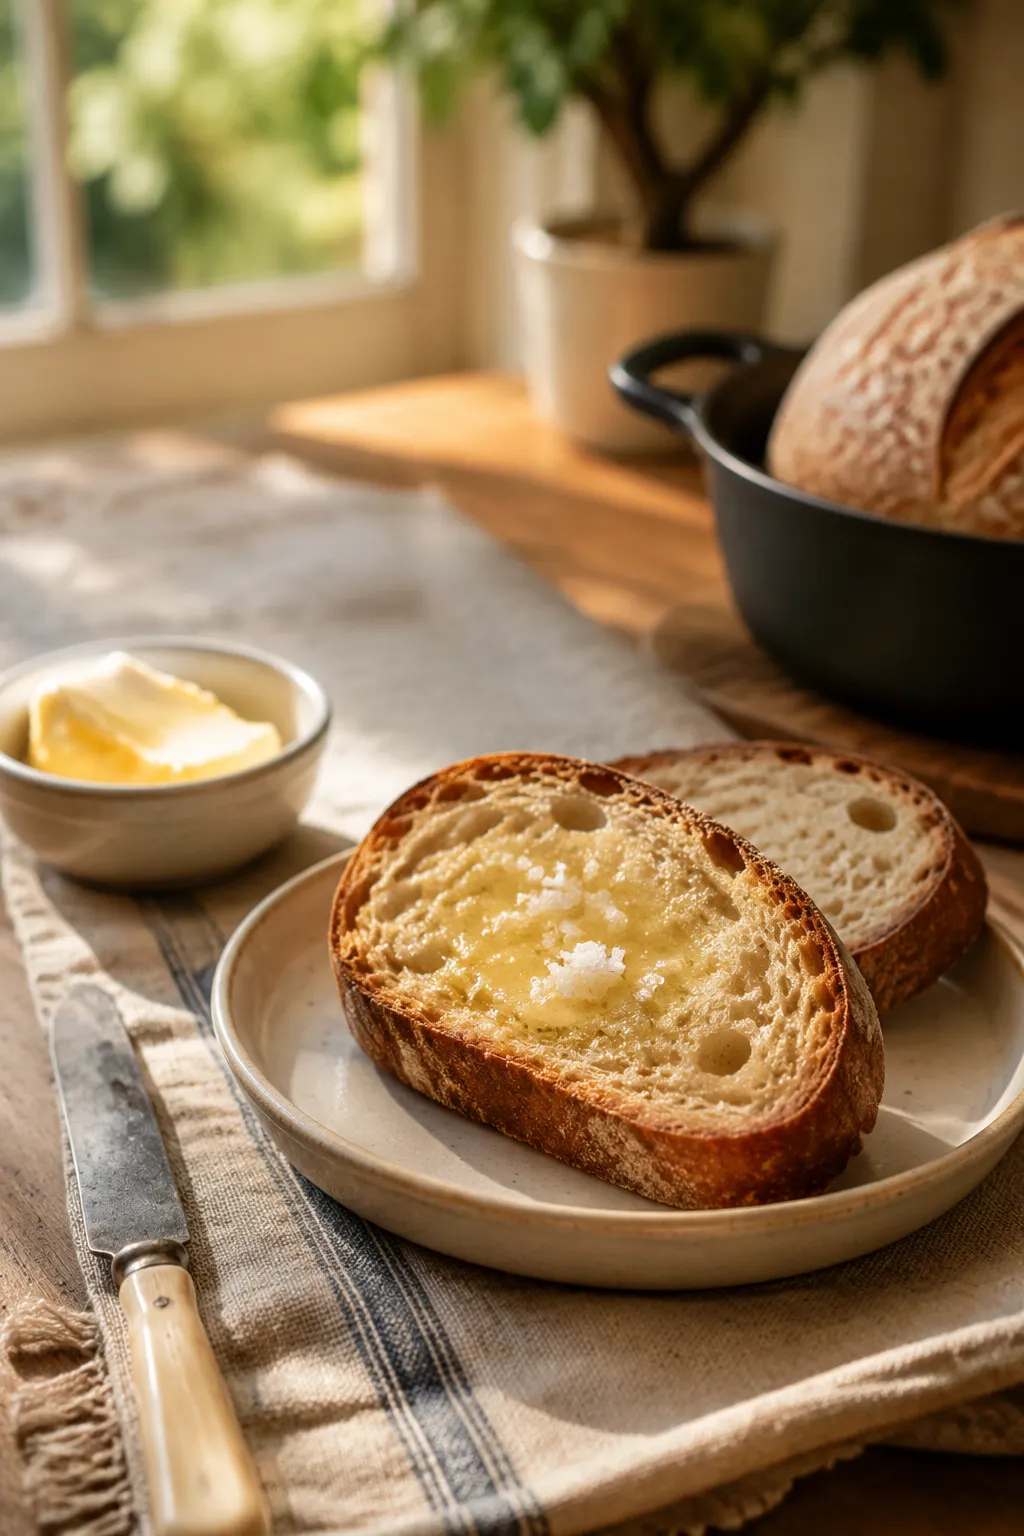
If you fall down the homemade bread rabbit hole — and you will — this loaf is a fantastic gateway to a whole shelf of recipes. From here you can branch into soft white sandwich bread for everyday toast, easy dinner rolls for holiday meals, homemade focaccia for pizza nights, or a more involved artisan bread recipe with mix-ins and shaping. And if the slow-fermented flavor of this loaf grabs you, it's the perfect on-ramp to building a homemade sourdough starter and going fully wild-yeast.
But honestly, even if you stop at this one dutch oven bread recipe, you'll have a four-ingredient bakery-style loaf in your back pocket forever. That's not a bad place to land.
Once the master recipe is muscle memory, this dough becomes a launching pad. Any add-in totaling about 1 to 1 1/2 cups can be folded in just before the bulk fermentation — no other adjustments needed.
This bread is at its absolute best on day one, but it stores well with a little strategy. Keep the loaf cut-side down on a wooden cutting board at room temperature for the first 24 hours — never in plastic, which softens the crust and traps moisture. After that, slip it into a paper bag (or a lightly closed beeswax wrap) on the counter for up to 3 days. The crust will soften slightly, but a quick trip back through the oven brings it right back to life.
For longer storage, freeze the cooled loaf whole or pre-sliced in a zip-top freezer bag with the air pressed out, where it keeps for up to 3 months. To revive a whole loaf, run it briefly under cold water (yes, really), then bake on a rack at 375°F for 10 to 12 minutes — you'll swear it just came out of the oven. Frozen slices toast straight from the freezer with no thawing.